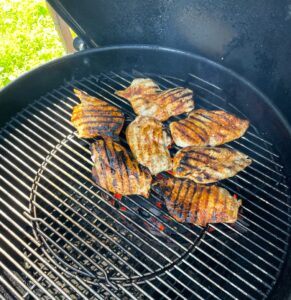
Cleaning the grill after each use may seem like a minor task, but it makes a significant difference in the taste of your food, your cooking safety, and the lifespan of your grill. I’ve spent plenty of time at the grill, and every time I clean it right away, everything works more smoothly the next time I use it.
Whether you’re a charcoal enthusiast or a gas grill devotee, keeping your grill clean doesn’t need to be a hassle. Here’s a super detailed breakdown on the why and how, along with my favorite tools and tips.
Why Keeping Grill Grates Clean Matters
For many people, cleaning the grill is often an afterthought, but forming a regular habit can offer significant payoffs. Here’s why I always stick to it:
- Better-Tasting Food:
Searing food on a dirty grate means your fresh steak or veggies end up sitting on yesterday’s grease, burned sauce, and crusty crumbs. Old flavors can linger and muddle the taste. Keeping your grates clean lets the flavor of today’s meal come through without any off-notes or stale leftovers. - Health & Safety:
Leftover food bits and grease not only look unappetizing, but they also create a breeding ground for bacteria and mold, especially if the grill is left unused for an extended period. Moreover, accumulated grease can lead to flare-ups and even small grill fires. A clean grill surface also means less food sticking, making it easier to flip burgers or chicken and reducing the risk of undercooked spots. This practical benefit makes the cleaning process even more worthwhile. - Longevity of Your Grill:
Grease and carbon that harden onto your grates and other surfaces can accelerate rust and corrosion. This kind of neglect wears down the grill, leading to expensive repairs or, eventually, the need to replace it sooner than anticipated. Staying on top of maintenance and cleaning your grill regularly helps your investment perform well for years to come. - Consistent Performance:
From burners to vents, a clean grill allows for better airflow and more even heat distribution. You’ll find it easier to fine-tune temperatures and avoid hot spots, giving you evenly cooked steaks or juicy chicken that keep backyard meals running smoothly.
Cleaning Before Grilling: Preparing the Grates
I always squeeze in a quick clean right before cooking, no matter how well I cleaned last time. Food will come off more easily, and you won’t get any strange flavors. Here’s my pre-cooking plan:
- Preheat the Grill:
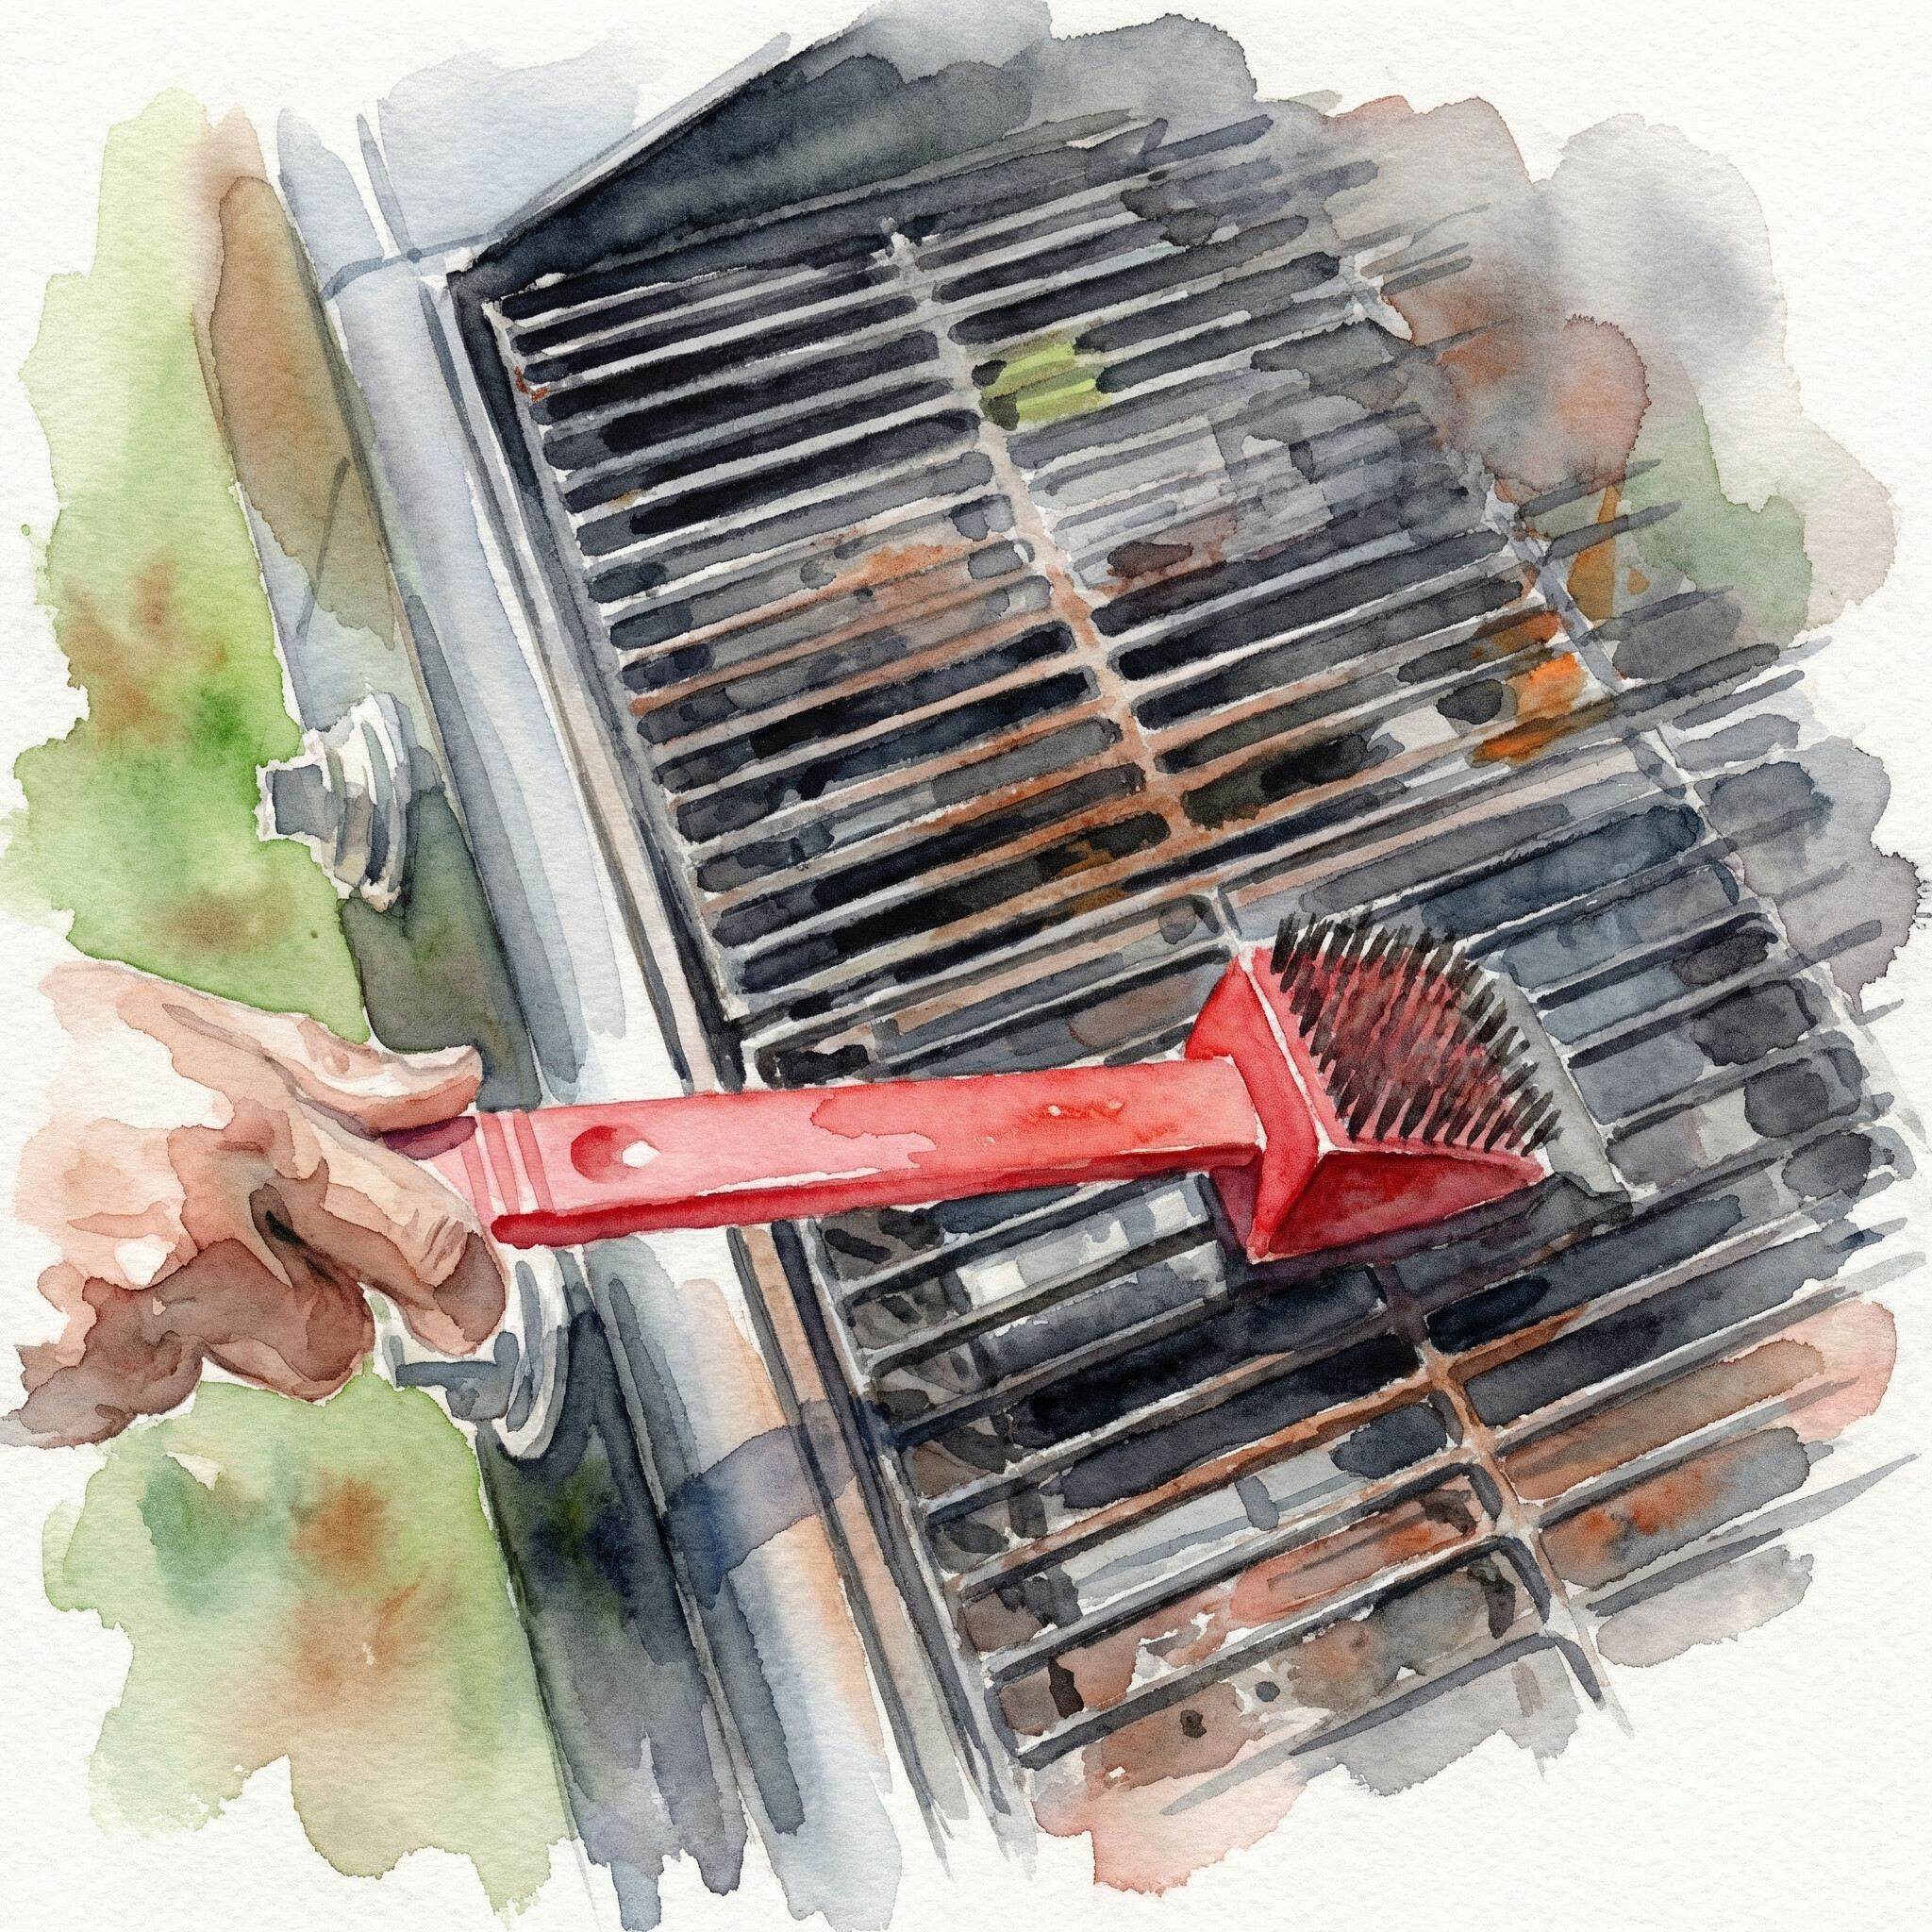
Whether you use charcoal or gas, heating the grates will loosen any items that are still stuck. Heat it for 5 to 10 minutes, and listen for the classic sizzle. - Use a Grill Brush or Scraper:
With the grate hot, a stiff bristle brush, a coil brush, or a metal scraper does the job. Move the tool firmly along the bars to remove any char or residue. Always double-check for loose bristles—especially important with wire brushes. No one wants a bristle in their burger. - Oil the Grates (Elevates your grilling experience):
When the grates are clean and warm, dip a folded paper towel in high-heat oil (such as canola, vegetable, or avocado) and rub it onto the bars with tongs. This step helps prevent food from sticking and forms a light nonstick layer for the next cookout.
Cleaning After Grilling: Shutting Down Right
Once the meal’s done and everyone’s digging in, this is when cleaning really matters. A few extra minutes now will save tons of hassle next time. Here’s my straightforward cleanup routine:
- Burn Off Residue:
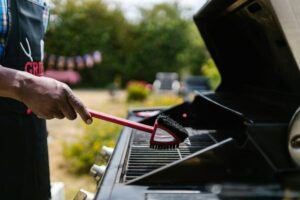
With the food finished, I turn the heat up and let the grill run for about five to ten minutes. On charcoal models, I let the remaining coals burn hot for a bit. This scorches drippings or food scraps, carbonizing them for easy cleaning. - Scrape the Grates:
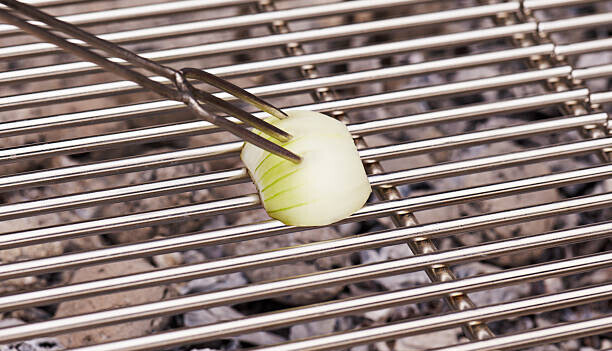
While everything is still hot, I use a brush or scraper to loosen the carbonized bits. If you don’t have a brush, a crumpled aluminum foil ball held with tongs works, or even half an onion (cut side down). Just rub firmly over the grates, and the stuck-on mess comes right off. This adaptability of tools ensures you can always find a solution, making you feel resourceful. - Clean the Interior:
On a charcoal grill, dump cooled ash into a bin or can once it’s completely out. For gas grills, I slide out the grease tray (aluminum foil makes cleanup easier) and empty the drip pan. These areas accumulate significant debris if left unattended for too long. - Wipe Exterior Surfaces:
Grease and soot travel fast, so I clean the lid, handles, and shelves with a damp cloth or a grill-safe spray. These steps enhance your grill’s appearance and help prevent rust.
Recommended Tools for Grill Cleaning
Keeping your grill sparkling doesn’t require much. I’ve tried everything from fancy gadgets to basic home fixes, and here’s what works the best:
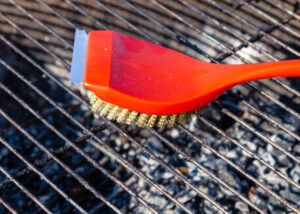
- Grill Brush / Scraper: Solid tool for removing debris and messes from both cast iron and stainless steel grates. Look for brushes with replaceable heads if you clean often.
- Grill Stone or Pumice Block: Ideal for deep cleaning; they’re safe on sturdy grates and won’t leave scratches.
- Aluminum Foil Ball: Tightly roll up foil, grab it with tongs, and scrub away. It’s budget-friendly and reliable.
- Onion Halves: The juice and enzymes of a cut onion lift bits off the metal, leaving a gentle aroma that fades after you preheat again.
- Grill-Safe Spray or Degreaser: These help get rid of drippy or greasy residue, especially in stubborn spots inside or outside the grill.
- Shop Vacuum (for Charcoal Grills): When cool, a shop vac cleans up old ash swiftly—a real helper for regular grillers.
Ready for Every Cookout: Setting Up the Grill for Next Time
Maintaining a consistent cleaning routine pays big dividends when you come back for the next barbecue session. Here’s what happens when you keep on top of things:
- Your grill will look and smell clean, making set-up a breeze.
- You’ll waste less food since nothing sticks or burns onto the grates.
- Fire risks drop a lot—not just grease fires but also vent or burner clogs.
- The grill runs as it should. There will be no odd flare-ups or patchy heat from blocked jets or vents.
If I ever skip this routine, it’s clear the next time I grill—food sticks, temperatures go haywire, and I spend twice the time cleaning before I can get cooking. Mess is so much easier to handle right away than after weeks of buildup.
Tips for Cleaning Different Types of Grills
Not every grill is the same, so my cleaning methods switch up depending on what I’m using. Here’s how I handle the most popular types:
Gas Grills
- Let the burners run hot after cooking to burn off residue.
- Scrape grates when hot; pull them out for complete cleaning underneath every few weeks.
- Remove and wash drip trays, and clear any clogs in burner ports using a skewer or brush.
- Wipe down the outside and control panel using grill-safe spray.
Charcoal Grills
- Let the coals burn out, then brush or scrape the grates.
- After cooling, remove ashes to a metal bin—ash left inside draws moisture and can lead to rust.
- For built-up grime at the bottom, use a grill stone.
- Clean the lid, handles, and vents—they get sticky fast.
Pellet Grills & Smokers
- Empty spent pellets and ash regularly; a shop vac is handy once everything’s cool.
- Scrape the grates after every cook and occasionally give them a soak or deep clean.
- Gently wipe digital panels with a soft cloth and mild cleaner.
Small Portable Grills
- Portable and camping grills have fewer pieces, but grease builds up quickly.
- Foil, a small brush, or even a plastic scraper works for the grates.
- Dry surfaces before storing to prevent rust from popping up.
Don’t Forget the Drip Pan
While most grillers focus on the grates, the drip pan is just as crucial for safe, clean cooking. This often-overlooked part of the grill catches grease, fat, and food particles. If left dirty, it can cause significant problems:
- Grease Fires – A full or greasy drip pan is a significant fire hazard. Excess grease can ignite and flare up unexpectedly.
- Unpleasant Odors – Old drippings burn and release bitter smoke that can ruin the flavor of your food.
- Pests & Mold – A neglected pan can attract insects or grow bacteria and mold, especially if the grill is stored outside.
How to Keep It Clean:
- After every few cooks (or after especially fatty meals), remove the drip pan and empty it.
- Line it with aluminum foil before grilling to make cleanup easier.
- For disposable pans, swap them out when they’re about half full.
- For reusable ones, wash with warm soapy water and dry thoroughly to prevent rust.
Advanced Grill Cleaning Hacks and Tips
Grill cleaning doesn’t have to be a lot of effort; some clever tricks can make it easier. Here are a few of my favorites:
- Steam Clean with Water: After cooking (while burners are still on), lay wet paper towels on the hot grate, close the lid for a minute, and let steam do the heavy lifting. Leftover bits then come right off.
- Baking Soda Clean: Sprinkle baking soda on tough grease spots and scrub them—this method works without resorting to harsh chemicals.
- Vinegar Solution: Combine equal parts vinegar and water in a spray bottle. Spray grates, let it sit for a minute, then scrub. It’s perfect for making grates shine and fighting odors.
- Season Cast Iron Grates: Treat them like your favorite skillet; a thin oil coating after cleaning keeps grates smooth and rust-free.
- Save Old Brushes for Tough Jobs: When a grill brush wears out, use it to get into firebox corners or attack grimy interior spots where brush condition doesn’t matter.
Frequently Asked Questions about Cleaning Your Grill
Here are some questions I often get about keeping grills clean, plus my straight-up answers.
How often should I clean my grill?
Brush grates before and after each use for great results. A deeper clean—such as emptying ash pans or wiping the inside—every several uses works for most people. Daily grillers might want to give their gear a deep clean more often.
Can I use soap and water on grill grates?
Yes—if they’re extra dirty—but always rinse and dry thoroughly. Dish soap residue can affect food flavor; moisture left behind can cause rust. Typically, a brush or an oil wipe is sufficient for routine cleaning.
What’s the safest brush for cleaning a grill?
Brass or stainless steel bristle brushes work well, but check for loose bristles and replace worn ones. Coil brushes, scrub pads, or natural options (such as foil balls or onion halves) are all safe options.
Is it okay to clean grates while they’re hot?
Definitely—food comes off easier when the grill is hot, but always use long tongs and heat-resistant gloves to stay safe.
Wrapping Up: The Benefits of Regular Grill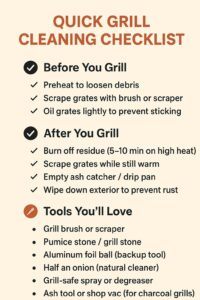 Cleaning
Taking just a few extra minutes to clean your grill after every meal pays off each time you set up for a new barbecue. It keeps your food tasting top-notch, protects the grill, and makes the process easier next time.
With a handful of good tools and a simple habit, you’ll spend less time scrubbing and more time savoring those eye-catching, flame-kissed bites with friends and family.
Stick with it, and your grill will continue to serve up hot, delicious meals for years, all while keeping an eye on the drip pan—no sweat.
Enjoy that great BBQ taste!