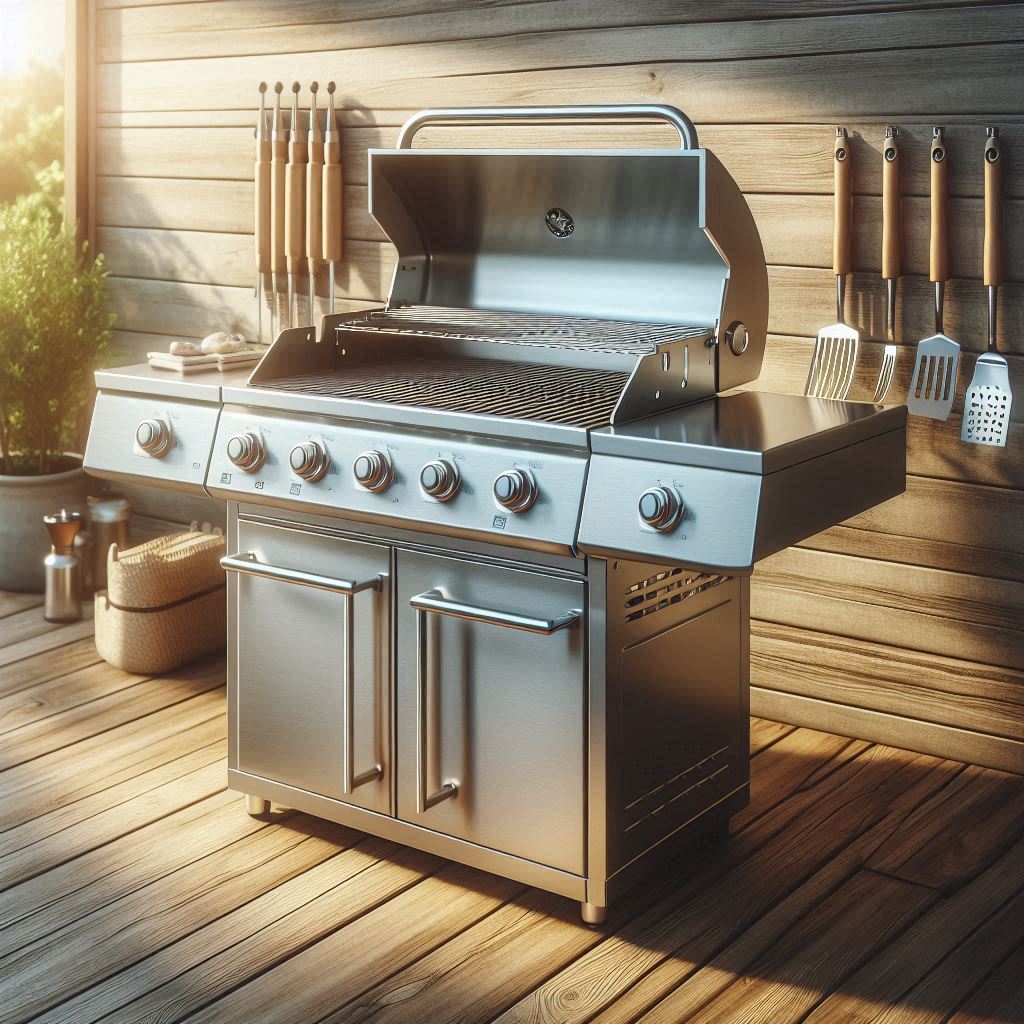
Keeping your grill in top shape brings numerous benefits, from better-tasting food to a longer-lasting BBQ setup.
If you’ve just brought home a brand-new grill, your first step is to clean and season it correctly. Some folks skip this, but I’ve found that a little extra care in the beginning goes a long way in getting the most out of your grill for years to come.
Why You Need to Clean and Season a New Grill
Even if your grill appears perfectly clean out of the box, it usually contains some leftover oils, dust, and even small bits of metal from the manufacturing process. Giving it a good first clean helps wash away all that stuff so it doesn’t end up mixed in with your food. Overlooking this step can make your first meal a bit less tasty and possibly even cause some health concerns.
Seasoning is all about applying a thin layer of oil to the new grates and burning it in. This helps keep rust away, builds up a naturally nonstick surface, and can even add a subtle boost to your barbecue flavors over time. If you’re starting with a new grill, taking these steps sets you up for way fewer hassles later on. Taking that time at the outset means less time spent on crisis cleaning down the road, and a grill that lasts much longer.
Benefits of Cleaning and Seasoning
- Removes residues: Gets rid of manufacturing dust, oils, and coatings that stick to grates during production. This ensures your food doesn’t absorb any unwanted flavors or chemicals.
- Prevents rust: A layer of oil works as a barrier, stopping moisture from causing rust right away. Rust doesn’t just look bad; it can also ruin the metal over time.
- Improves flavor: Seasoned grates don’t stick, and your grilled food keeps those beautiful char marks and savory barbecue taste. A well-seasoned grill also helps lock in juices and adds to a more authentic grilled flavor over every meal.
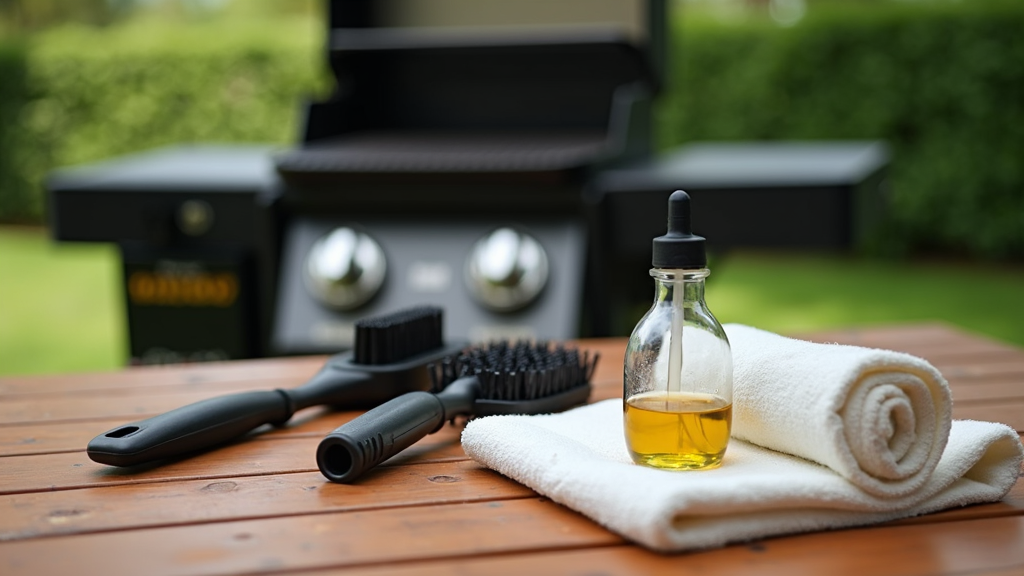
Tools & Materials You’ll Need
- Grill brush (nylon or brass is best for new grills) or a gentle sponge. Finer brushes avoid scratching those shiny new surfaces.
- Dish soap (any mild brand is fine). Avoid using harsh cleaners, as they can leave behind unpleasant tastes.
- Warm water. Ensure the water is not boiling, but relatively comfortably warm for cleaning.
- Paper towels or a clean cloth. These will help with drying as well as wiping oil during seasoning.
- High-heat cooking oil (canola or grapeseed oil are both good choices). Peanut oil is usable too, but steer clear if anyone has a nut allergy.
- Tongs and extra paper towels, or a spray bottle if you like. Tongs help you reach every inch of the hot grate.
- Heat-resistant gloves (pretty handy if you’re working around a hot grill). These are important for keeping your hands safe while reaching into hot areas.
Step 1: Initial Inspection
First things first, unpack everything from the box. Pull out any cardboard, foam, or tape that’s tucked inside the grill or under the grates. Give the whole thing a thorough inspection to ensure there’s no leftover packing material hiding anywhere, as this can catch fire or melt on first use. Make sure to move parts around and check every nook and cranny.
Could you please inspect all the grill parts, especially the grates and burners? You might spot a light grease or film on the metal. That’s usually just a protective coating applied during the production process. Sometimes you’ll even see a bit of metal dust left over from the factory. Getting all this out of the way before you fire things up is extremely important. It ensures your food only tastes the way you want it to and helps prevent chemical reactions that can cause rust.
Step 2: Thorough Cleaning Before First Use
Washing Grill Grates and Interior
Fill a bucket or your kitchen sink with warm water and a small squirt of dish soap. Please take out the grates and any removable interior parts (like burner covers or flavorizer bars) and scrub them gently with your grill brush or sponge. You don’t need to go wild, just enough to remove oils, dust, or residue. Focus on the corners and any seams—these spots can trap grime.
Could you rinse everything very well with clean water? Soap left behind can taste nasty the first time you grill, so always make sure to rinse extra carefully. If possible, let the pieces sit under running water for an additional minute.
Cleaning the Exterior
Don’t forget the outside of your grill. Wipe down all surfaces with warm, soapy water and a microfiber cloth. This removes fingerprints, dust, or any other debris from shipping. It also keeps your grill looking good on your patio. Rinse with a damp cloth, and then dry everything with paper towels or a dry rag.
Step 3: Drying the Grill
Once everything is washed and rinsed, it’s time to dry. Rust loves water, so ensure every part is dry before proceeding. Wipe down grates and parts with a clean towel, and let them air dry for a few minutes if possible. If it’s chilly out, you can pop them back in the grill and run it on low heat for 10 minutes to drive off any water that’s hiding in corners. This is an excellent safety step, as it prevents water droplets from instantly vaporizing when you heat things later, which can leave spots on your new grates.
Step 4: Seasoning the Grill
What Seasoning Means in Grilling
Seasoning in grill-speak is similar to seasoning a cast-iron skillet. You’re adding a coat of safe, high-heat oil and letting it bond to the metal. This oil layer helps create a slick, nonstick surface on the grates and helps fight off rust. That means your burgers, steaks, and veggies slide easily off the grill, rather than sticking and tearing.
How to Apply Oil
There are a couple of ways to do this, but here’s what I usually do: Pour a little high-heat oil onto a paper towel ball. Grab it with tongs, then wipe down all surface areas of the grates, applying a nice, thin coat. You don’t need to drench them, just enough to lightly cover. Ensure that every part is covered, especially the corners and areas between the grate rods, as these areas can quickly rust if left dry.
If you prefer, fill a spray bottle with oil (make sure it’s clean and can handle oil without clogging). Spray a light, even layer over the grates. Always spray away from any flames to avoid flare-ups.
Heating the Grill
Put everything back inside your grill. Fire it up to high and keep the lid closed. For a gas grill, temperatures ranging from 400°F to 500°F are suitable, and you should let it run for approximately 20 to 30 minutes. You’ll probably see a bit of smoke; that’s normal and means the oil is doing its job. For charcoal grills, get your coals good and hot and let the grill run with the grates inside. If your grill has more than one grate, make sure both are evenly heated. The oil will bake onto the surface and start to darken slightly, which is precisely what you want. This baked-on layer helps keep food from sticking and reduces the risk of rust in the long run. Repeat this process one more time for added durability, especially if you plan on grilling frequently right away.
Step 5: Cooling and Final Wipe-Down
After seasoning, let the grill cool down naturally. Once it’s safe to touch, gently wipe the grates with a dry paper towel to absorb any excess oil. If the grates look dry and evenly dark, you’re good to roll. If you notice any areas that appear dry or spotty, you can repeat the oiling and heating steps one more time for an even finish. Be patient with this step—well-seasoned grates pay off quickly in your grilling results.
Bonus Tips: How Often to Re-Season and Long-Term Grill Maintenance
How Often to Re-Season
If you want those nonstick, rust-free grates, try seasoning again every few months, or whenever food seems to stick more than usual. After a thorough cleaning or a rainy week, it’s worth applying another quick coat of oil and cranking up the heat for 15 minutes or so. This fast refresh helps keep your grilling game strong for the whole barbecue season.
Long-Term Maintenance
- After every grilling session, use your grill brush to scrape off any leftover food as soon as the grates cool down a bit. Doing this regularly prevents buildup and keeps rust at bay. It only takes a minute but saves hours of heavy scrubbing later.
- If you won’t be grilling for a while (say, during the winter), coat the grates with a thin layer of oil and store your grill in a dry spot with a good cover. This keeps dust and moisture out, further protecting your investment.
- Watch out for grease in the drip tray—empty this out after a few uses to avoid any fun “grease fires” in the future. Built-up grease can ignite quickly and create a mess.
- For charcoal grills, scoop out leftover ash once everything is cool. Ash soaks up moisture and can corrode the metal if left sitting on the bottom. Emptying ash often makes the subsequent fire start much more smoothly.
What to Do If You Have Already Used the Grill Before Cleaning?
If you fired up the grill before giving it that first deep clean and seasoning, don’t worry. Wash and season it at your earliest chance. Maintaining your grill regularly from here on out will keep your food tasting great and your grill in good condition. A one-time lapse isn’t a disaster—get back on schedule and you’ll be fine.
Common Grill Maintenance Questions
Do I have to season stainless steel grates?
Yep. Stainless steel doesn’t rust as easily as cast iron, but a bit of oil goes a long way in preventing sticking and keeping things running smoothly. Consistent seasoning also helps prevent discoloration, which keeps your grill looking sharp.
What kind of oils are best for seasoning?
Stick with neutral, high-heat oils, such as canola, grapeseed, or sunflower oil. Skip things like butter or olive oil; they tend to burn and get sticky. High-heat oils won’t smoke as much and leave a more reliable nonstick surface.
Do you know if I can use a wire brush?
If you’d like to use a wire brush, choose one specifically designed for grills and check it frequently for loose bristles. Nylon brushes are a good move for new grates or porcelain-coated surfaces to avoid scratches. Always wipe down the grill after brushing to catch stray bristles—nobody wants one of those in their burger.
How do I know if my grates need to be re-seasoned?
If food starts sticking more or you notice areas that look rusty or dry, it’s time for another round of seasoning. Also, after a heavy rain, a long storage period, or after deep cleaning, re-season for best results.
Enjoy Your First Grilling Session!
With your grill clean and properly seasoned, you’ll get excellent results from your very first barbecue. Your food cooks more evenly, sticks less, and cleanup is way easier after you eat. Take a bit of time for maintenance, and your grill will continue to produce fantastic meals for all your backyard parties, summer weekends, and late-night cookouts. A well-cared-for grill is the secret to those mouthwatering flavors and memorable gatherings.
Happy grilling!
Enjoy that great BBQ taste!