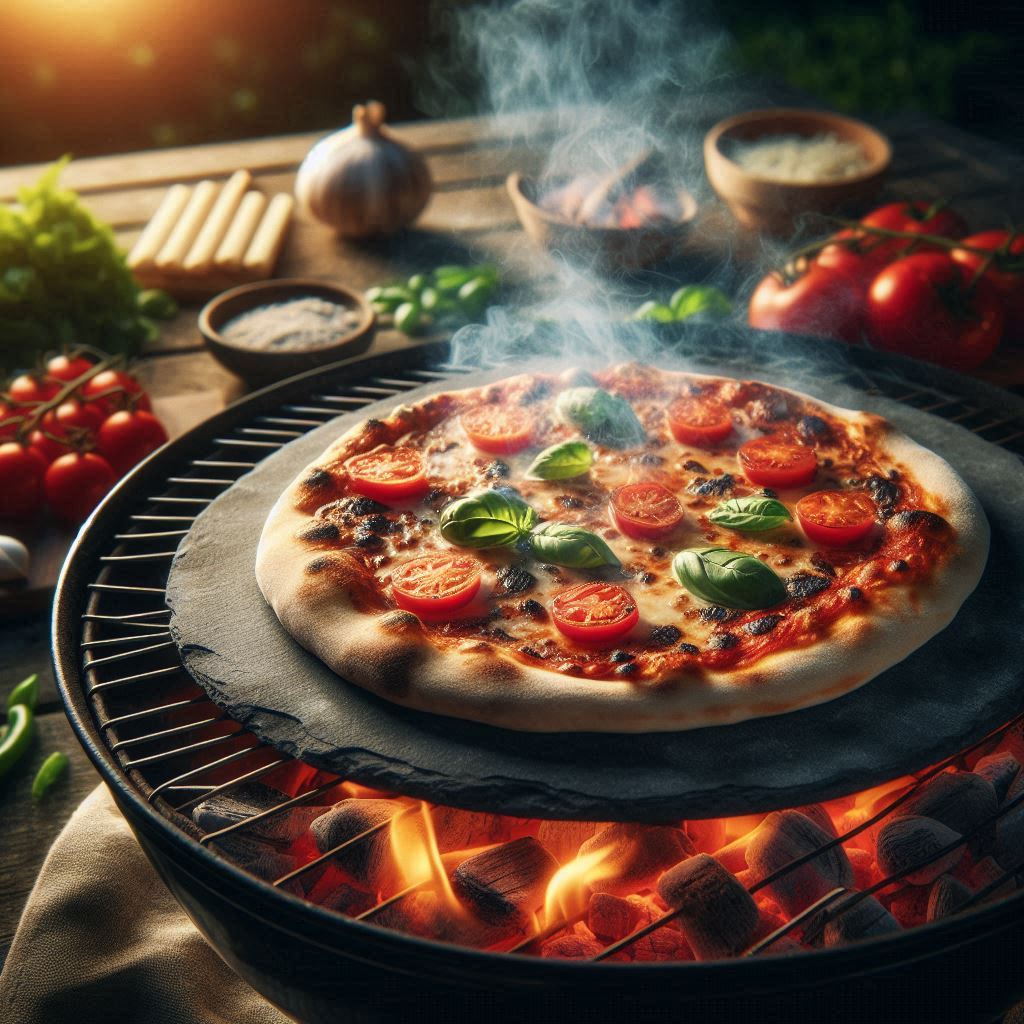
Grilling pizza outdoors brings a special kind of excitement to any hangout gathering. There’s just something about smoky char, crispy crust, and gooey cheese from using a pizza stone on a BBQ grill that makes homemade pizza taste like it came out of an authentic wood-fired oven. I’m breaking down exactly how to use a pizza stone on your grill, tips for tasty results, and some solid options if you want to buy or upgrade your stone.
What’s a Pizza Stone?
A pizza stone is a thick, flat cooking surface made from ceramic, cordierite, or cast iron materials. The idea is brilliant but straightforward: you put raw pizza dough on the hot stone, which cooks from below, giving you those signature crispy edges and chewy middle.
The stone holds and spreads heat evenly, which is key for a good bake. Instead of hot and cold spots with a grill grate or baking sheet, a pizza stone delivers better browning and prevents random burnt bits. These stones mimic what you’d find in a professional pizza oven, but in a way you can use right in your backyard.
Baking directly on a grill grate doesn’t give the same effect. You risk soggy dough and toppings falling through. Your crust gets that beautiful crispy bite on a pizza stone while the toppings stay secure. Plus, with the right stone, your grilling setup will be way more versatile than you’d expect—great for pizzas and plenty of other foods.
Why Use a Pizza Stone on Your BBQ Grill?
I’ve found that putting a pizza stone on the grill takes things up a notch in a few ways:
- Super crispy crust: You get that classic snap at the edge and the perfect chew in the middle, just like wood-fired pizzerias.
- Even cooking: The stone stops hot spots on the grill from burning one part of your pizza while another remains raw.
- Smoky flavor: Grilling naturally gives your pizza a bit of smoke, which is tough to match in a regular indoor kitchen.
- Versatility: These stones aren’t just for pizza; they’re fantastic for flatbreads, focaccia, pita, and even cookies.
If you’ve ever eaten a grilled pizza and wondered how to replicate the results at home, the secret is often a pizza stone. It’s a game-changer that opens up a new range of backyard cooking options and brings next-level superb flavor to your kitchen lineup.
Step-by-Step: How to Use a Pizza Stone on a Grill
1. Preheating the Stone
Start by putting your pizza stone on the grill while it’s cold. I usually place mine on the grill grates, close the lid, and let the setup heat up as the grill fires. Heating the stone slowly helps avoid cracks.
You want your stone to reach somewhere between 500°F and 700°F. Most backyard grills get plenty hot enough—preheat for at least 30 minutes. For best results, use a grill thermometer to check the temperature. Allowing the temperature to build slowly will keep your stone in good shape for years.
2. Prepping the Pizza
While the stone heats, I prep my pizza on a peel (the big paddle tool bakers use) or a piece of parchment paper. I sprinkle a light layer of semolina or cornmeal on the peel so the dough slides off easily and doesn’t stick to the stone.
Once your pizza is built and ready to cook, could you slide it carefully onto the stone? If you’re using parchment, that can go right on the stone with no problem. Don’t overload your pizza; stick to fewer toppings for a crust that cooks all through.
3. Cooking the Pizza
Close the grill lid for a few minutes, open it, rotate the pizza with a spatula, at times, allowing it to cook evenly, and let it cook for about 6-10 minutes. After about five minutes, check under the crust with a spatula. The actual cook time depends on your grill’s heat and the thickness of your stone. The crust should be golden and have a slightly charred bottom.
I always try to resist opening the lid too often, since this lets out heat. The stone and grill together create
Mini-oven vibes help the top and bottom of the pizza cook evenly. Keep a watchful eye, and you’ll spot exactly the moment your pizza is ready for a perfect pull.
4. Safety, Handling, and Clean-Up
- Never put a cold stone on a hot grill or under running water while it’s hot. Significant temperature changes can crack it. Handle carefully, use grill-safe gloves, and don’t swag between hot and cold environments.
- Let your pizza stone cool completely before you move or wash it. This will prevent cracks and save your countertops.
- Cleaning is easy: Scrape off crumbs with a spatula after it cools. If it needs more cleaning, use warm water only—no soap—because stones can soak up soap and transfer weird flavors to future pizzas.
If you’re worried about burns or tricky lifting on and off the grill, look for stones with integrated handles or frames.
Types of Pizza Stones and Alternatives
Ceramic Pizza Stones
Ceramic pizza stones are affordable and work well for low—to mid-range grilling. They hold heat but can be fragile; big temperature swings or drops can crack them. I like these for starting if you’re watching the budget.
Cordierite Pizza Stones
If you’re looking for something more challenging, cordierite stones are definitely worth checking out. They handle rapid temperature changes better and are less likely to crack when working with a hot grill. As your grilling confidence grows, cordierite can feel like a natural upgrade.
Cast Iron Pizza Pans
Cast iron is nearly indestructible, holds heat like a champ, and can be used for anything from pizza to seared veggies or breakfast eggs. It also heats up fast. The only thing is that it’s heavier than stone or ceramic. Despite the added weight, cast iron offers a lot of functionality for indoor and outdoor use.
Steel Baking Plates
Steel baking plates are like an upgrade for heat transfer. They cook pizzas super quickly and give you that nice brown crust. They’re hefty (a steel plate can weigh much more than a stone), but they last almost forever. Don’t be surprised if these pop up in pizzerias and trendy food trucks—they’re popular for a reason.
Pizza Grilling Stones with Handles
Some models come with handles or frames, making it easier to put in and pull out your grill. If you’re nervous about handling hot stones, these designs are handy. Even though many stones can look similar, little details like handles can make your cooking setup much safer and smoother.
If you haven’t checked out the newer styles, it might be time to explore your options. A stone with handles can save both fingers and frustration.
How to Pick the Right Pizza Stone for Your Grill
- Grill size matters: Check the size and shape of your grill and pick a stone that fits with some space on all sides to allow air to circulate. A good fit keeps the heat consistent all around your pizza.
- Shape: Round stones work well for kettle grills and round pizzas. Rectangular stones give you more space for extra pies or flatbreads on bigger grills.
- Thickness: Thicker stones hold heat longer and resist cracks, but take longer to preheat. Thinner stones heat fast but may cool down quicker when you open the lid, so weigh the pros and cons for your typical grill use.
- Weight: If you plan to move your setup a lot, consider its weight; cast iron and steel are heavier than ceramic or cordierite. Lightweight stones are better for travel grills or tailgate parties, while heavyweights suit permanent setups.
- Price: Cordierite and ceramic stones are generally affordable. Steel and cast iron options cost more up front but last for years, making them a solid investment for frequent grillers.
Real-World Tips for Awesome Grilled Pizza
- If you’re new to pizza peels, practice sliding uncooked dough onto the stone with some cornmeal. The small grains help prevent sticking and make flipping pizzas onto the stone a breeze.
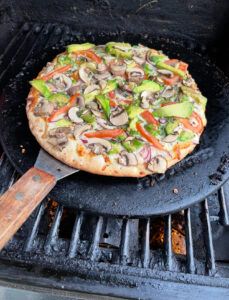
- Try pre-grilling vegetables or sausage before adding them as toppings so they’re already cooked when the crust is done. Raw meat or thick veggies may not be thoroughly cooked in the short time the pizza needs. Using pre-grilled toppings ensures a safe, evenly cooked pie.
- You can experiment with direct and indirect heat settings; some grills cook best with burners or coals at the edges, not directly under the stone. Using indirect heat also helps prevent the bottom from burning before the top finishes.
- When moving the hot stone, use grill-safe gloves or large spatulas to handle it safely. Keep your gear within arm’s reach to avoid burns before you fire things up.
You can also try dessert pizzas, calzones, or even breakfast flatbreads. Explore recipes beyond cheese and pepperoni—grilled peaches, arugula, and goat cheese make for a cool summer treat on your pizza stone.
Taking Care of Your Pizza Stone
Cleaning Your Stone
After cooking, let the stone cool before you scrape off any stuck-on bits. I use a bench scraper or the edge of a metal spatula. Water is fine if needed—avoid soap, and never soak your stone (especially if it’s ceramic). Every so often, let your stone dry out thoroughly between uses to prevent any lingering moisture or odors.
Storing Your Stone
Store your pizza stone where it won’t get bumped or dropped. Many folks keep it right in their grill between uses. Just check it’s dry before storing to avoid mold or weird smells. If you’re storing it indoors, make sure it’s placed somewhere safe where it won’t chip or catch accidental knocks in the pantry.
Seasoning and Long-Term Care
Most stones don’t need to be seasoned like cast iron. If you’ve got a cast-iron pizza pan, a quick wipe with neutral oil after cleaning keeps it slick and rust-free. For other stones, use as-is and let a natural patina build up. Over time, your stone will develop a dark, well-used look—don’t stress, that’s a sign of good pizza mileage.
Pizza Stone FAQs
Q: Can you use a pizza stone on a gas grill?
A: Yes, as long as you preheat the stone gradually and avoid placing it directly over blazing-hot burners right from the start. Let both the grill and the stone warm up together to prevent cracking. If you take time on this step, you’ll get better, more consistent results.
Q: My stone cracked; now what?
A: Small cracks can sometimes be ignored if the stone is still in one piece. Significant breaks are tough to fix, but the parts can often still be used for bread or roasting veggies. Never expose a hot stone to water or a cold one to a hot grill to avoid cracks. If you’re ready for a new stone, check out heat-resistant styles like cordierite or steel to reduce future breaks.
Q: Would you like a pizza peel?
A: It’s not required, but it helps cleanly transfer pizza to and from the stone. A flat baking sheet or the back of a cookie tray can work in a pinch if you don’t have one. If you get into pizza making often, investing in a peel makes the process smooth and keeps toppings where they belong.
Wrapping Up
A pizza stone turns your grill into a portable pizza oven that can handle more than just classic pies. With the right stone and a few easy tricks, grilling pizza outdoors becomes a fun, not stressful project.
Start with basic dough (or frozen cheese pizza as an option), play with toppings, bake bread, or test new recipes with your favorite stone or pan. Don’t be afraid to experiment. I love seeing what others are making, so share your favorite grilled pizza combos and stone stories.
Remember, the secret to great grilled pizza is practice and a willingness to try new things—set free your grilling adventures and let your taste buds lead the way.