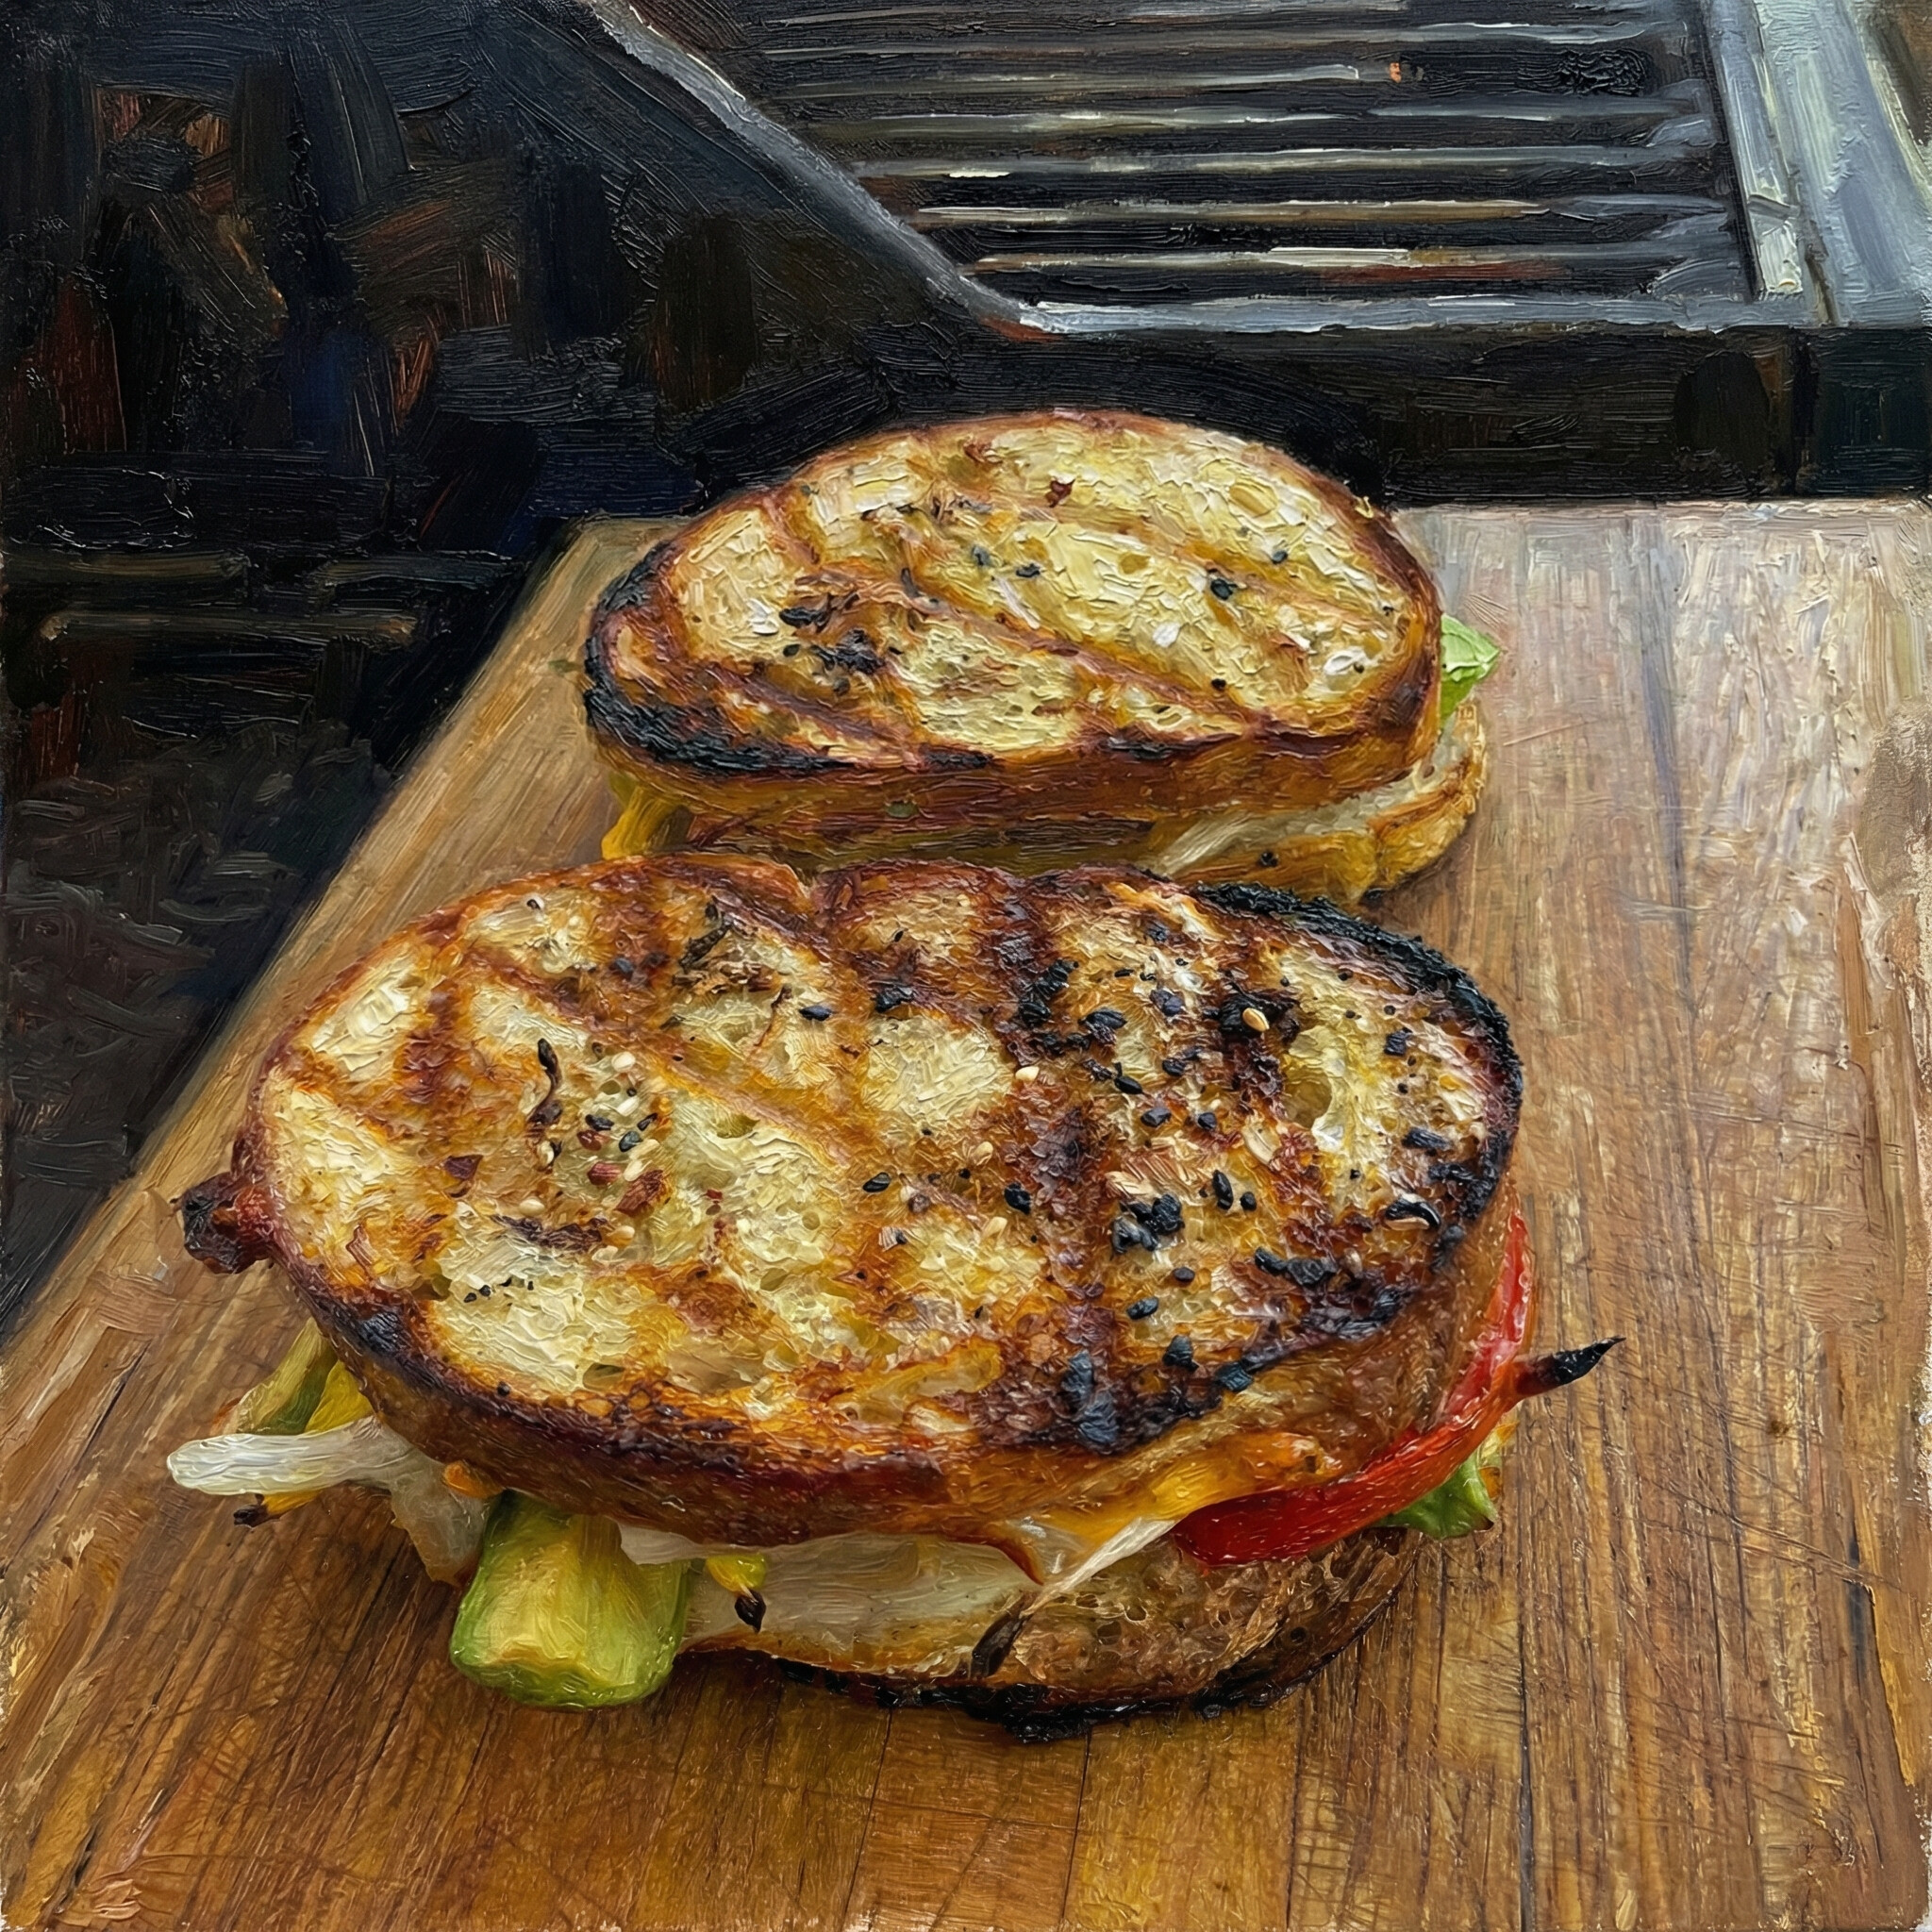
Grilling brings a mix of fun, flavor, and creativity to outdoor cooking. If you’re chasing those iconic grill marks showing off perfect sear lines, you’re not alone. Achieving those classic stripes isn’t just for looks; they add texture and flavor that make grilled food truly stand out. I’ve spent years working around different grills, and I’ve picked up some practical tips for nailing those grill marks without the stress. In this article, I’m sharing everything you need to know to become a grill-mark pro, from selecting the correct grill setup to using tongs like a pro.
The Reason Grill Marks Matter
There’s something about those charred lines that screams outdoor BBQ. Beyond their looks, grill marks signal the Maillard reaction. That mouthwatering science is where heat transforms the proteins and sugars in your food. This is what builds deep flavor and a bit of crunch. It’s also a sign you’re not flipping and poking your food too much.
Making the switch from uneven, burnt spots to bold, tidy stripes might seem like a trick for the pros, but it’s doable at home with some patience and know-how. Achieving consistent grill marks requires understanding grill heat, proper food preparation, timing, and a bit of grill confidence.
Grill Setup: Choose the Right Gear and Fuel
You don’t have to own a fancy grill to achieve perfect sear marks, but the gear plays a part. Here’s what I recommend focusing on for solid results:
- Grate Material: Cast iron grates keep heat well and create the sharpest sear lines. Stainless steel is easier to clean but often leaves lighter marks. Clean grates are always key, so scrub them after each use!
- Fuel Choice: Charcoal brings smoky flavor and gets very hot for killer grill marks. Gas grills are a bit easier to control, but still get the job done if appropriately preheated.
- Preheating: Let your grill run at high heat for at least 10–15 minutes with the lid closed. You want those grates hot enough to sizzle the moment food touches them.
Getting Your Ingredients Grill Ready
Searing is all about maintaining surface contact and controlling moisture. Here’s how I prep every steak, burger, pork, chicken, or veggie for top-notch grill marks:
- Pat Food Dry: Surface moisture turns to steam and blocks browning. I always blot meat, fish, or veggies dry with paper towels before seasoning.
- Room Temp Ingredients: Letting your food sit out for 15–30 minutes avoids a cold shock when it hits the grill. This helps it cook more evenly and sear up quickly.
- Grates: Condition under a high heat, then scrape to clean with a grill brush, then lightly oil a thin layer of choice of canola, grapeseed, or vegetable oil (olive oil tends to create flare-ups), thus keeping food from sticking and helping the marks form. Please don’t overdo it, as food shouldn’t drip with oil.
Simple Steps for Spot On Grill Marks
Nailing excellent grill marks is easier when you have a system. Here’s mine, and it works for steaks, chicken, burgers, fish, and even sturdy veggies:
- Preheat and Clean: Heat the grill on high. Brush the grates clean; any burnt leftovers will detract from your grill marks. Then lightly oil a thin layer of canola, grapeseed, or vegetable oil (olive oil tends to create flare-ups), thus keeping food from sticking and helping the marks form.
- First Placement: Set the food at a 45-degree angle to the grates. Please press gently to ensure good contact, but avoid smashing or moving it around.
- Set It and Don’t Flip Yet: Leave it alone for about 2–3 minutes (or longer for thicker cuts). Moving it too soon will tug off the marks you’re trying to make.
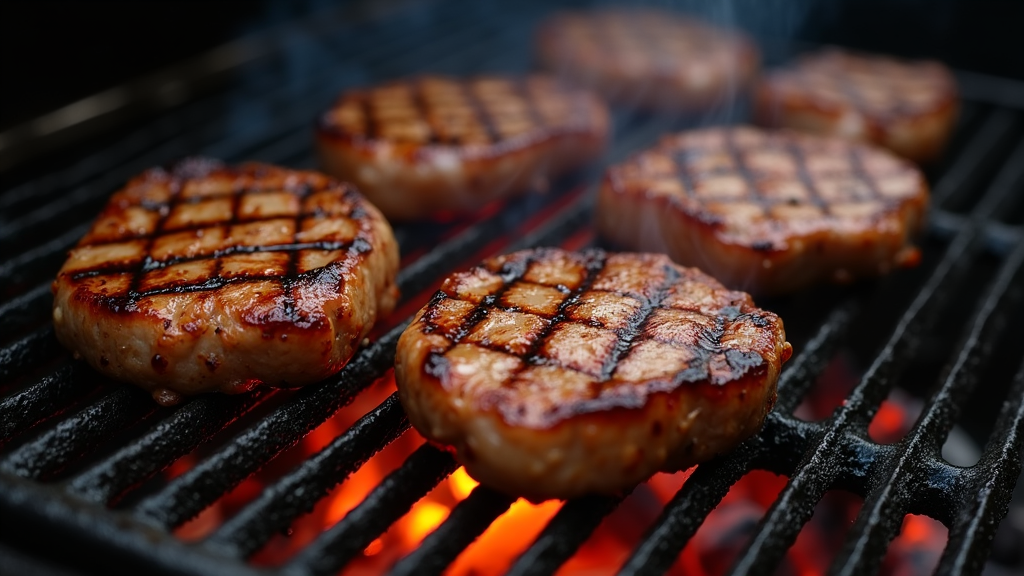
- Quarter Turn: Rotate the food 90 degrees. This is what gives you crosshatch marks, everyone’s grill goal. Wait another 2–3 minutes.
- Flip and Repeat: Turn the food over and repeat the process on the other side. You can use a spatula or tongs, not a fork. Forks poke holes that drain flavor and juices.
Common Sear Mark Mistakes and How to Fix Them
- Sticking to the Grate: Usually, food sticks if it’s not ready to turn. Give it another minute and test gently. If it still won’t budge, double-check that you oiled both the food and grates before cooking.
- Pale, Faint Marks: The grill might not have been hot enough. Preheat for a longer time next time, or use a thicker grate that retains more heat.
- Burned Patches: Flames licking up and charring your food fast? This is usually caused by too much oil or fat dripping. Trim excess fat and shake off extra marinade or oil before grilling.
Quick Sear Mark Checklist
- Hot grill, clean grates, lightly oiled = Ready
- Hot grill = Food prep ready
- Grill placement = Watch
- Rotate only once for crosshatch
- Don’t flip too early
- Repeat rotate only once for crosshatch
- Rest foods accordingly off the grill, tented (covered) = Fun flavor foods
Grill Mark Skills for Specific Foods
While getting steak grill marks is pretty straightforward, foods like fish or veggies need a little more care:
- Steaks and Chops: Marbled cuts like ribeye or pork chops do great with high heat. Sear first, then use indirect heat to finish cooking thicker pieces.
- Chicken: Boneless, skinless parts are easiest. For skin on, let the skin side start down until well marked. Cook lower and slower after searing so you don’t burn the outside before the inside is done.
- Fish: Pick firm fillets like salmon or swordfish for best results. Oil well, slide a thin spatula under gently to turn, and don’t crowd the grill.
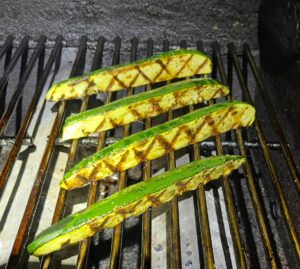
- Veggies: Thick slices of zucchini, eggplant, or peppers hold up well. If grilling smaller veggies, use a grill basket to avoid getting marks on the veggies.
Advanced Tips and Flavor Boosters
Now for a few tricks I rely on when I want a pro finish:
- Use Wood Chips: Add a handful of soaked wood chips to a charcoal grill or a smoker box on your gas grill. This layer adds an extra smoky flavor to your seared items.
- Finish with Butter: A swipe of garlic butter or compound butter goes a long way, melting into the grill marks and making a big impression at the table.
- Rest Food Before Slicing: Set your grilled item aside for a few minutes before cutting into it. This helps the juices redistribute and keeps everything moist.
- Try Different Marinades and Seasonings: Experiment with different spice rubs and marinades. A good marinade not only passes more flavor but can give some foods slightly darker marks or a glossy finish that stands out when contrasted with the grill stripes.
- Test Your Heat Zones: Get to know your grill’s hot spots and cooler zones. By learning your grill’s unique layout, you can move food more smartly, making sure each piece gets those next-level cool marks without getting overdone.
Common Questions About Grill Marks
Grill marks get a lot of attention, and I get some questions all the time. Here’s what most people want to know:
Question: How do I get grill marks without overcooking?
Answer: Get the sear first over direct heat, then slide the food over to indirect heat to finish cooking gently. This way, you keep the inside juicy but still have eye-catching marks outside.
Question: Why don’t my veggies ever get marks?
Answer: Cut them evenly and wide, dry the surface, and use direct high heat. Don’t turn until you see the edges starting to color.
Question: My grill grates are clean, but my burgers stick. Any advice?
Please wait a bit longer before you try to flip. When food is ready, it naturally releases from the grates. Oiling burger patties lightly also helps.
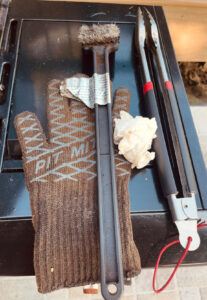
Extra Gear That Can Make a Difference
While you don’t need a ton of fancy gadgets, a few extras make grilling easier:
- Grill Press: Heavy cast iron presses can give a super-defined mark, especially on burgers or thick steaks. Just don’t press too hard; you don’t want to squeeze out the juices.
- Temperature Probe: An instant-read thermometer takes the guessing out of grilling, especially when you’re worried about dry or undercooked food.
- Heatproof Gloves: Moving grates or baskets gets a lot safer with gloves designed for grilling heat.
Final Thoughts: Putting it All Together
Scoring those perfect grill marks doesn’t require chef training. With a good handle on your grill, some prep, and the patience to avoid fiddling with your food too much, you’re well on your way. Every grill is unique, so the more you cook, the more you’ll get a feel for timing and temp.
Set yourself up with the right gear, take care with prep, and keep an eye on your grill’s heat zones. Soon enough, even your weeknight burgers or grilled chicken breast, and simple grilled veggies will look and taste like BBQ showstoppers.
Enjoy grilling, and don’t be afraid to experiment with different foods and flavors. The mark of a true griller is a little trial, a little error, and a lot of really tasty victories. Ready to fire up your grill and show off some eye-catching stripes at your next cookout?
Grab those grill tongs, a flat spatula, and let it rip.