It’s something, it’s pretty special about serving up a smoky, caramel-glazed ham right from your own backyard grill. Getting that perfect BBQ flavor on a gas grill isn’t hard once you know the steps, and it totally pays off when you slice into that juicy, smoky ham.
Here, over the years, I’ve tried various techniques and methods, and I’m walking you through how to smoke a ham on your gas grill for results that get family and friends asking for seconds.
Understanding Smoked Ham BBQ on a Gas Grill
Here, one can sometimes get intimidated by smoking or barbecuing ham, assuming you need a tricky offset smoker or pellet setup. Honestly, a classic gas grill with a few extra steps works great.
Here, there’s no need for fancy equipment. The gas grills are super convenient for getting and keeping steady low heat, which is what you want for slow-cooked BBQ flavor. With the right cut of ham, some smart prep, and a real-deal smoke setup, you can turn a store-bought ham into a BBQ centerpiece packed with smoky sweetness.
Most hams you find in stores are already cooked or partially cooked. Low-and-slow reheating on a grill with added smoke gives them that classic BBQ touch. This approach lets you infuse flavor, keep the meat juicy, and finish with a caramelized glaze that looks just as good as it tastes. If you want more control over the flavor, try brining the ham in advance or using different wood-chip varieties. This way, you can put your own spin on a BBQ classic and wow your guests.
7-Simple Steps to Smoked Ham BBQ on a Gas Grill
I’ve broken this down into a simple process into seven practical steps so you can BBQ like a pro, even if it is your first time. The process is straightforward, and each step helps make the difference between an average ham and a truly next-level cool centerpiece.
- Choosing the Right Ham –
- Starting with the right ham makes everything easier.
- Go with a fully cooked (sometimes labeled as “ready to eat”), bone-in ham for the most flavor and moisture. The bone helps keep the inside juicy and adds a nice touch to the presentation. There are plenty of great options: smoked, city hams, spiral sliced, or unsliced, but whatever you pick, aim for quality and freshness.
- Spiral-cut hams are super handy if you want your BBQ glaze to soak into every little crack, but they can lose a bit more juice.
- A whole, unsliced ham keeps things moister and holds up better to longer smoking times.
- In terms of size, a 5- to 10-pound ham fits on a standard grill and is easy to manage, especially if you’re new to this style of BBQ.
- Prep the Ham for Flavor –
- The way you prep your ham is worth the extra care.
- Start by unwrapping it and patting the surface dry with paper towels. This helps you get that crispy glaze and prevents steaming. Letting the ham sit at room temperature for about 30 to 45 minutes before it hits the grill helps it warm up a bit, which makes for more even reheating.
- Importantly, score the surface of the ham in a shallow diamond pattern, maybe a quarter inch deep. Here, this lets the smoke and glaze penetrate deeper into the meat, creating a killer crust.
- You can also poke whole cloves into some of the diamonds or apply your favorite dry rub—think brown sugar, black pepper, paprika, or a touch of cayenne for heat.
- Both simple and more creative options work, depending on what you like. Try a dry rub spiced with a bit of cinnamon or allspice for a little twist.
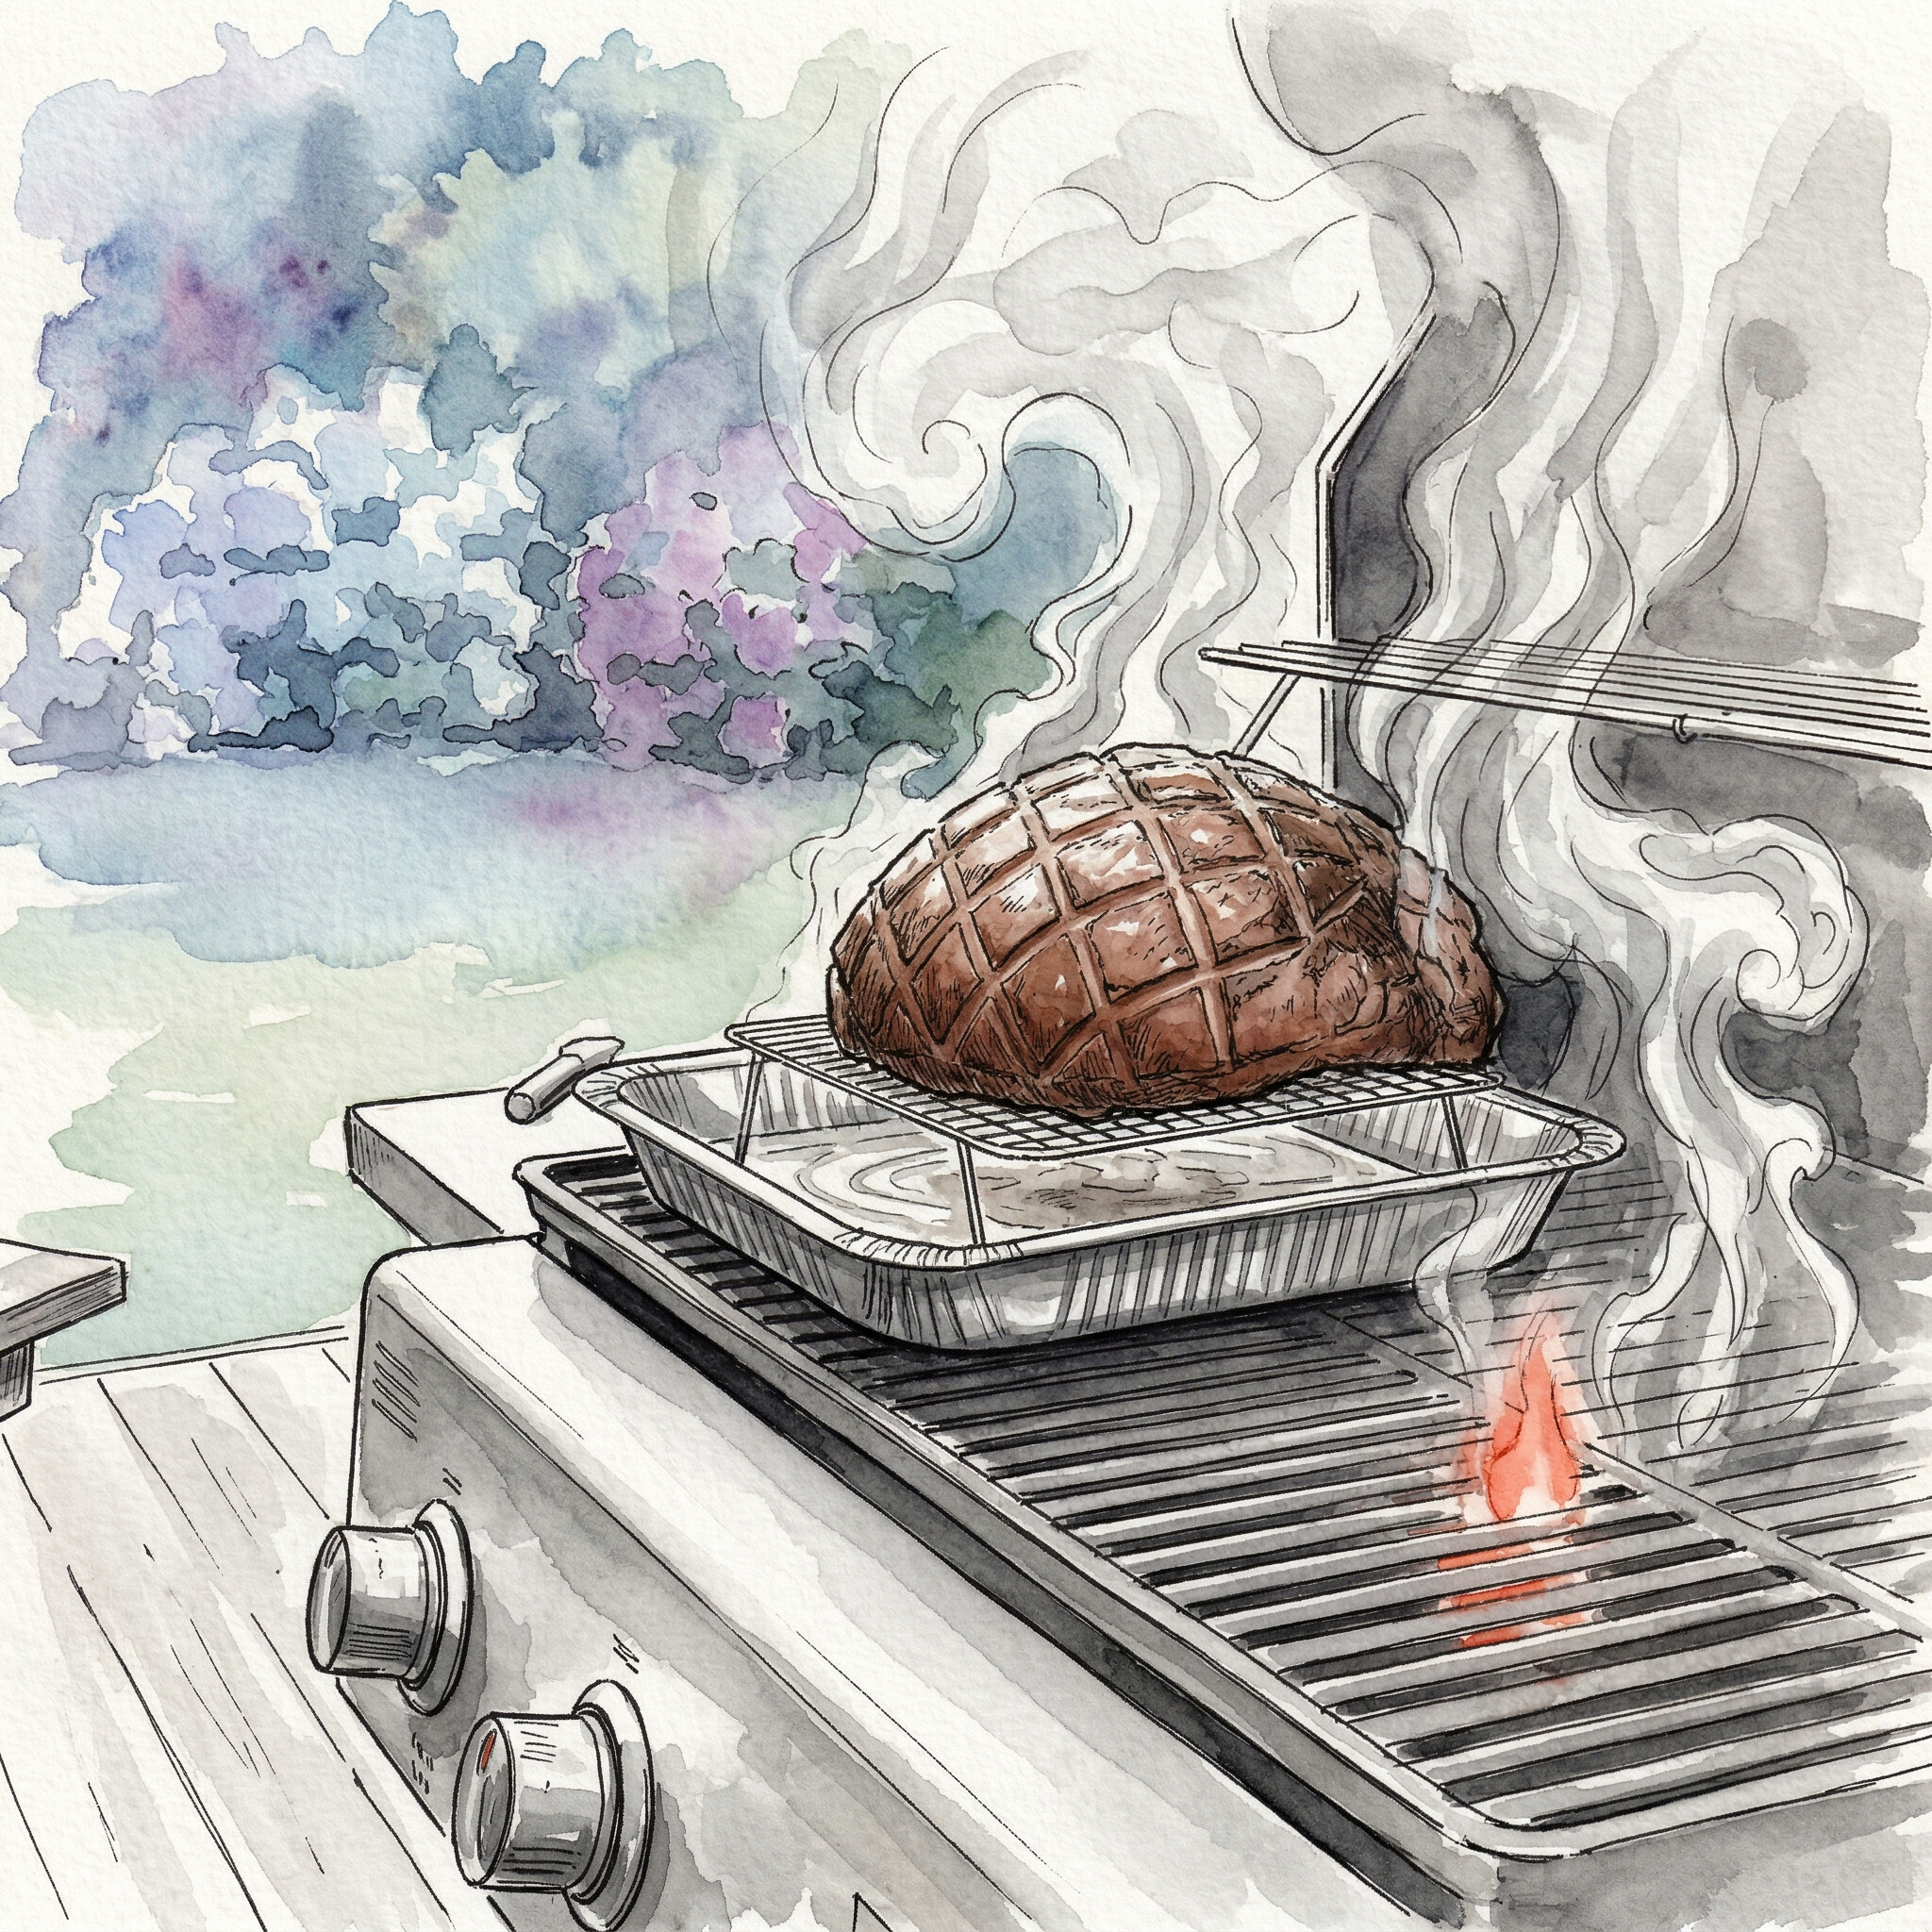
- Set Up Your Gas Grill for Indirect Heat –
- Avoid putting the ham directly over a burner; that’s what makes a ham dry out fast. You want indirect heat, which basically turns your grill into a mini oven.
- Here’s how I do it: Preheat your grill to about 250 to 300°F by turning on just one side burner (or the two outer burners on a three or four-burner grill) and leaving the center burners off. Here, keeping the heat circulating, the ham is heated without directly heating the bottom.
- It’s a good idea to put an aluminum drip pan right under the grill grates where the ham will sit (over the unlit burners). Here, not only catches tasty juices for later basting but also prevents flare-ups if any sweet glaze drips during cooking.
- The steady, gentle heat is key to keeping the ham tender and smoky. Add a few cups of liquid to the drip pan, like apple juice or water, to catch drippings and create a little steam.
- Add Smoke for Authentic BBQ Flavor –
- Gas grills can nail a smoky taste if you add the smoke in the right way. Grab a wood chip smoker box or make a DIY foil pouch: fill it with apple, cherry, or hickory wood chips (soaked in water for about 30 minutes, if you want the smoke to last longer), and poke a few holes in the foil to let the smoke escape.
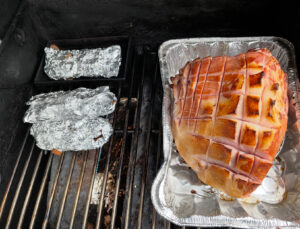
BBQ smoker foil pouches - Place it right over the lit burner. Once you see a steady stream of smoke, it’s go time for the ham.
- Apple and cherry wood give a sweeter, lighter smoke that pairs well with ham, while hickory has a more robust, traditional BBQ punch.
- Keeping the smoke flowing for as much of the cook as possible is the move, and you can refill chips as needed. Keep an eye out for persistent smoke and adjust the burners if the wood chips start burning too quickly.
- Gas grills can nail a smoky taste if you add the smoke in the right way. Grab a wood chip smoker box or make a DIY foil pouch: fill it with apple, cherry, or hickory wood chips (soaked in water for about 30 minutes, if you want the smoke to last longer), and poke a few holes in the foil to let the smoke escape.
- Slow Cook the Ham –
- Importantly, now comes the main part: put your prepped ham, cut side down, on the cool side of the grill over the drip pan.
- Close the grill lid and zone in for a low-and-slow session, keeping the grill temp between 250 and 300°F. If you’ve never used a grill thermometer, this is one of those times it’ll really help.
- The ballpark for reheating is around 10 to 15 minutes per pound, but instead of watching the clock, it’s better to rely on a digital meat thermometer.
- Shoot for an internal temp between 130 and 140°F. Here, this gives you a nicely warmed ham that’s still juicy inside.
- Don’t let it climb higher, or it’ll start to dry out, especially with pre-cooked hams.
- While it cooks, baste with pan juices or with an occasional swipe of glaze once the temperature is nearing the target if the outer edges start getting too dark, loosely tent with foil to protect those spots while the rest continues to heat through evenly.es
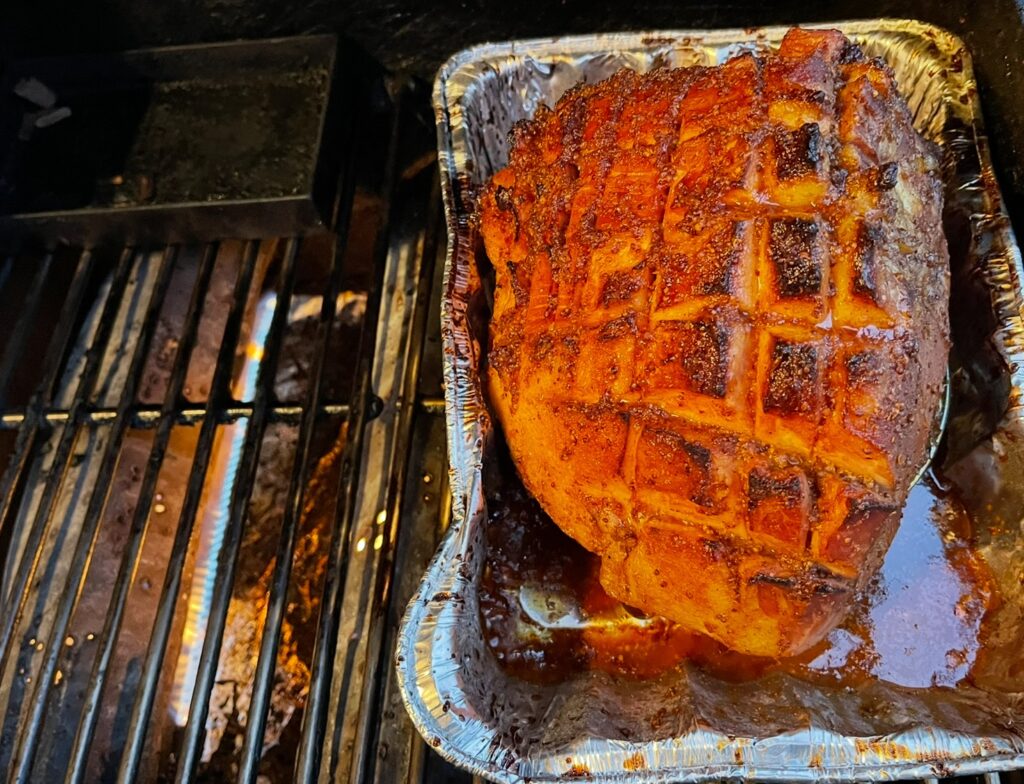
- Apply and Build the Glaze –
- The sticky, caramelized glaze is a big part of the BBQ experience.
- During the final 30 to 45 minutes, start brushing your ham with glaze every 10 to 15 minutes.
- Some classic options include brown sugar, honey, maple syrup, Dijon or whole grain mustard, and a splash of orange or pineapple juice.
- Homemade or store-bought glazes both work fine, but homemade always feels a bit more special.
- Layering on multiple coats is what gets you that thick, lacquered crust, but don’t start too soon.
- Sugary glazes can burn if applied too early. Wait until the internal temp is about 120-125°F, then glaze and rotate as you go for even coverage and color.
- For extra flavor, try a final brush of glaze as soon as the ham leaves the grill and rests.\
- Finish, Rest, and Serve –
- Once your ham hits the target temp and the glaze has bubbled into a rich, browned coating, take it off the grill and tent it with foil.
- Let it rest on a cutting board for at least 10 to 15 minutes.
- Resting is super important to keep juices from running out all over the board.
- The meat is still cooking just a bit, and the juices redistribute, making for the juiciest possible bite.
- When slicing, go for nice, thick cuts or follow the spiral if you used a spiral-sliced ham. Serve it up with extra glaze, or drizzle some of those smoky pan drippings over for extra flavor.
- Leftovers are always a bonus; they’re perfect for sandwiches or breakfast the next day. Ham keeps well for several days when stored in an airtight container in the fridge, so that you can look forward to tasty meals beyond the first serving.
Added Tips – Extra Juicy Smoked Ham on a Gas Grill
- Use a Water Pan: Yes, a water pan. Here, place a small water pan inside the grill, next to your drip pan, if there’s room. The steam keeps the cooking environment moist and helps prevent the ham from drying out over longer cooks. You can add aromatics like citrus peels or herbs to the water pan for a subtle extra flavor.
- Rotate the Ham: Yes, add balance to the cooking process on the grill. About halfway through the cook, give your ham a turn to promote more even heating and exposure to the smoke, especially if your grill runs hotter on one side. Here, rotating ensures the entire exterior develops that next-level cool crust and even smoky flavor.
- Keep the Lid Closed: It’s tempting to peek or baste too often, but try to keep the Lid closed to lock in both heat and smoke. Every time you open the Lid, the smoke escapes, slowing the process and drying it out. Use a wireless or leave-in grill thermometer so you can check progress without lifting the Lid.
A Quick Look at BBQ ‘classic’ Glazes Worth Trying.
- Brown Sugar Mustard Glaze: Classic, sticky, tangy, and sweet. Mix brown sugar, Dijon mustard, cider vinegar, and honey for an irresistible finish.
- Maple Pineapple Glaze: Maple syrup, pineapple juice, and a bit of ground ginger for those island vibes. This glaze brings a sunny, sweet contrast to the smoky meat.
- Spicy Peach Glaze: Peach preserves, sriracha, and apple cider vinegar add sweetness with a little kick, giving your ham a bold, modern edge.
Try different combos or experiment with what you have on hand. A good glaze is one of those easy ways to make the ham your own, and mixing up the ingredients lets you put your own stamp on a classic meal.
Common Ham BBQ Questions and Troubleshooting
Over the years, I’ve run into all kinds of curveballs while smoking hams on the grill. Here are some FAQs and how I handle them:
Q: My ham is drying out. What can I do?
Use a water pan, keep the temp steady, and avoid overcooking. If the ham is already getting dry, start basting with extra glaze or pan drippings every 10 minutes and wrap it lightly in foil toward the end. Letting it rest before slicing also helps lock in moisture.
Q: I’m not getting much smoke flavor. Any ideas?
Double check that your wood chips are directly above a strong burner and replenished as soon as they stop smoking. Apple and cherry chips produce lighter smoke, while hickory is stronger; try mixing types until you get a flavor you like. You can experiment by adding more chips, changing the type of wood, or starting with a stronger wood for the first hour.
Q: Can I use fresh (uncooked) ham?
You can, but the cooking time will be much longer (about 20-25 minutes per pound), and you need to ensure an internal temperature of at least 145°F. Pre-cooked is a lot more forgiving for beginners and still turns out amazing. If you go for fresh, consider brining overnight to keep it juicy during the longer cook.
Q: Is a spiral-sliced or whole ham better?
Spiral sliced is easier for serving and lets the glaze soak in, but it can dry out faster. Whole hams keep juicier and are sturdier for BBQing. Aiming for a medium-sized ham (not too huge) helps balance both texture and flavor. For big crowds, buy two smaller hams instead of one massive one for better results.
Inspiration on BBQ Ham: Pairings and Leftover Ideas
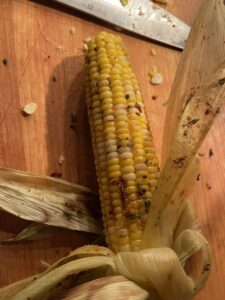
Serving smoked ham BBQ style opens up a ton of fun pairings. Some of my favorite sides include grilled corn, mac and cheese, potato salad, and lightly dressed greens. For leftovers, pile slices onto soft rolls with spicy mustard or add them to breakfast scrambles and cheesy casseroles. You can even toss chopped ham into soups, fried rice, or salads for quick lunches through the week.
If you want to level things up, try brushing leftover glaze on veggies like carrots or pineapple slices, then grilling them alongside your ham. The sweet-and-savory combo works with all kinds of sides. Smoked ham also adds next-level cool flavor to homemade pizzas or savory breakfast pastries, so don’t be afraid to mix in some variety.
It’s Worth It – Why Smoked Ham BBQ Is Always ‘fun’
Smoking a ham on a gas grill isn’t just a party trick; it’s an easy way to serve up real BBQ flavor with gear you probably already have. You get to control every part of the process, from the cut to the glaze, and there’s loads of room to experiment.
Here, once you try it, it’s hard to go back to plain oven-baked ham. The smell of sweet smoke, the caramelized crust, and that first juicy slice are pretty tough to beat. Add your favorite rub or signature glaze, and you can stake your claim as the grill master in your crew.
With these steps and tips, you’re all set to make smoked ham BBQ on your gas grill any time you want, whether for a chill weekend meal or a family get-together. Tinkering with flavors, trying out different glazes, and perfecting your indirect-heat setup pay off in taste, and the leftovers keep the party going.
Have fun grilling and making the most of every cookout!