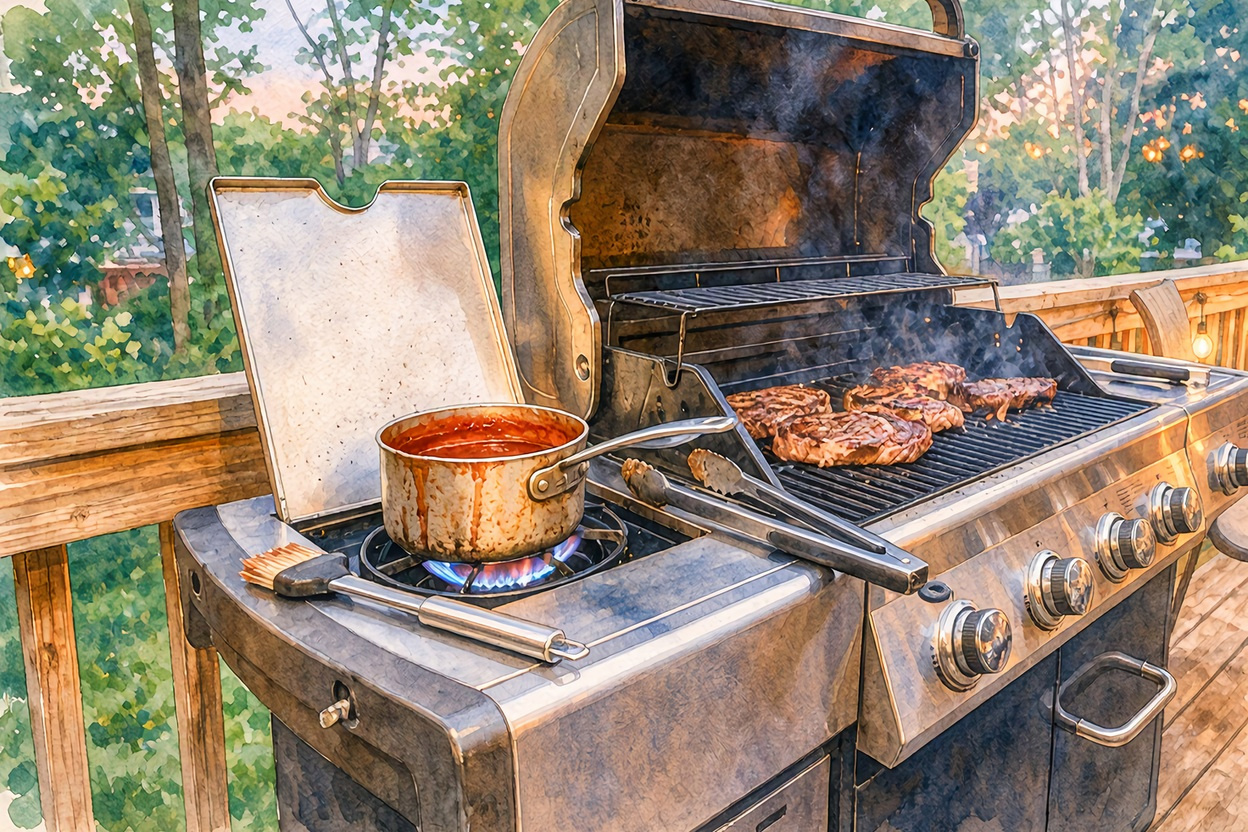
Yes, it’s the side burner; that little burner on the side of your gas Grill does more than warm up a can of baked beans. If you’ve never lit yours, you’re far from alone. Plenty of people Grill for years and treat a side burner like a shelf for multiple sets of tongs.
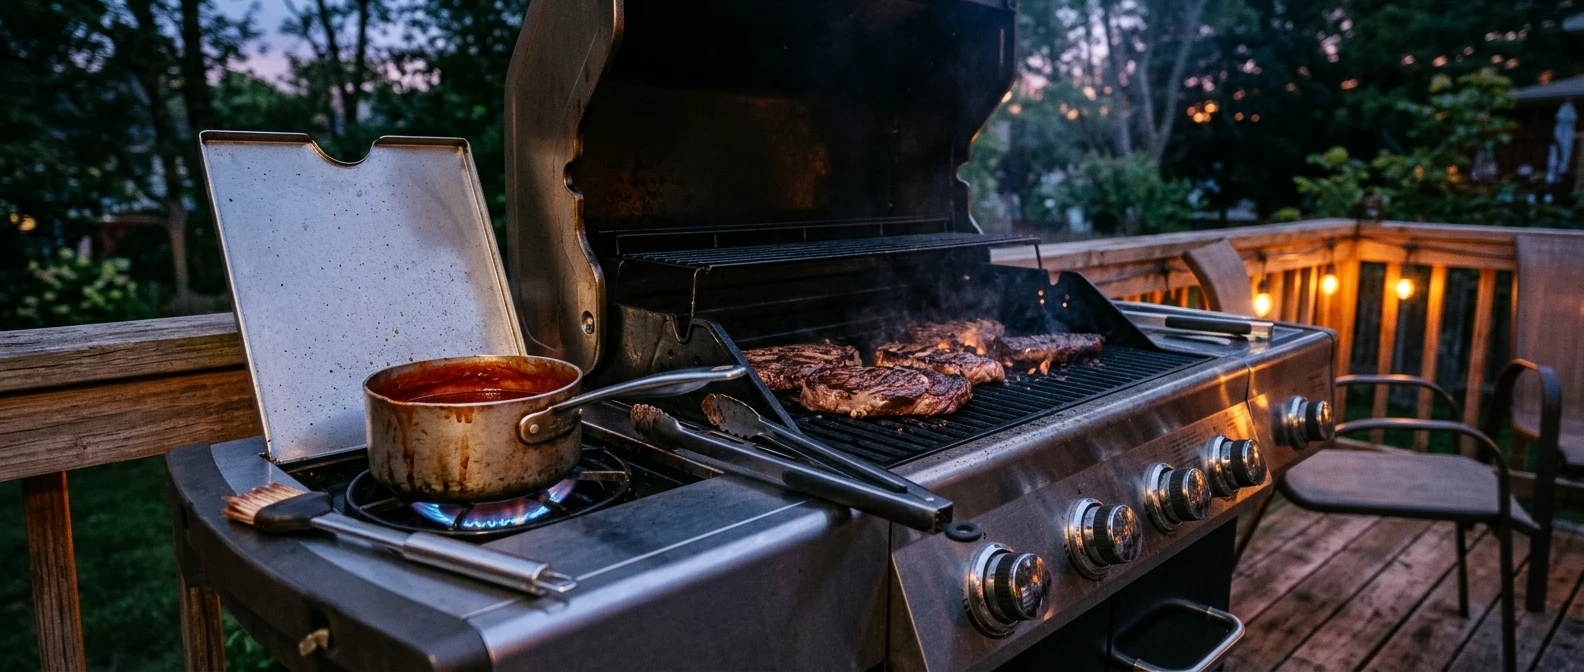
Actually, here are 11 jobs it handles well, grouped by what you’re cooking, plus a simple way to time it with the main Grill so everything comes off hot at the same moment (an arranged orchestra). Here, these are the best gas grill side burner uses for first-time grillers who want to cook a whole meal outside.
What a side burner is (and what it isn’t great at)
Here’s the simple version: a side burner is a small stovetop burner built into the side of the Grill, usually under a hinged lid. It runs off the same propane tank or gas line as the Grill and gives you an outdoor stove, which means pots and pans, not grates.
It does have limits. Most side burners put out less heat than the main burners, and because they’re exposed to open air, wind can flicker the flame and slow things down. That makes them good at gentle and medium jobs like simmering, sautéing, and melting. They are slow at bringing a big stockpot of water to a rolling boil and not great at anything that needs very high heat, like a hard sear in a thin pan. Use the main Grill for that.
Three things to check before you start:
- Read your manual. Burner layouts and lighting steps vary by model, and the manual is the final word.
- Open the lid before you light it. Most side burners are meant to be lit with the cover up, and many have a warning. Leave it up while the burner is on.
- Find the knob and the igniter. Do a test light with nothing on it so you know how yours behaves before you add food.
It’s the sauces, glazes, and butter: four easy first wins
Sauces are the best place to start because the stakes are low and the payoff is big. If something goes sideways, you’ve lost a few spoonfuls of sauce.
1. Warm your store-bought BBQ sauce. Pour it into a small saucepan and set it over low heat, stirring occasionally. Warm sauce spreads easily and tastes richer than sauce straight from the fridge. Keep the heat low, because sugary sauces scorch fast.
2. Simmer a glaze until it thickens. A glaze is basically a sauce reduced until it clings to the food. Honey, a little vinegar, and some spice in a small pan, simmered gently, get you there. If you’re not sure how a glaze differs from a marinade, I walked through it in my glaze vs marinade post for grilled chicken breast. The short version: brush a glaze on near the end of cooking so the sugars don’t burn.
3. Melt garlic butter for basting. Melt butter in a small pan with minced garlic and a pinch of salt, then brush it over steak, corn, shrimp, or bread. It takes a few minutes, and it makes nearly everything taste like a restaurant dish. (Extra garlic is always the right call.)
4. Simmer a quick homemade sauce. Ketchup, a splash of vinegar, brown sugar, mustard, and a shake of your favorite rub simmer together for a few minutes to make a perfectly good BBQ sauce. Taste as you go and adjust. It will not be the same twice, and that’s part of the fun.
Sautés and sides that keep you out of the kitchen
Here, this is where the side burner earns its keep. Cooking sides outside means you’re not running back and forth to the stove while the meat sits unattended.
5. Sauté onions and peppers. Slice them thin, add a little oil to a skillet, and cook over medium heat until soft and slightly browned. Pile them on burgers, brats, sausages, or fajitas. Stir often at first, then let them sit for a minute or two between stirs so they pick up some color.
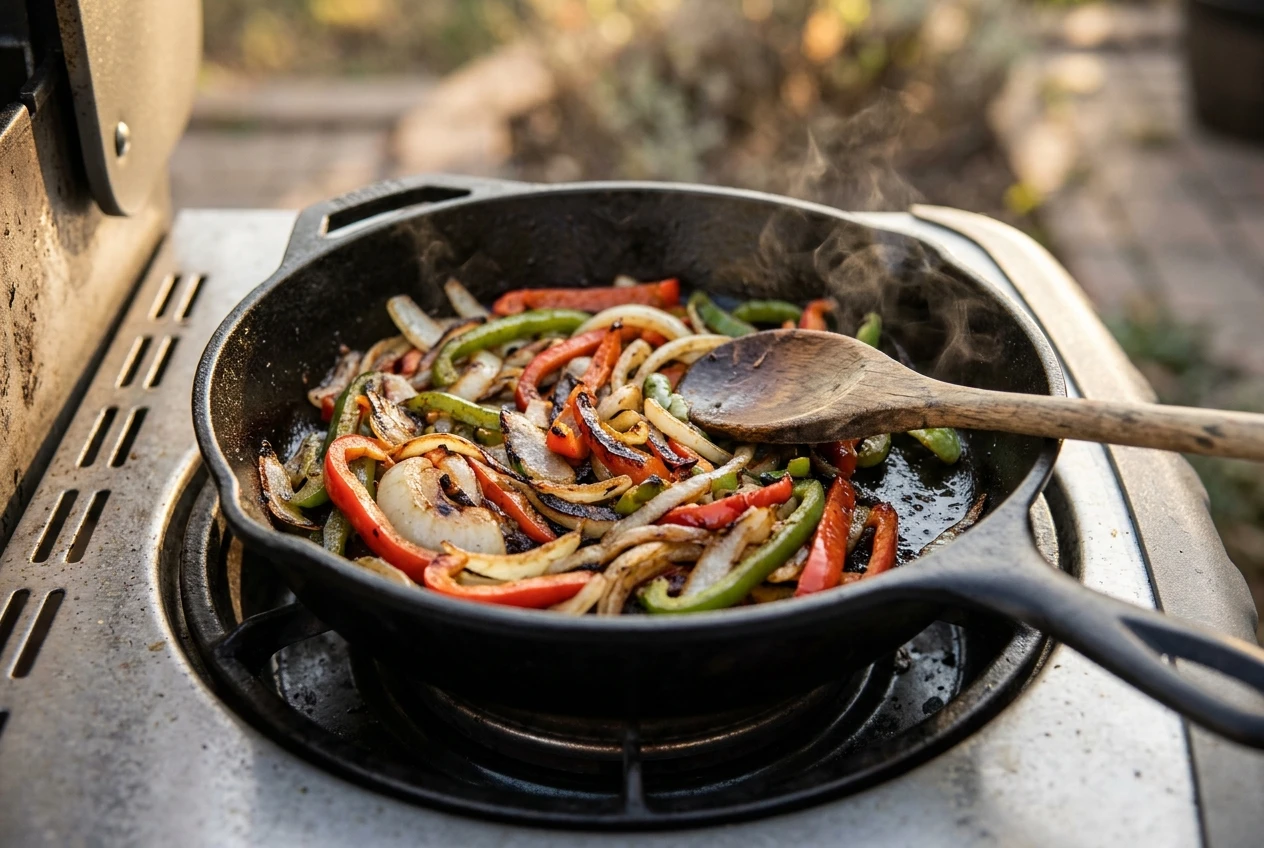
6. Cook mushrooms. Mushrooms release a lot of water, so give them room. Use a wide skillet and don’t crowd the pan, or they’ll steam instead of browning. Yes, add butter and a little garlic once the moisture cooks off. They’re excellent over steak, and they’re a good example of why a pan on the side burner beats trying to cook small, soft things on Grill grates where they fall through.
If you want more ideas for vegetables over direct flame, my post on smoke flavors for vegetables on a gas Grill covers the grate side. The side burner picks up what the grates can’t hold.
Boiling, simmering and frying: the one-pot jobs
These jobs take a bit more attention, but they pay off when you’re feeding a crowd.
7. Boil corn or potatoes. A pot of water on the side burner keeps the heat out of the house on a hot day. Since side burners boil more slowly, start the water early and cover the pot. Small potatoes or corn on the cob work well if you plan to finish them on the Grill for char; boiling first cuts the Grill time.
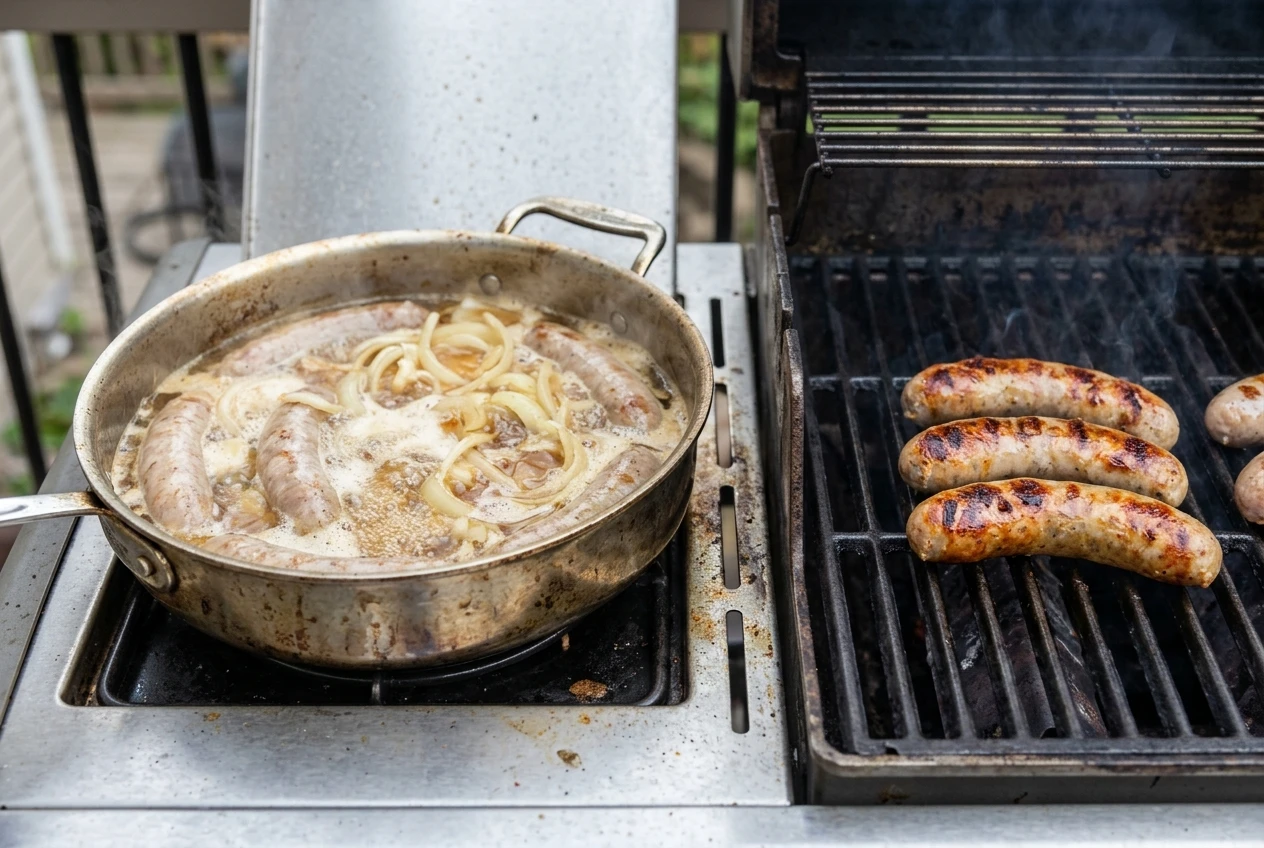
8. Simmer brats in beer and onions. Put sliced onions, beer, and bratwurst in a pan and keep the liquid at a gentle simmer, not a hard boil. The brats cook through and pick up flavor, then you move them to the main Grill for color and snap. It’s a forgiving method because the brats are nearly cooked before they ever touch a grate. (Yes, you can swap in apple juice if beer isn’t your thing.)
9. Shallow fry in a skillet. A skillet with a thin layer of oil works for fried eggs, hash browns, or breaded cutlets. Stay close, keep the oil shallow, and never leave hot oil unattended. Wind can cool a flame unexpectedly or blow it out, so shelter the burner if you can. Keep a fire extinguisher rated for grease fires within reach, and skip deep frying on the side burner altogether. It’s a job for equipment built for it.
Little prep tricks: melting, toasting, and warming
These small jobs added make a meal feel finished, and they take almost no effort.
10. Toast spices, nuts, or seeds. Put them in a dry skillet over low heat and shake the pan until they smell fragrant, usually in just a few minutes. Toasted cumin or coriander deepens a rub, and toasted nuts or sesame seeds add crunch to a side dish. Watch closely, because they go from toasted to burnt quickly.
11. Melt cheese or warm tortillas. A small pan of melted cheese becomes a dip for sausage slices or soft pretzels. Tortillas warm in a dry skillet in seconds and stay pliable. Both jobs use gentle heat and take hardly any time.
How to run the side burner while the main Grill works
The trick is to work backward from when you want to eat. Start with the thing that takes the longest or holds heat best, and finish with the thing that needs to be freshest.
A simple order that works for most meals:
- Start early with the slow items. Start with water for potatoes, a pot of beans, or the simmering liquid for brats. They tolerate waiting.
- Get the main Grill up to temperature. If you’re not sure what temperature you need, my guide to BBQ Grill temperatures lays out the basics.
- Cook the meat. It’s simple: put steaks, chicken, or burgers on the main Grill.
- Use the rest time. Meat needs to rest after it comes off the heat, and that rest is your window for the sauce, the garlic butter, or a last skillet of mushrooms.
- Plate everything together. Because the sides held on low heat or finished during the rest, the whole plate lands hot.
If you cook steaks with a reverse sear, the side burner fits even better. The slow first phase on the Grill leaves you a long stretch where your hands are free, which is a great time to sauté vegetables and warm a sauce. My reverse sear walkthrough explains the method itself.
A few habits help the whole thing run smoothly:
- Prep everything first. Slice the onions, measure the butter, and set out your spoons before you turn on the heat. Outdoor cooking moves faster than you expect.
- Keep one burner at low. Turn the side burner down once things are cooking so sauces don’t scorch while you tend the meat.
- Don’t walk away from it. Small pans heat quickly, and a sauce can go from fine to burnt while you’re flipping burgers.
Pots, pans and safety: what to use and what to skip
You don’t need special equipment, but the right cookware helps, and some pieces should stay in the kitchen.
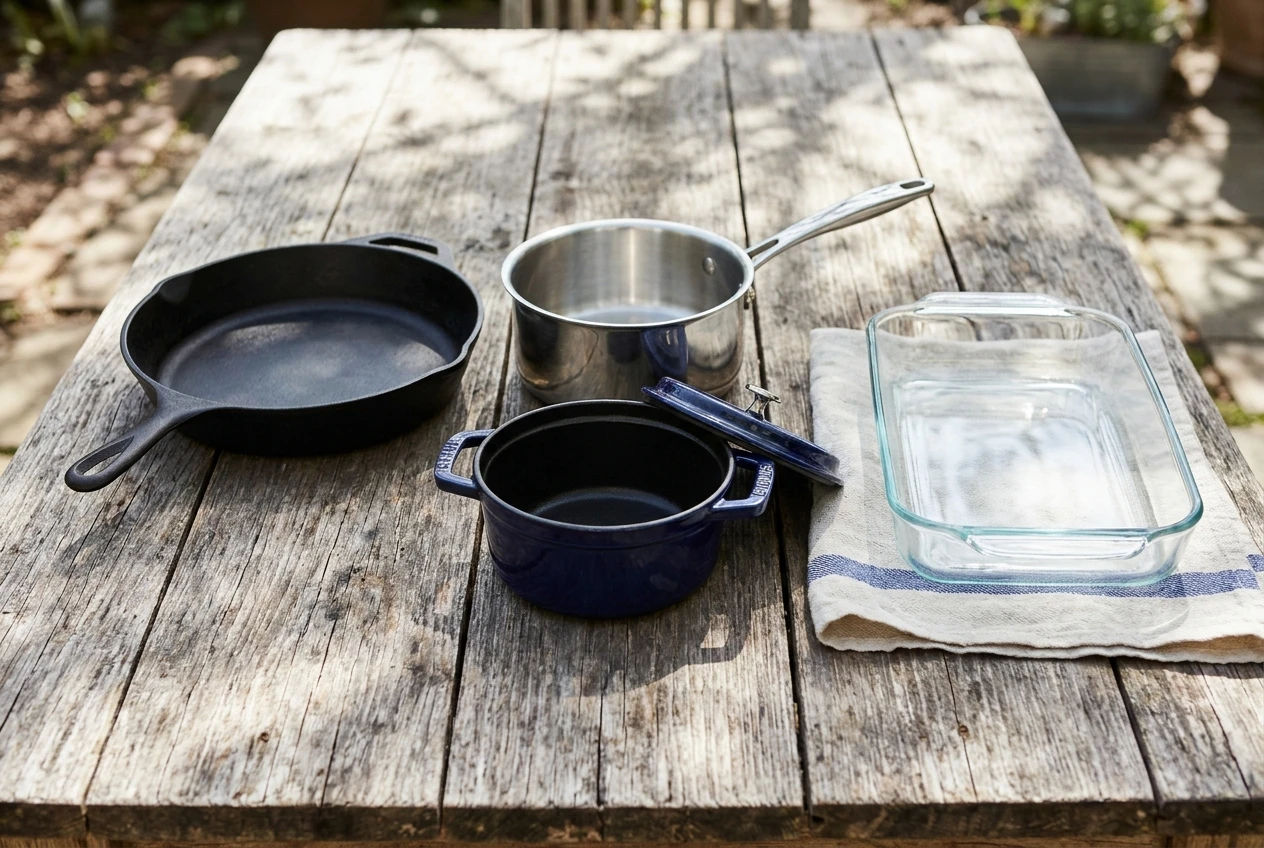
Good choices:
- Cast iron skillets. They hold steady heat and handle the outdoors well.
- Stainless steel saucepans and skillets. Great for sauces, sautés, and simmering.
- Small heavy pots. Handy for boiling water, beans, and brats.
Skip these:
- Glass cookware. It can crack over direct flame or with sudden temperature changes.
- Pans with plastic handles or nonstick coatings that aren’t rated for high heat. Check what yours is made of before putting it near a flame.
- Very large, heavy pots. A big pot of liquid on a small burner is unstable and slow. Keep to sizes the burner can support comfortably.
Safety basics that apply every time:
- Use the Grill outdoors only, well away from walls, railings, overhanging branches, and anything flammable.
- Keep kids and pets away from the cooking area.
- Turn the burner off and close the gas valve when you’re done.
- If you smell gas, turn everything off and follow the instructions in your manual.
Before you buy anything new for the side burner, check what you already own. I put together a list of the basics in my post on the essential 12 BBQ items for every Grill enthusiast. Compare it with your kitchen cabinets first, because a skillet or saucepan you already have may work just as well.
Cleaning the side burner: importance of its lights next time
A side burner that sits unused or gets splattered with sauce can fail to light, usually because of something small and easy to fix.
After each use, once everything has cooled:
- Wipe the burner surface and the area around it. Boiled-over liquid and splattered sauce harden into a crust that traps grease.
- Clear the burner ports. The small holes around the burner can clog with food or debris. Gently brush them with a soft brush or wipe them as your manual directs.
- Check the grate or pan supports. Spills collect there, and they’re easy to wipe while the Grill is still slightly warm (not hot).
- Close the lid once it’s dry. That keeps dust, spiders, and moisture out of the burner.
If a burner won’t light or burns with a weak, uneven flame, blocked ports are the usual cause. Your manual will say how to clear them safely. For general Grill care, my BBQ cleanup post for gas grills covers the rest.
A clean side burner is the easiest one to use, and the more often you light it, the more natural it feels. Start with the warm sauce or the garlic butter at your next cookout, and add one more job each time. Before long, it will feel as ordinary as the main Grill.
Some Final Thoughts: Get More Out of Your Gas Grill Side Burner
Your gas Grill’s side burner is more than just a place to warm up BBQ sauce or heat a can of baked beans. It’s an extra cooking station that makes preparing an entire outdoor meal easier, faster, and more convenient. From warming sauces and melting garlic butter to sautéing vegetables, cooking mushrooms, boiling potatoes, and even shallow frying, the side burner offers plenty of practical uses.
The real advantage is preparing your entire meal outdoors without constantly running back and forth between the Grill and your kitchen. While your steaks, burgers, chicken, or other favorites cook on the main Grill, you can use the side burner to make sauces, cook side dishes, and finish those little extras that bring a meal together.
For first-time grillers, start with a few simple tasks. Warm your favorite BBQ sauce, melt some garlic butter, or sauté onions and peppers for your next cookout. As you get more comfortable, experiment with simmering brats, boiling corn, making homemade sauces, and trying other side-burner cooking techniques.
Just remember to use appropriate cookware, watch your heat, follow your Grill manufacturer’s instructions, and clean the burner after each use.
The bottom line: Your gas Grill’s side burner deserves more attention. It’s not just an extra feature beside your Grill; it’s a valuable cooking tool that turns a simple grilling session into a complete outdoor cooking experience. Put it to work at your next BBQ, and you’ll quickly discover just how useful that little burner can be!
In Summary…
A gas Grill’s side burner is a versatile outdoor cooking station, useful for more than warming baked beans. It can heat sauces, melt garlic butter, sauté vegetables and mushrooms, boil corn or potatoes, simmer brats, shallow-fry small foods, toast spices, and warm tortillas. Because side burners generally provide gentler heat than the main Grill, they work best for simmering and pan cooking rather than high-heat searing or rapidly boiling large pots.
Using the burner alongside the grill helps keep the whole meal outdoors and ready at once: start slow-cooking sides early, grill the main dish, then use the meat’s resting time to finish sauces and vegetables. Follow the grill manual, use suitable cookware, keep the lid open while the burner is lit, stay nearby—especially when using oil—and clean the burner after it cools. With basic precautions and a little planning, the side burner can make outdoor meals more convenient and complete.
Happy grilling…On