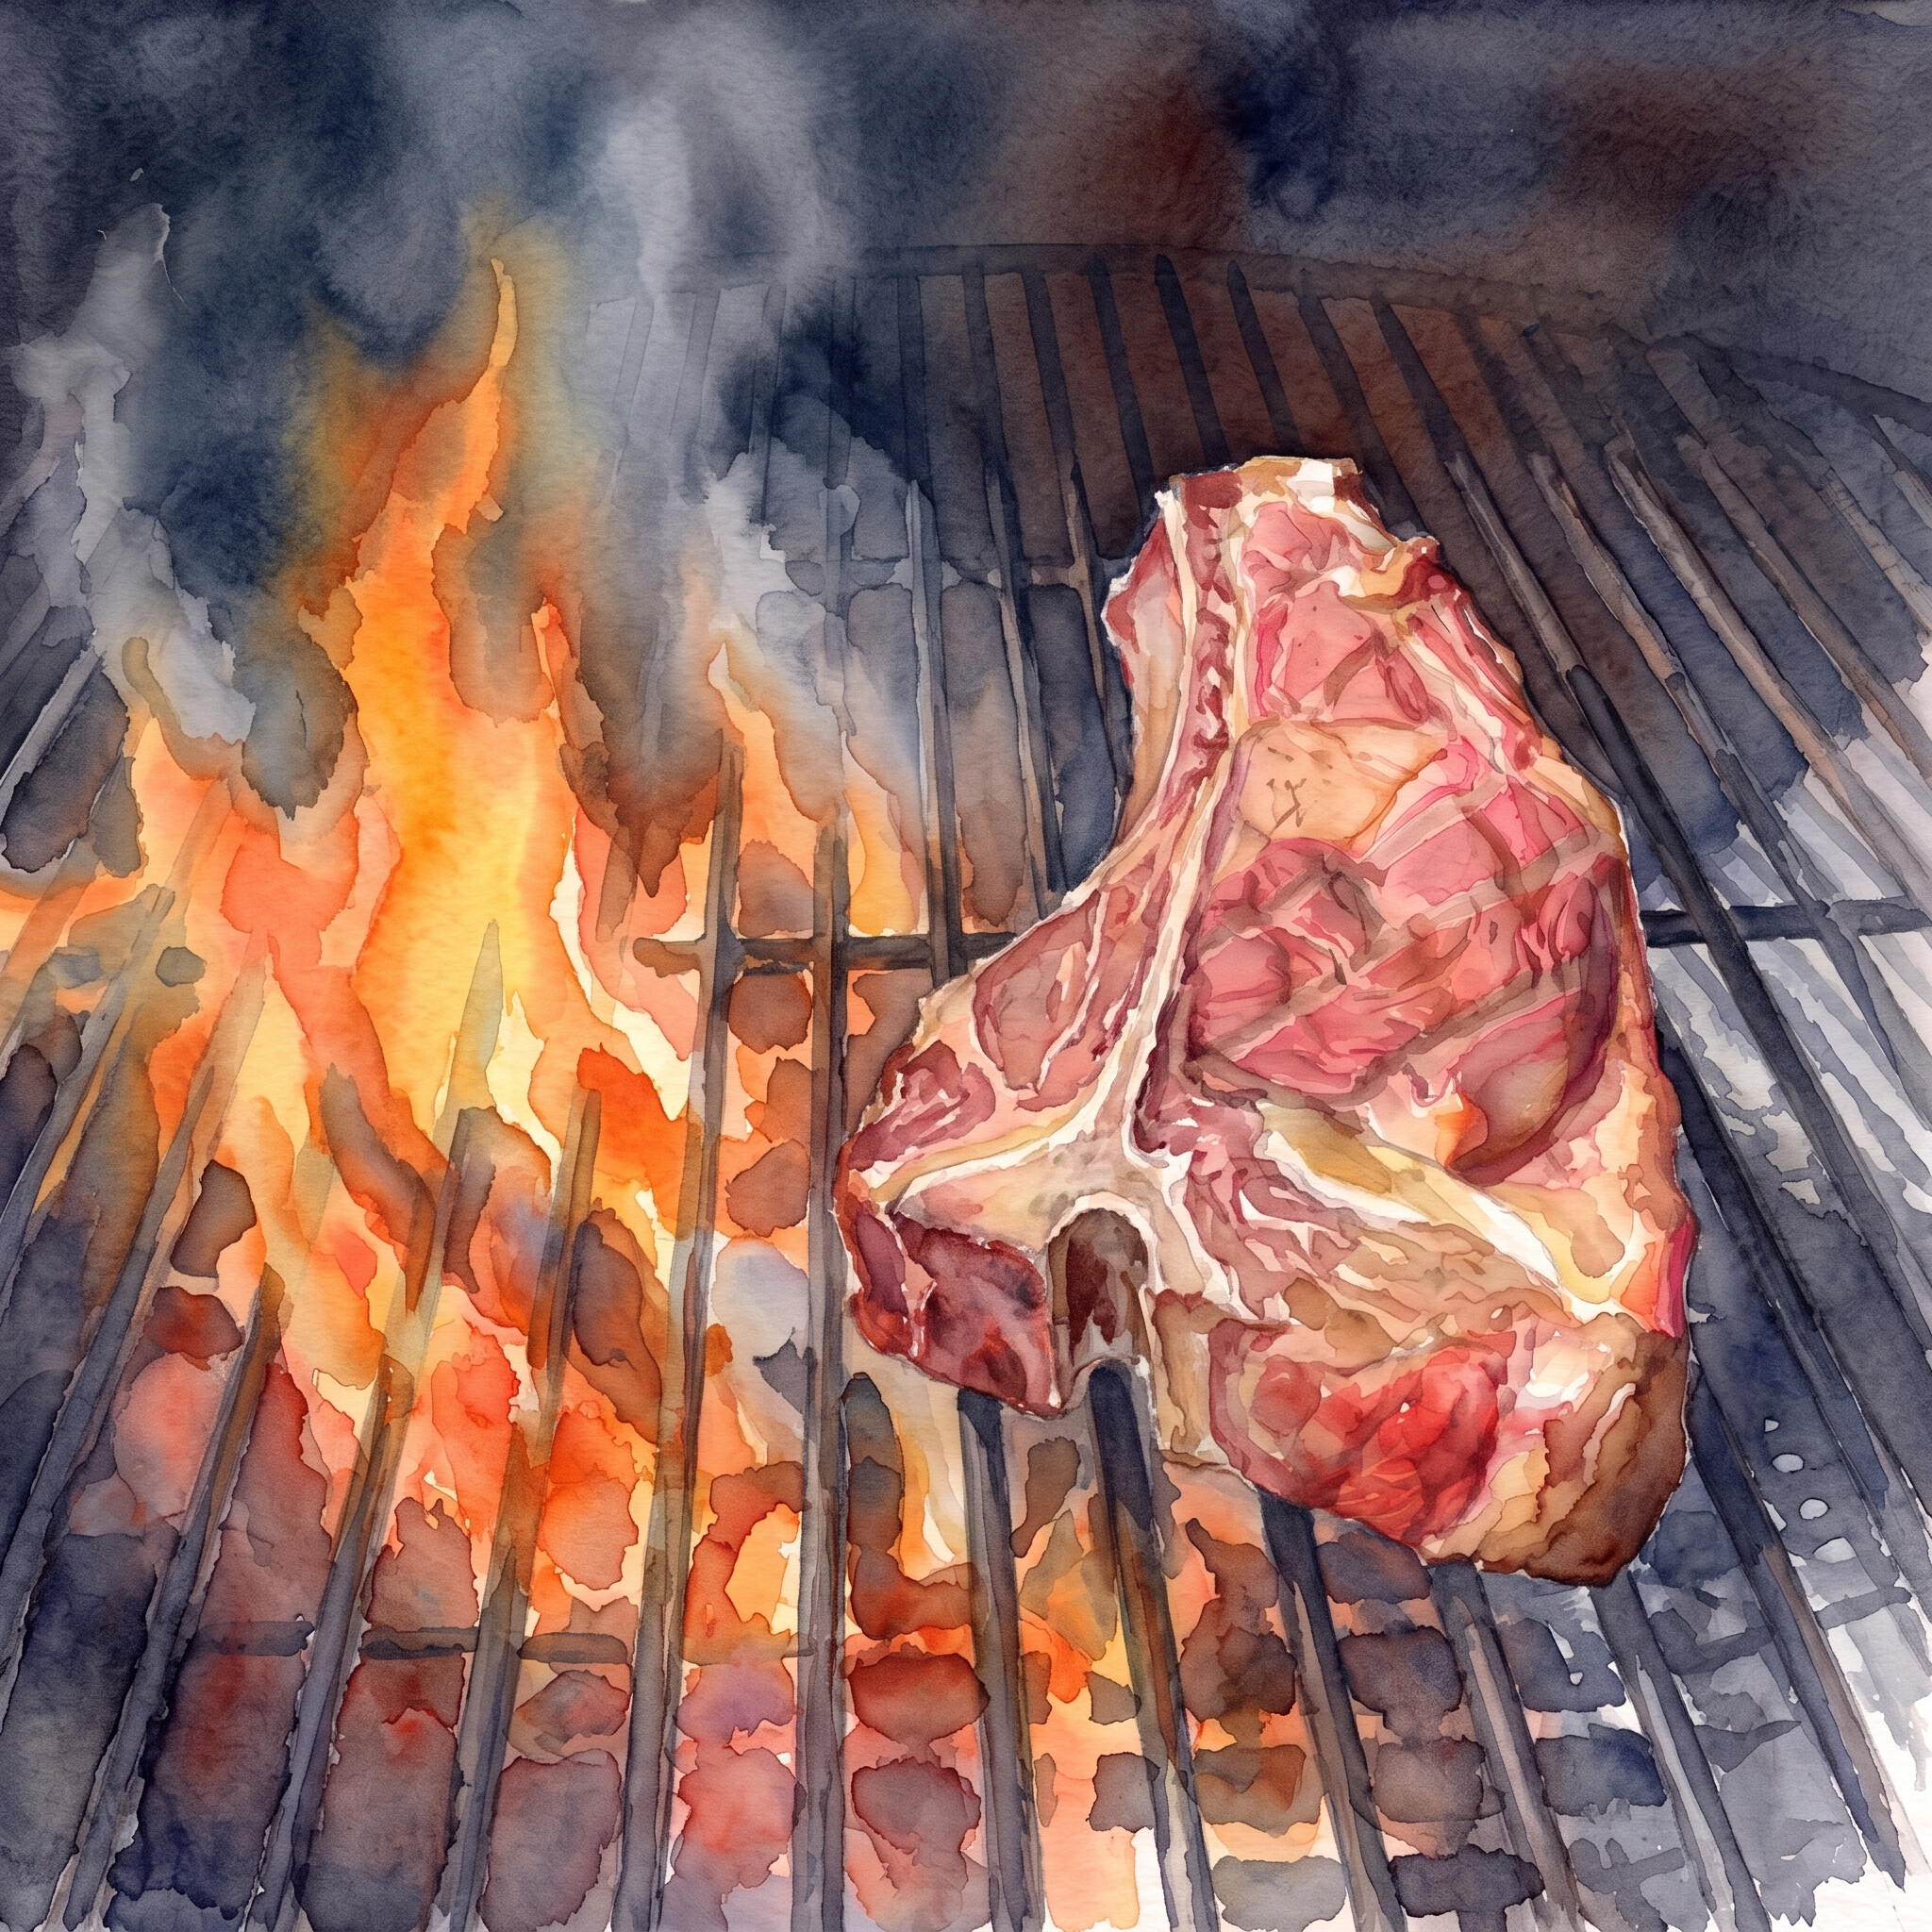
Anyone who’s grilled a steak knows the struggle: charred on the outside, practically mooing on the inside, or worse, it’s overcooked through and through.
Here is where the reverse sear technique really comes in handy. Using this method, you cook the meat gently first so it’s evenly cooked all the way through, then finish it off with a quick blast of high heat to get that craveable crust. Here, bringing the result is a steak—or any protein, as I’ll get into—that’s way more consistent and flavorful.
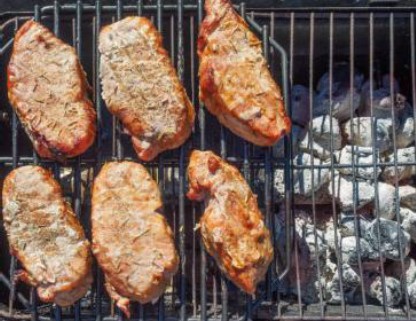
Here, the reverse-sear method has quickly become a favorite technique among both home cooks and grill enthusiasts. Unlike the traditional approach of searing first and then cooking through, the reverse-sear flips the script: you start by gently cooking your meat over low, indirect heat, then finish with a high-heat sear for a perfect crust.
This method delivers juicy, evenly cooked steaks with a restaurant-quality finish, and it’s surprisingly simple to master at home. In this guide, we’ll walk you through the basic steps to achieve flawless results every time you fire up the grill.
What is the Reverse Sear Method?
Reverse searing is exactly what it sounds like: you start with low, indirect heat to raise the internal temperature of your meat gently, then sear it quickly over high heat at the end. It’s the opposite of the classic method, where you’d sear a steak first and then move it to low heat to finish cooking.
Using the reverse sear, you get way more control. The gentle heat keeps the juices inside and allows for very even doneness edge to edge. When you hit it with that high heat at the finish, you still get the flavorful browned crust everyone expects from grilled meats. By taking your time with the first phase, the gray, overcooked band that sometimes forms just beneath the seared crust is greatly minimized. The meat ends up juicy and tender across the board.
- Best cuts for reverse searing: This works really well with thick, premium steaks like ribeye, New York strip, filet mignon, and thick-cut sirloins (1.5 inches or thicker is ideal).
When to Use Reverse Sear (And When Not To)
The reverse sear is best suited for steaks and other cuts at least 1.5 inches thick. On bone-in steaks and larger roasts like tri-tip or prime rib also come out beautifully, thanks to that even cooking. This method is also perfect for impressing guests or pulling off that “wow” moment with a medium-rare prime rib roast for holiday dinners.
- Best for: Thick cuts (1.5–2 inches), bone-in steaks, big beef or pork roasts, thick chicken pieces (on the bone), and even some types of fish if the fillets are thick enough.
- Not ideal for: Thin steaks (anything under 1 inch), burgers, thin chicken cutlets, or anything that cooks super quickly. For thinner meats, traditional searing is usually just easier and more effective. If you try to reverse-sear a thin steak, it might dry out or fail to achieve the perfect crust.
Tools & Setup (Quick Checklist)
Here, you don’t need a fancy backyard kitchen to pull off a reverse sear, but a few basics help a lot. Whether you’re practicing on a weeknight steak or going big with a holiday roast, these tools will smooth the way for success:
- Grill types: Any grill works. Gas grills with at least two burners are easiest for two-zone cooking. Charcoal grills you can set as a two-zone setup, with coals banked to one side. Pellet grills shine with their precise temp control (plus smoke flavor), and a cast-iron skillet is great for the final sear, especially if the grill can’t reach super high heat.
- Thermometer (leave-in or instant-read): This is nonnegotiable. It’s how you nail your final temperature every single time. Don’t just guess.
- Tongs and a sturdy spatula: For flipping, moving, and avoiding burns or dropping your hard-earned steaks.
- Grill with a lid: Trapping the heat is what makes the initial low-and-slow phase work well. Without a lid, you lose temperature control and gentle heat circulation.
- Optional: Cast-iron grates or a cast-iron pan help develop a killer final crust during the searing phase. Consider using a wire rack if you want truly even air circulation around the meat, especially for larger quantities.
Step-by-Step Reverse Sear Method (Core Section)
- Prep the Steak
Yes, let the meat come up to room temperature if you have time (this helps with even cooking, but isn’t always necessary). Pat the surface dry with paper towels; removing excess moisture reduces later browning. Now season generously with coarse salt and fresh ground pepper. You can go classic or add your favorite steak rub for a different flavor profile. Some cooks even do a dry brine ahead of time for even more flavor and moisture retention. - Set Up TwoZone Heat
For a gas grill, turn one side to low (225–275°F) and leave the other on high (450–600°F, but you’ll use this side later). On charcoal, pile coals on one side only, so half the grill is hot, and the other is cooler for indirect cooking. Pellet grills are easy: just set your temp low to start, then ramp it up at the end. - Slow Cook First (Indirect Heat)
Place the Steak (or other thick cut of meat) on the cool side of the grill. Shut the lid. Cook until the internal temp is 10–15°F below your target finish temp. It usually means about 115–120°F for rare, 125°F for medium-rare, and 130–135°F for medium, depending on your preference. You can add soaked wood chips here for a subtle smoky flavor. - Monitor Internal Temperature
Keep your thermometer handy and check progress every so often. Don’t skip this; the thermometer keeps you from guessing and ending up with sad, dry Steak. Each grill will cook a bit differently depending on outside temperature and the thickness of the meat, so adjust as needed. - Sear Over High Heat
Here, move it to the blazing-hot side of the grill. Sear it for 1–2 minutes per side, flipping every 30–45 seconds. Flipping often gives a more even crust and helps preventburning. If your grill isn’t scorching hot, this is a good time for a preheated cast-iron pan to add some extra sear power. Listen for that sizzle. - Optional Flavor Boosts
Throw a knob of butter, crushed garlic, and herbs like rosemary or thyme into the pan or onto the Steak during searing. Tilt and baste the Steak for a chef-like finish. Watch for flare-ups. If flames shoot up, move your Steak back to the cooler side until they die down. A final sprinkle of finishing salt or a drizzle of good olive oil adds another tasty touch. - Rest Before Serving
After searing, move your Steak to a plate and let it rest for 5–10 minutes. Letting the food rest redistributes the juices and gives you a juicy, tender bite from first to last. Slice against the grain for the best texture.
Reverse Sear by Grill Type (Quick Breakdown)
Reverse searing works with pretty much any grill, but small tweaks make a big difference depending on what you have.
- Gas grill: Use one burner low, the other(s) on high for your two zones. Flip meat straight from indirect to direct heat for the sear; make sure the hot zone gets fully preheated during the indirect cook for a perfect sear later.
- Charcoal grill: Bank all the coals to one side so you can slow-cook away from the heat, then sear directly over the coals at the end. It gives more smoke flavor, especially if you toss in wood chips during the first phase. Allow extra time for the initial gentle cook if temperatures fluctuate.
- Pellet grill: Amazing for the gentle cook at 225–250°F, with plenty of smoke. For searing, crank it all the way up, or move the Steak to a cast-iron pan for a faster, beefier crust. Pellet grills sometimes take longer to reach the searing zone, so plan an extra few minutes for that final blast.
Common Mistakes to Avoid
- Skipping the thermometer: Don’t do this; it almost always ends in over- or undercooked Steak. Internal temperature is your friend. Don’t wing it even if you’re experienced.
- Using thin cuts: Don’t do this; they finish too fast for the reverse sear to work correctly. Stick to thick steaks for the best results. If working with thinner steaks, give them a quick high-heat sear.
- Not drying the meat: Moisture on the surface prevents the formation of a crust. Pat the Steak dry first. If skipping this, you might get a sad, gray crust rather than that next-level cool char.
- Overcrowding the grill: Leave plenty of room between steaks so the heat circulates well. Consider cooking your steaks in batches for optimal results.
- Searing too early: Don’t move the meat over to the hot side until it’s almost at your target internal temp. Rushing can leave you with an uneven interior.
Tips for Better Results
- Dry-brine the Steak: Sprinkle with salt and let it sit on a rack in the fridge for 1–24 hours in advance. Draws out more flavor and helps develop the crust. This easy move makes your Steak juicier and tastier, especially for thick cuts.
- Use a wire rack during the indirect phase: If you’re cooking a lot, set the steaks on a rack over a baking sheet on the grill so air circulates underneath, and the heat is more even. It also prevents one side from steaming.
- Flip often during the searing: Don’t worry about the “don’t touch it” myth. Flipping every 30 seconds actually gives a better crust and prevents burning. This tip goes against a lot of old advice but delivers top results.
- Wood chips = smoke boost: Toss some soaked wood chips into your charcoal or use a smoker box on a gas grill for a subtle smoky flavor during the slow-cook phase. Hickory, cherry, and mesquite all work great, depending on what vibe you want.
Flavor Variations & Add-ons
- Garlic butter baste: Melt butter with crushed garlic and fresh herbs, then spoon it over your Steak right before serving. This classic move amps up juiciness and adds a restaurant-quality taste.
- Balsamic glaze finish: Drizzle a little balsamic reduction over sliced Steak for a tangy, sweet hit. The acidity cuts through richness, making each bite pop.
- Herb crust: Mix finely chopped rosemary, thyme, or parsley with salt and pepper to make a simple, herbaceous rub before the first phase. The heat rounds out the flavors without burning the delicate herbs.
- Smoked or finishing salt: After searing, hit the Steak with a tiny pinch of smoked salt for a fancy steakhouse finish. Maldon or Himalayan salt works wonders as a final touch.
What Foods Can You Reverse Sear? (It’s Not Just Steak)
- Beef (Beyond Steak): Tri-tip roast, prime rib, beef tenderloin, and other thicker beef roasts. Even cooking helps avoid a raw center and overdone crust. Try it out for a next-level cool roast dinner.
- Chicken: Bone-in chicken breasts, skin-on thighs, or a spatchcocked whole chicken. The skin gets nice and crisp after a gentle cook and a final sear, skin-side down.
- Pork: Thick-cut pork chops, pork tenderloin, or a small pork loin roast. No dry pork here; reverse sear keeps it juicy thanks to the slow initial cook.
- Fish: Salmon fillets (skin-on is best), thick tuna steaks, or halibut. Go gentle with heat and cut the low-and-slow phase short—fish cooks fast, so check its temp often.
- Lamb: Rack of lamb or thick lamb chops. The method works wonders for keeping lamb rosy and juicy inside. Lamb with a little smoke is downright next-level cool; use a bit of apple or cherry wood for subtlety.
Frequently Asked Questions
Do I have to use a thermometer?
Yes, you’ll get way better and more consistent results with one. Even a cheap instant-read model works. If you don’t own one yet, it’s the best $20 you’ll spend on the art of grilling.
Is dry brining really worth it?
Salting ahead of time boosts flavor and helps the crust. Even 1–2 hours makes a difference, but overnight is best if you can plan for it. Especially with thick, premium meats, this is a game-changer.
Can I do the reverse sear on a stovetop?
You can. Use your oven for the low phase (225–275°F), then finish in a thunderously hot cast-iron pan on the stovetop for a quick sear. This tactic is perfect when you don’t want to fire up the grill or when it’s cold outside.
Will reverse sear work with marinated meats?
Absolutely. Just make sure to pat the foods dry before the slow phase so the exterior still browns up properly. Marinades with high sugar content may burn during the sear, so keep an eye on them and adjust the heat down if needed.
Can I reverse-sear frozen Steak?
It’s possible, but for the best results, thaw your Steak completely before starting the process. Starting frozen can lead to uneven cooking. If you must, add extra time during the gentle cooking phase and monitor that thermometer closely.
Wrapping Up: Why Reverse Sear Is a Game-Changer
The reverse sear is a great grilling move, whether you’re a total beginner or you’ve grilled steaks every week or so. You get even doneness from edge to edge, more control over the outcome, and that mouthwatering crust. It works long beyond Steak and is super useful for loads of other proteins, too.
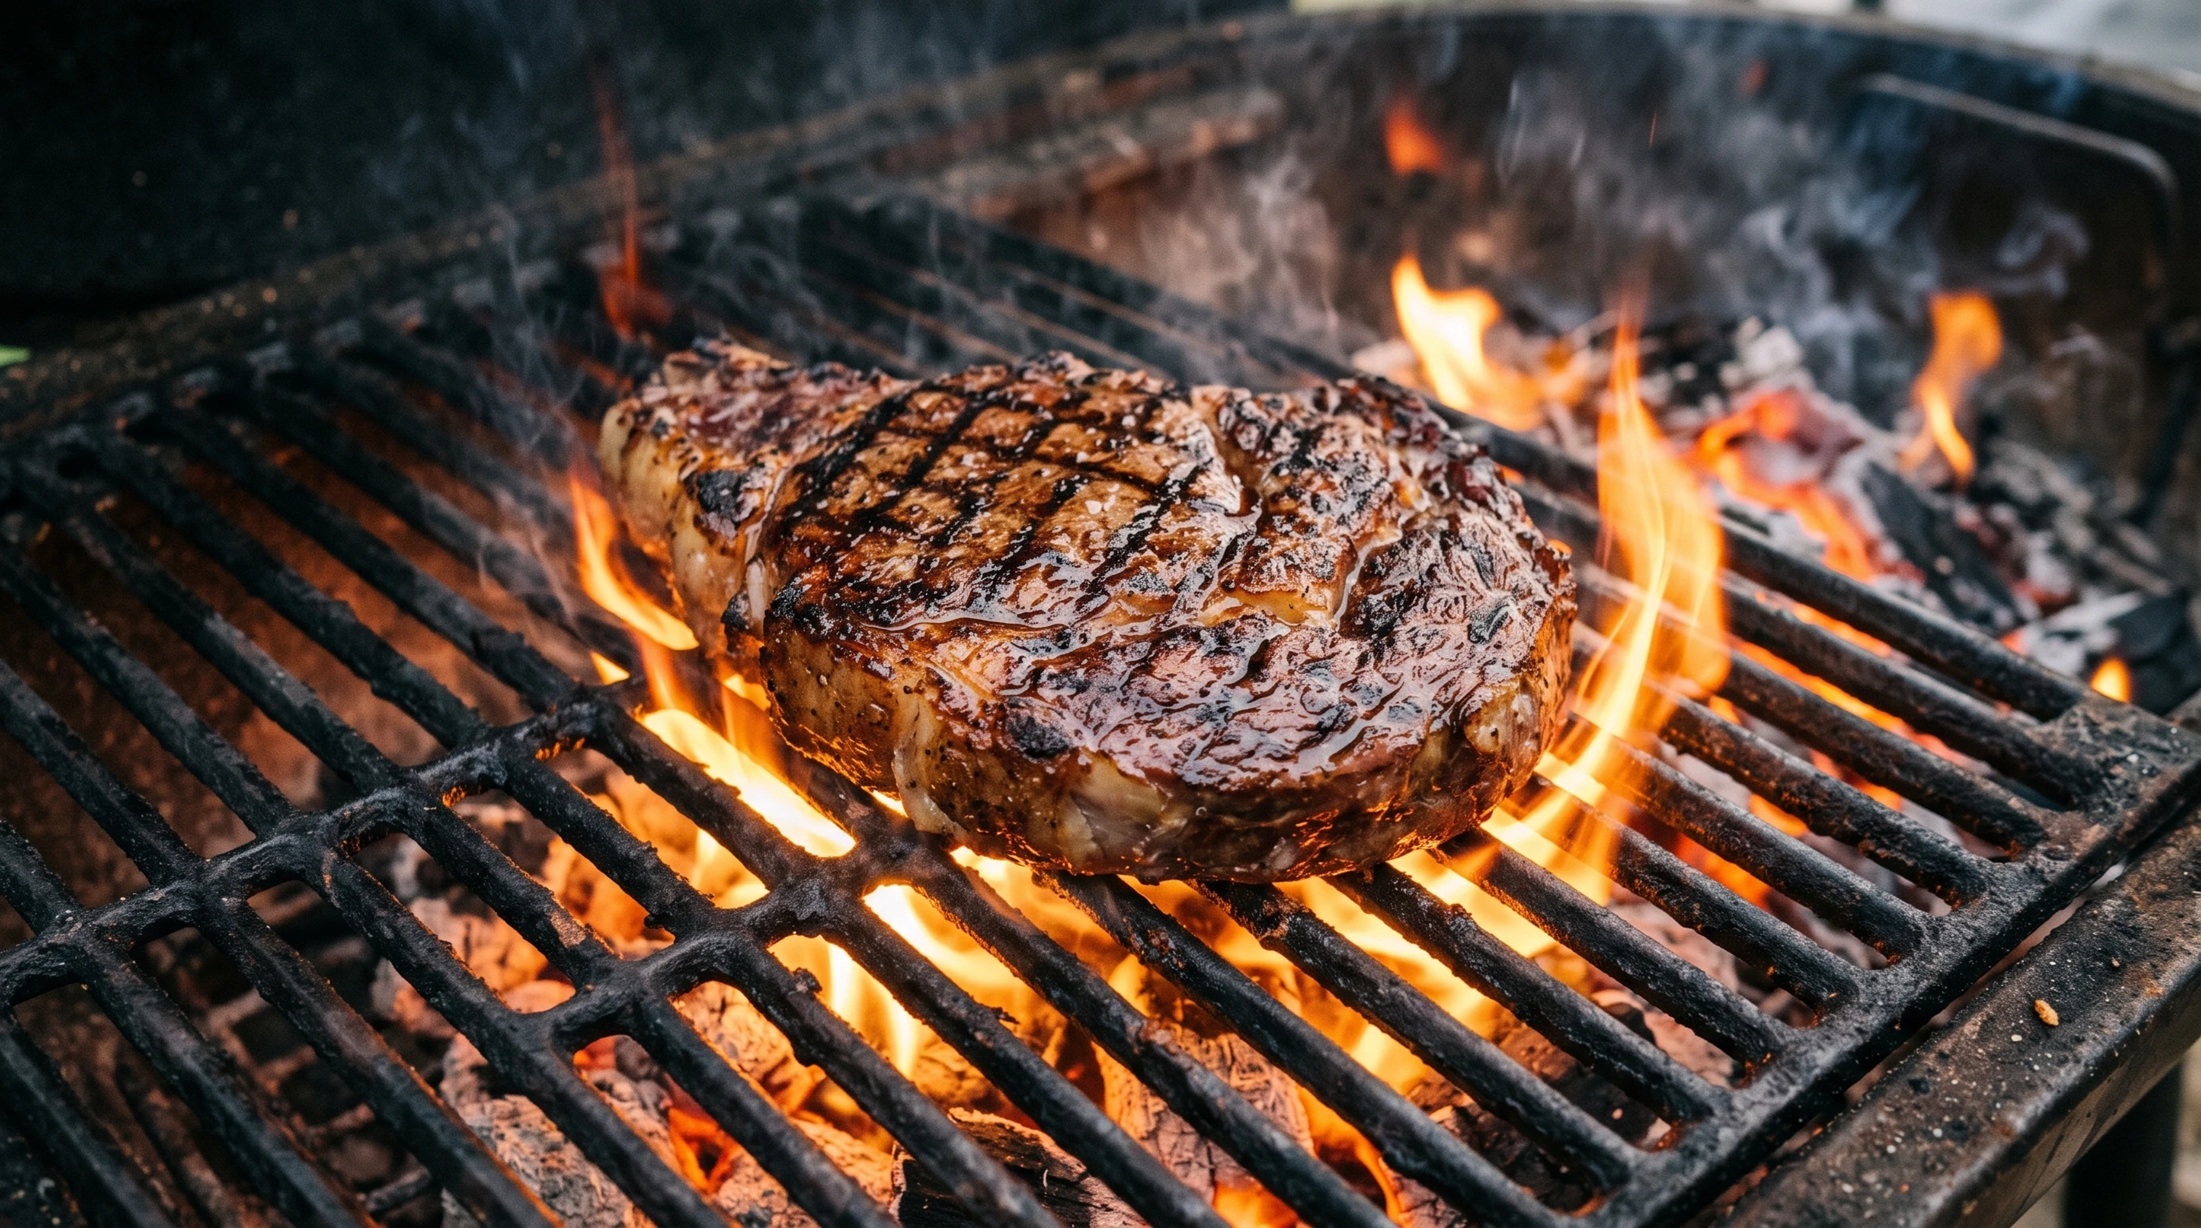
This method takes the guesswork out of grilling by offering a straightforward, step-by-step process that guarantees delicious results. By slowly bringing your meats, pork, chicken, lamb, or fish to temperature before finishing with a quick, high-heat sear, you’ll avoid overcooking and get a tender, flavorful inside with a perfectly crisp outside. Whether you’re new to grilling or looking to up your steak game, the reverse sear is a reliable, easy technique worth mastering.
Next time you fire up the grill, give it a try; you’ll probably wonder why you ever grilled thick steaks any other way.
The more you use this method, the more it’ll feel second nature and set a new standard for your home grilling adventures.
Enjoy that great BBQ taste here!