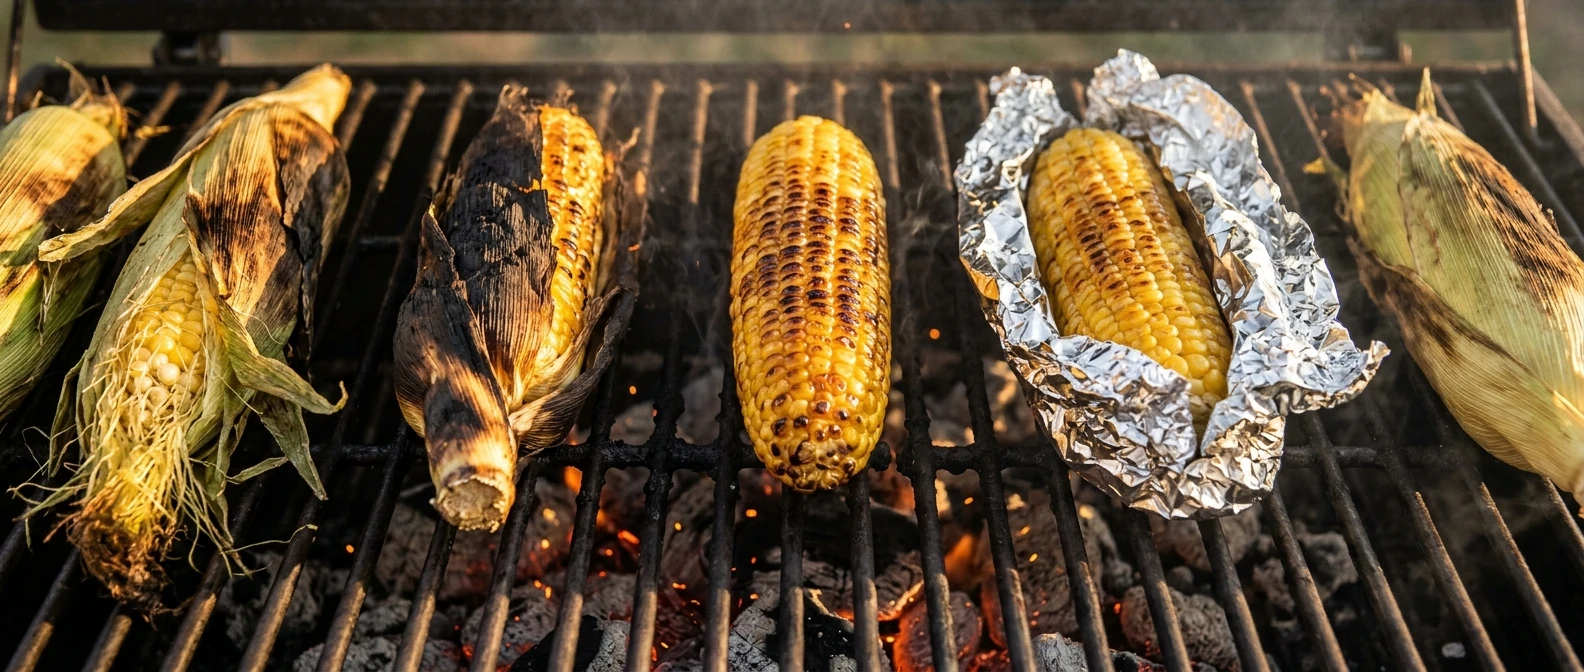
It’s simple, yes; corn on the cob is one of the easiest things to grill, and I simply love it, but it is also one of the easiest to cook the wrong way for the meal you have planned. The same ear can come off the grill steamed and plump, charred and chewy at the edges, or soft and buttery, depending on one choice: what stands between the kernels and the fire.
This guide covers five simple ways to grill corn on the cob… Here, what each method does to texture, and which flavors suit each one. It works on gas or charcoal. For general smoke flavor on other vegetables, see the site’s separate vegetable guide; this piece stays on corn.
Why corn behaves differently depending on how you grill it
A kernel is a small package of water and sugar inside a thin skin. Direct heat browns that sugar and dries the skin, which gives you char, a toasty edge, and a slightly chewy bite. Trapped steam keeps the water in, which gives you plump, juicy kernels with a clean, sweet taste and very little browning.
Every method here below sits somewhere on that line. The husk and foil methods lean toward steam. Or just cooking naked leans toward browning. These methods 4 and 5 use both on purpose. Once you know which result you want, the method follows, and so does the flavor, because bold seasonings (whatever you choose) stand up to char while delicate ones show best on steamed corn.
1st Method: In the husk, for steamed and sweet corn with almost no effort
This is the lowest-effort method. The husk acts as a built-in wrapper, so the corn steams in its own moisture while the outside blackens.
- Leave the husk fully on. Trim any long, dry silk sticking out of the top if you like.
- Some cooks soak the ears in water for 15 to 30 minutes first (I prefer this, as it adds extra flavor). It is optional, but the corn cooks fine without it.
- Prep, and set the grill to medium heat, roughly 350 to 400°F.
- Lay the ears on the grates (I prefer them at an angle) and close the lid. Turn them every 5 minutes or so for about 20 to 25 minutes in total (15 minutes usually works with a cool-off resting period).
- Pull one off and peel back a little husk to check. The kernels should look bright yellow and feel tender when you press them (as the steam evaporates, you can smell the flavors from the added herbs, rubs, such).
The outer husk will look scorched, and that is normal. Use tongs and an oven mitt to peel it, because the steam trapped inside is hot enough to burn. The silk usually slides off with the husk, which is a real advantage over other methods.
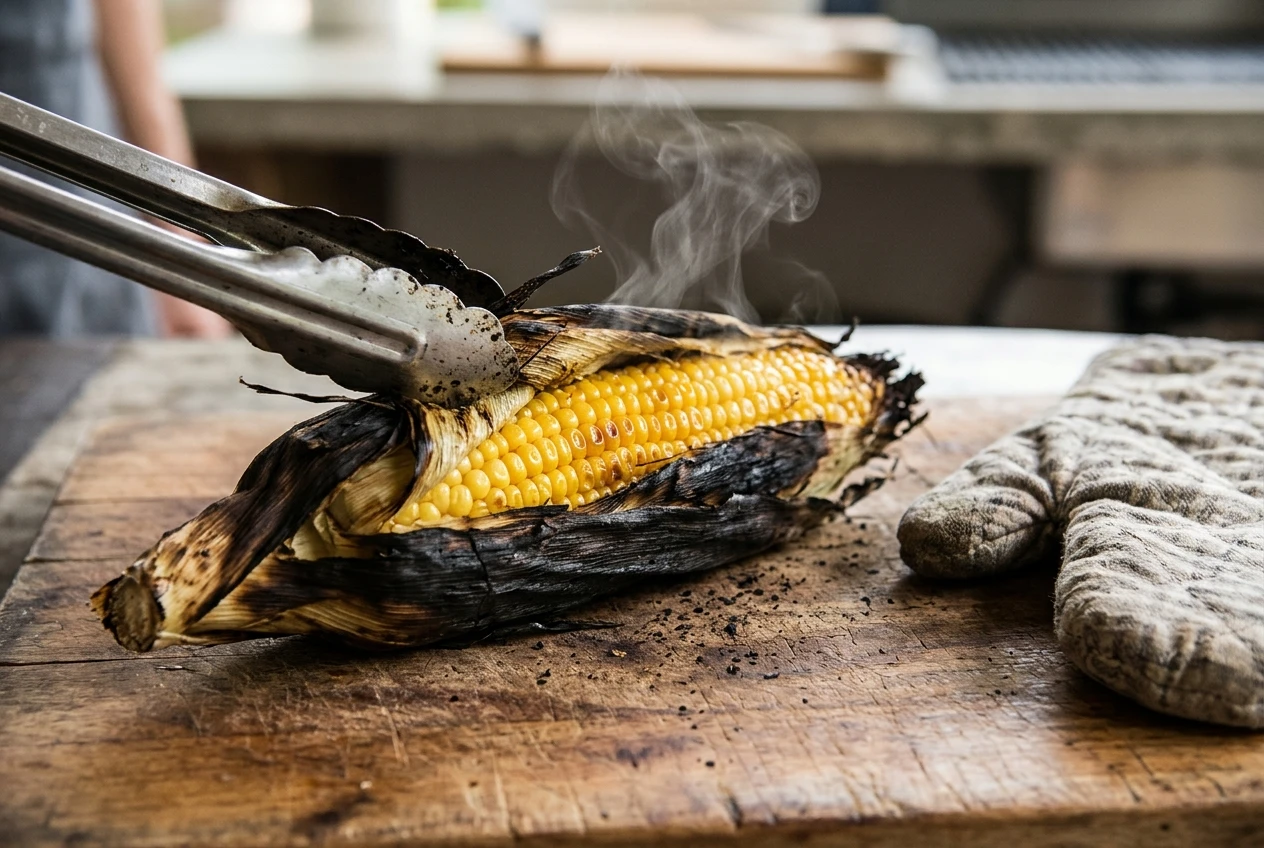
Texture: tender, juicy, mildly sweet, very little browning. Best for: big batches, hands-off cooking, and people who want plain corn with butter at the table.
2nd Method: Naked on the grates, for char and a smoky edge
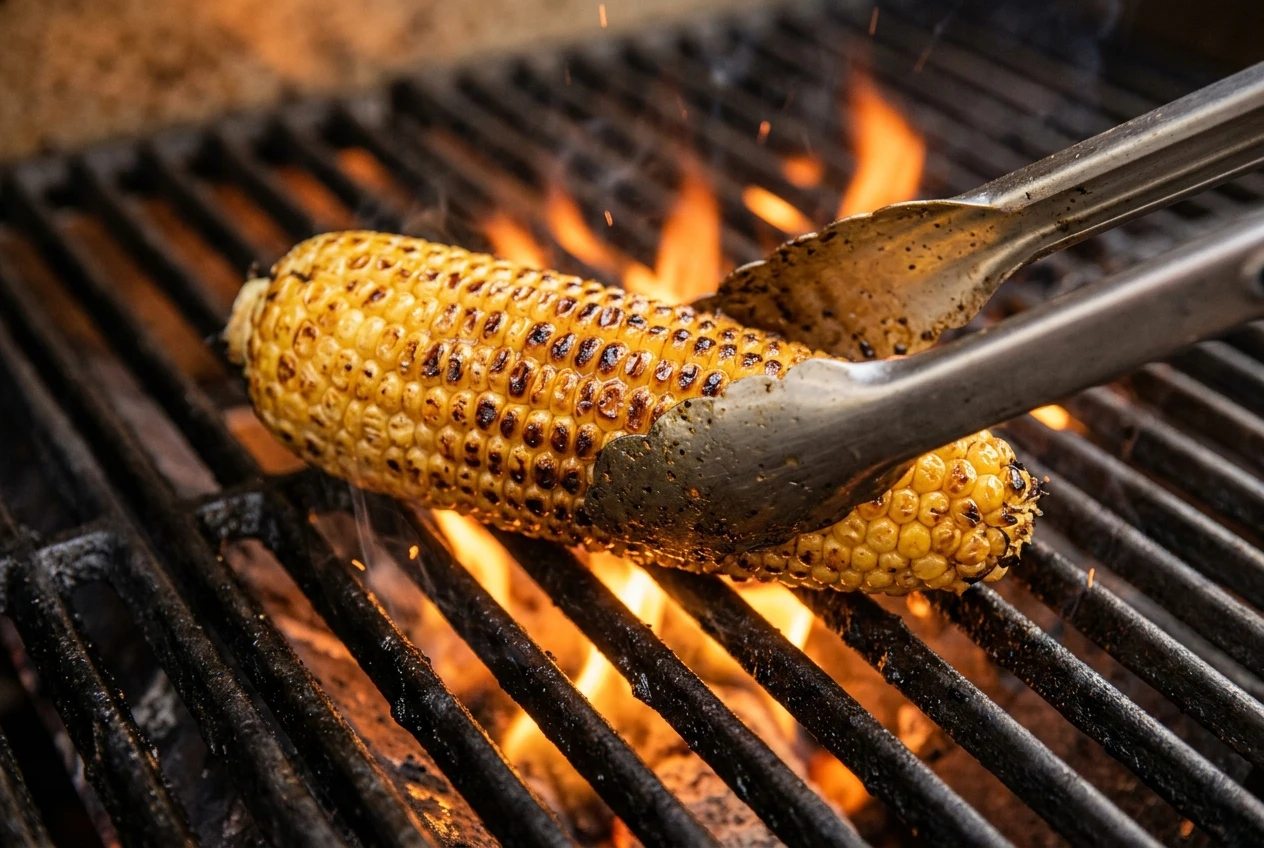
It’s simple: strip the husk and silk first, then put the bare ear directly over the flame. This method produces browned, blistered kernels and the most grilled flavor (I like to add pepper, sea salt, and dry garlic).
- Shuck the corn and pull off as much silk as you can. Rinse and pat dry.
- Brush lightly with a neutral oil. This helps the kernels brown and keeps them from sticking.
- Heat the grill to medium-high and make sure the grates are clean and hot.
- Place the ears across the grates (again, prefer them at an angle) and turn them every 2 to 3 minutes. Expect about 10 to 12 minutes in total.
- Remove them when most of the surface has spots of golden to dark brown (then tent with foil, then let them rest and cool).
Watch the ears closely…Kernels near the flame can pop and go from browned to burnt quickly. Save the butter for after cooking, because butter dripping onto hot coals or burners causes flare-ups.
Texture: slightly chewy skins, concentrated sweetness, visible char. Best for: corn served as a side with steak, burgers, or sausages, where a bolder, smokier taste fits the plate.
3rd Method: Wrapped in foil, for butter-soaked corn and easy flavor infusion
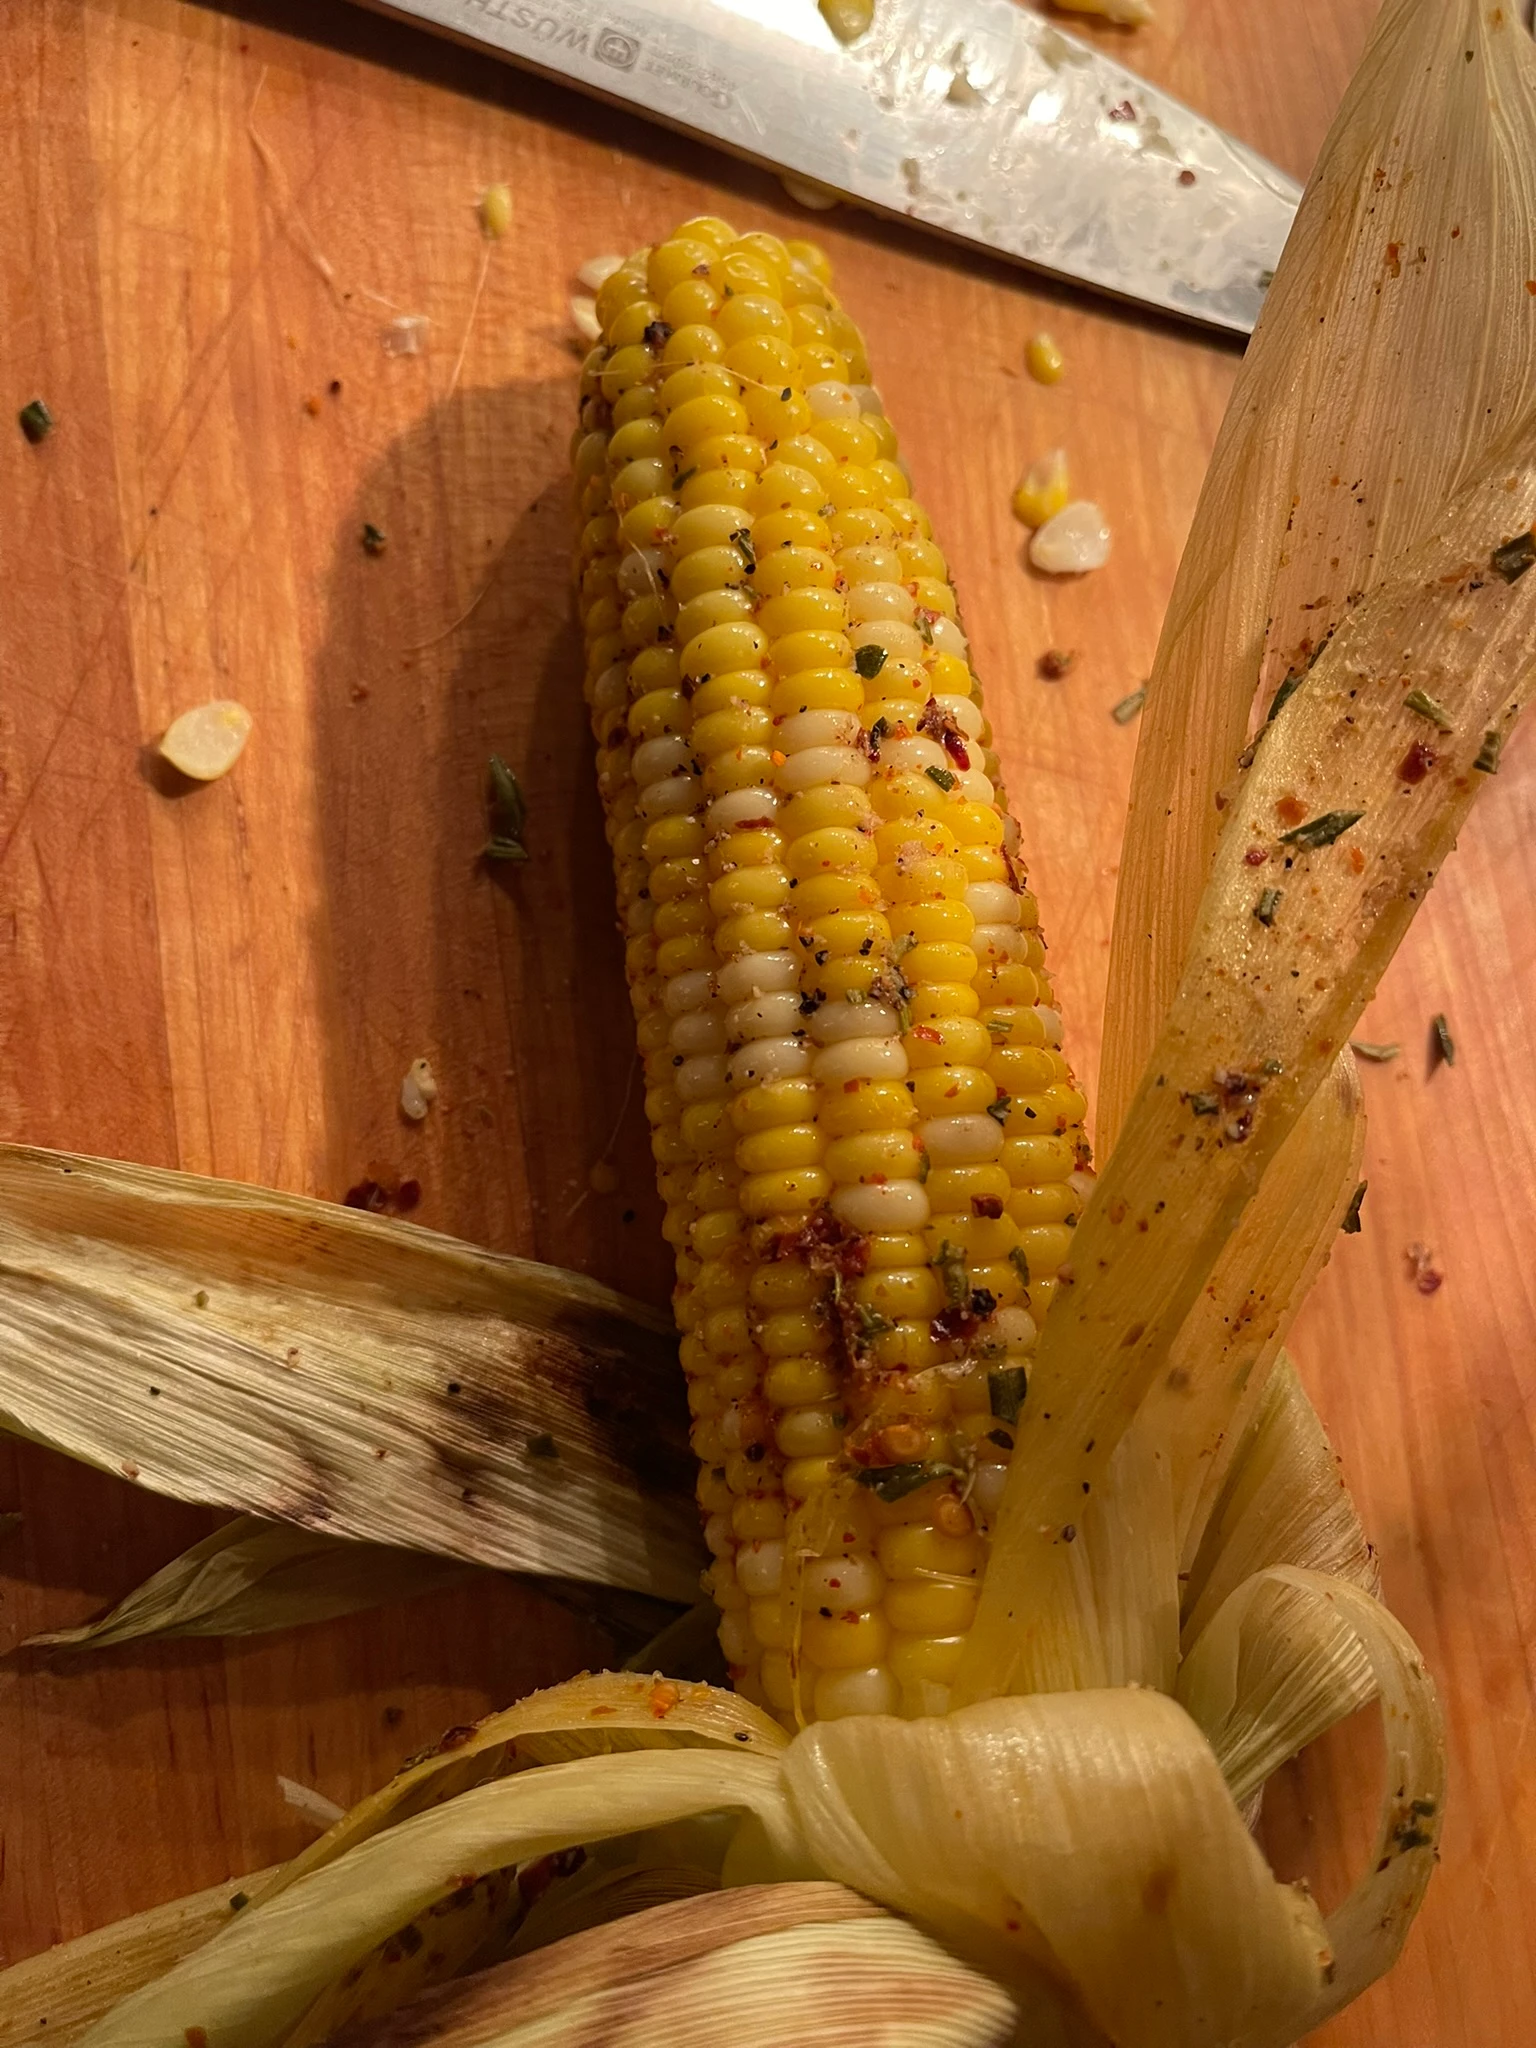
Yes, foil turns the ear into a sealed pouch. Whatever you put inside, whether butter, herbs, garlic, or spice, melts into the kernels as the corn steams (any kind of dry herbs).
- Shuck the corn and remove the silk (if needed).
- Spread each ear with softened butter and add seasoning. Salt, pepper, chopped herbs, or minced garlic all work (even added red pepper flakes, dry or ‘fresh’ rosemary).
- Wrap each ear tightly in a sheet of foil, folding the seam over twice so the butter does not leak. For a charcoal grill, doubling the foil helps protect against hot spots.
- Cook over medium heat with the lid closed for about 15 to 20 minutes, turning once halfway (or every 5 minutes).
- Open the packet away from your face. Hot steam escapes the moment you break the seal.
The result is so awesome: very soft, very buttery corn with no browning at all. If you want a little color, unwrap the ears for the last two minutes and roll them directly on the grates.
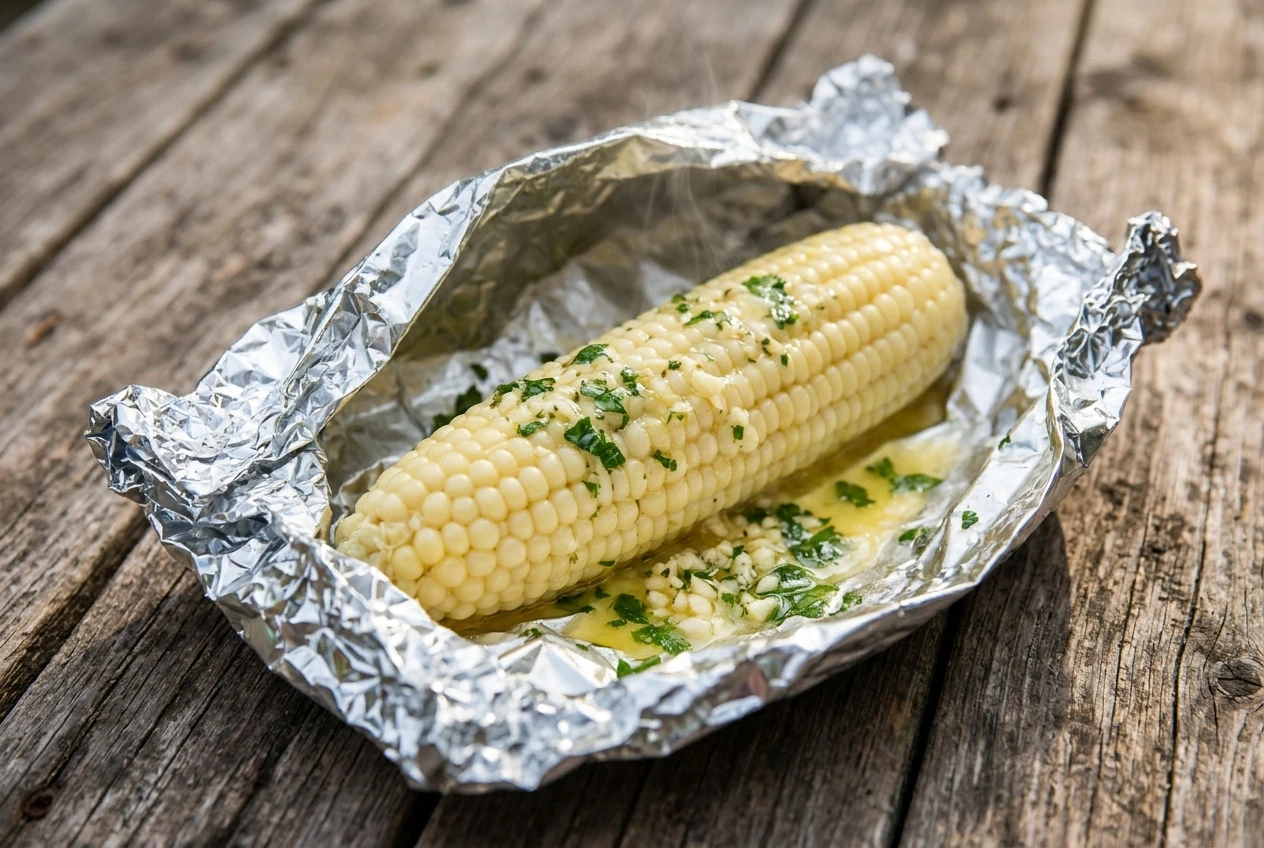
Texture: soft, moist, saturated with whatever you wrapped inside. Best for: maximum flavor with minimal attention, and for cooks who like to season in advance and forget about it.
4th Method (alternative): Cut off the cob in a pan or foil tray, for street-corn style dishes
Cutting the kernels off the cob changes the dish from a handheld food to a spoonable side. It also lets the seasoning coat every kernel instead of sitting on the outside of the ear.
There are two ways to do it:
- Raw kernels: Stand each ear upright in a large bowl and cut downward with a sharp knife. The bowl catches the kernels. Toss with oil and salt, spread on a foil tray or cast-iron pan, and set on the grill over medium-high heat. Stir every couple of minutes for about 8 to 12 minutes, until some kernels are browned.
- Grill first, cut second: Cook the ears naked (Method 2), let them cool for a few minutes, then cut the charred kernels off. This gives you smoky color and no need to watch a tray.
Either way, finish the kernels while still hot. Stir in the dressing, then adjust for salt and acid. A mixture of mayonnaise or sour cream, lime juice, chili powder, and a crumbly cheese gives you the classic street-corn style.
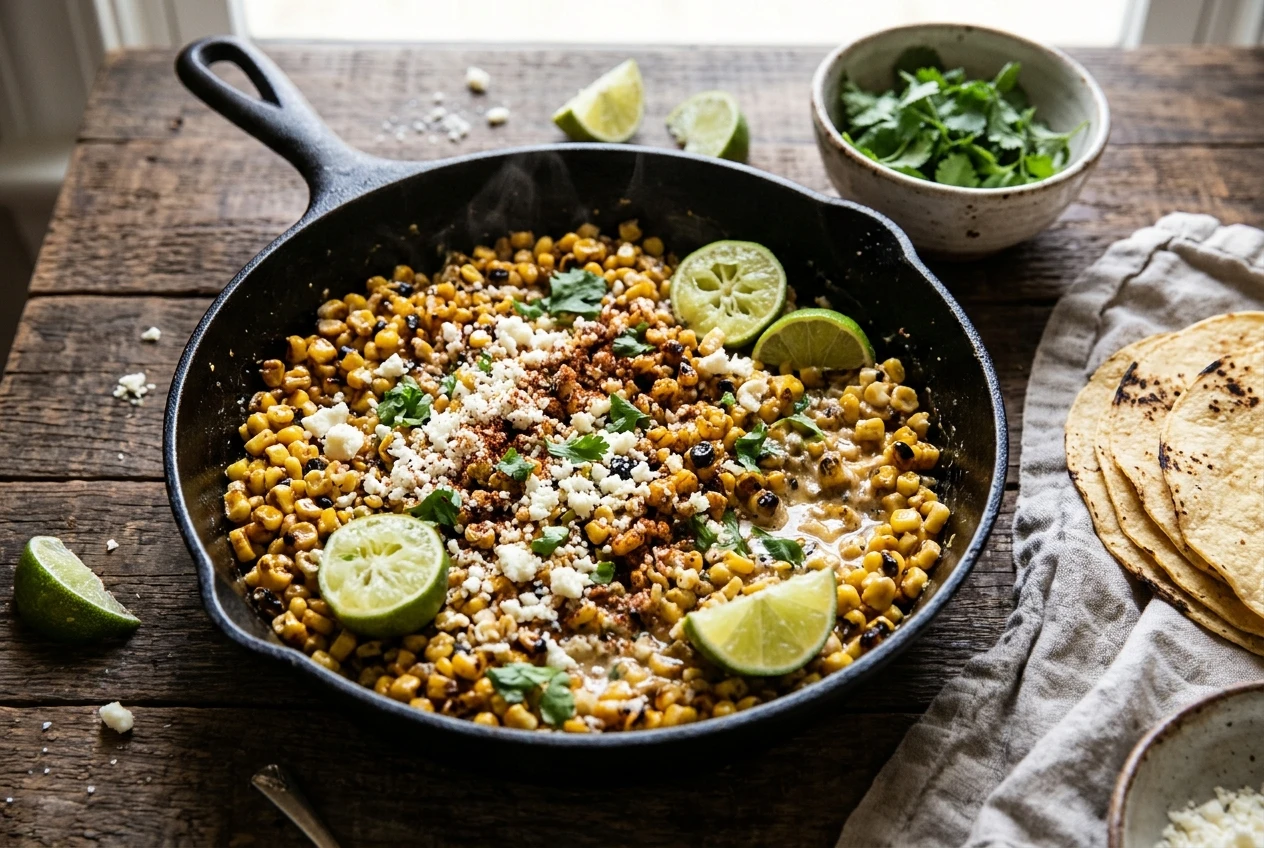
Texture: loose, seasoned kernels, tender with some browned bits. Best for: tacos, burrito bowls, potlucks, and anyone who dislikes corn stuck in their teeth.
Method 5: Char then steam, when you want both color and juiciness
This method fixes the main weakness of the others: naked corn can dry out, and steamed corn can look pale. Doing both in sequence gives you browned kernels that stay juicy.
- Shuck the corn and brush with oil.
- Grill directly over medium-high heat for about 5 to 8 minutes, turning often, until most sides have spots of color.
- Move the ears to foil with a spoonful of butter and a splash of water or broth, then seal it. Alternatively, put them in a covered foil tray.
- Finish over indirect or medium-low heat for another 5 to 10 minutes, until the kernels are tender all the way through.
Because the char happens first, you control the amount of browning, and the steam stage softens the skins without erasing the color. It takes more attention than the husk method but less skill than it sounds.
Texture: browned outside, juicy and tender inside. Best for: corn that is the centerpiece of the meal, or any time you want it to look good as well as taste good.
Flavor pairings that work with each method
A flavor simply works best when it matches the texture. Steamed corn carries delicate seasonings well. Charred corn can handle heat, smoke, and acid.
- Butter and herb: Mix softened butter with chopped parsley, chives, thyme, or basil and a pinch of salt. It melts easily into husk-steamed and foil-wrapped corn, where the soft texture and mild flavor let the herbs come through.
- Chili-lime: Chili powder, lime zest, and lime juice cut through the richness of charred corn. This pairing suits naked, char-then-steam, and off-the-cob corn. Add the lime juice after cooking, since heat dulls its brightness.
- Garlic parmesan: Garlic butter plus grated parmesan is rich and savory. It sits well on foil-wrapped corn, and it also works brushed on a naked ear right after it leaves the grill, with the cheese sprinkled on while the butter is still wet.
- Smoky paprika: Smoked paprika, a little salt, and a little oil work on naked and char-then-steam ears, where the char echoes the smoky seasoning. If you like building your own seasoning blends, the guide to popular BBQ rubs and how to apply them covers the basics of mixing and using them.
A quick way to match them up:
It’s a matter of method and texture that brings the flavors that suit it In the husk Tender, sweet, steamed Butter and herb, plain salted butter Naked Chewy, charred Chili-lime, smoky paprika Foil Soft, buttery Garlic parmesan, butter and herb Off the cob Loose, browned bits Chili-lime, garlic parmesan Char then steam Browned and juicy Smoky paprika, chili-lime
Which method to pick for your grill, your timing, and your crowd
On your grill…
On gas: You set the temperature with the knobs, so every method is straightforward.
On charcoal: Bank the coals to one side to create a hot zone and a cooler zone. Cook naked corn over the hot side, and use the cooler side for husk-on corn, foil packets, and the steaming stage of Method 5.
Your timing…Yes, if the main dish needs the grill’s full attention, husk-on and foil corn can sit off to one side with little supervision. Naked corn needs you standing there turning it. Off-the-cob corn can be made in a tray while the meat rests.
Your crowd.
- Feeding a large group: the husk method, because you can fill the grates and walk away.
- Serving kids or guests who dislike mess: kernels off the cob.
- Wanting the dish to impress: char then steam.
- Serving something rich like ribs or brisket: naked corn with a bright chili-lime finish balances the plate.
Some common corn mistakes beginners make on the grill, and the quick fixes
Heat that is too high. Corn has sugar, and sugar burns. If the kernels blacken before they soften, lower the heat or move the ears to a cooler part of the grill. The guide to mastering BBQ grill temperatures explains how to read and control your grill’s heat.
Overcooking. Kernels that go past tender turn tough and dry. Start checking early, and remove the corn when the kernels are bright and give slightly when pressed.
Buttering naked corn before it goes on. The drips cause flare-ups and burnt butter taste. Use a thin coat of oil during cooking and add butter once the corn is off the grill.
Leaking foil. Butter that escapes the packet burns on the grates. Fold the seam twice and crimp the ends, or use a second layer of foil.
Leftover silk. Naked corn needs the silk removed before cooking, because burnt silk tastes bitter. If strands remain after cooking, wipe them off with a clean towel.
Skipping the check. Peeling back a corner of the husk or pressing a kernel tells you more than a timer. Times in any recipe, including this one, change with grill temperature, ear size, and how cold the corn was when you put it on.
Handling hot husks and packets bare-handed. Use tongs and a mitt, and open foil away from your face.
In Summary: Try your own flavors
It’s simple: Here, once you have a method you like, the seasoning is where corn gets personal. Experiment with different herbs in your butter, such as chives, basil, or cilantro. Try other butter styles, like honey butter, garlic butter, or a spicy chili butter. Then add toppings and finishes such as cheese, lime, hot sauce, or a dusting of smoked paprika. Each combination changes the corn, so pick one method, vary the flavor across a few cookouts, and keep the pairings that your table asks for again.
I like it best with the husk, soaked in water after cleaning out the silk, because it adds depth of flavor (from the charred husk). Using foil helps too, as it prevents the husk from burning on the grill with the direct heat…
Enjoy that great BBQ grilling taste!