Chicken breast is my go-to protein for quick weeknight dinners and summer grill-outs, but even I have to admit it can get a little boring if I don’t play with the flavors. Glazing and marinating are two of my favorite tricks for waking up a basic chicken breast, especially when I’m grilling.
People often think they’re pretty much the same thing, but there’s actually a big difference, and knowing when to use each can totally change the flavor and texture of your finished dish.
Breaking Down Glaze vs Marinade
Glaze and marinade might sound similar since they both enhance the flavor of chicken breast, but they have totally different roles in the cooking process. If you’re curious why your grilled chicken sometimes tastes infused all the way through and other times has a nice sticky finish, this is why.
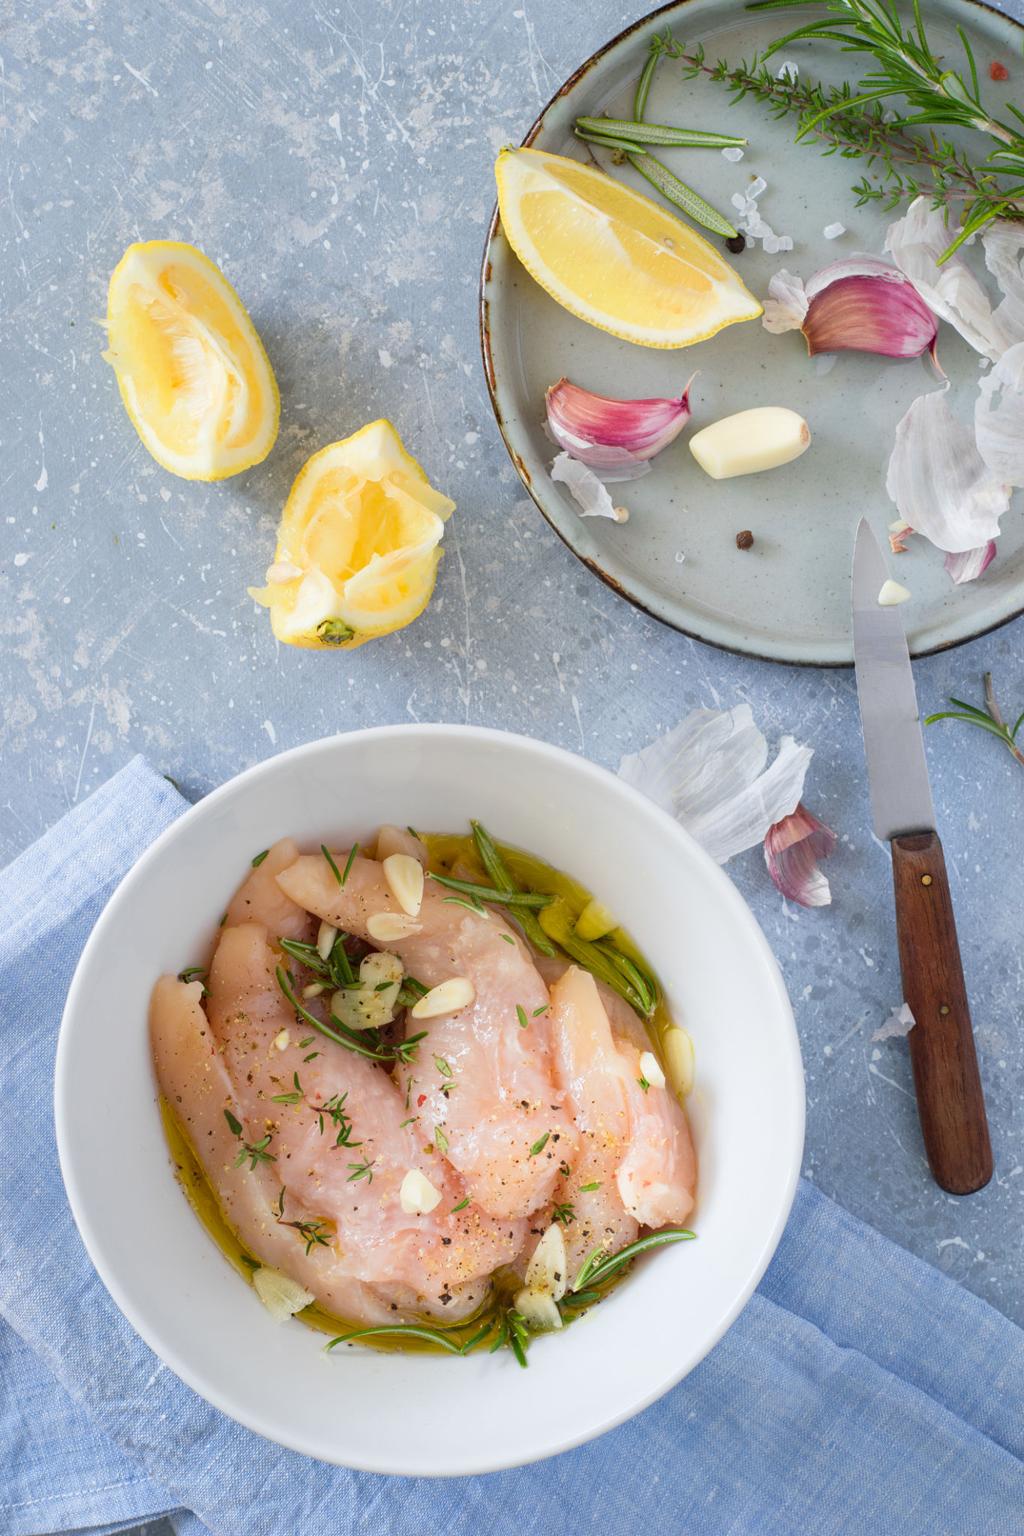
Marinade is like a pre-game for chicken breast. It’s a seasoned liquid that softens and flavors the meat as it soaks: think oil, an acid (like lemon juice or vinegar), plus herbs and spices. Chicken breast goes into the marinade (in the fridge!) before cooking and hangs out there anywhere from 30 minutes to several hours, depending on how strong you want the flavor.
Glaze, on the other hand, is added at the end of grilling or during the last few minutes. It’s usually thicker, often a bit sweet or syrupy, and it creates that shiny, caramelized coat you see in those mouthwatering photos. Glazes are all about the outside finish, so flavor stays mostly on the surface, not deep inside.
Flavoring Chicken Breast on the Grill: Two Methods, Different Results
I use marinade when I want juicy chicken with flavor throughout. It is perfect if I’m prepping ahead or if I’ve got lean, boneless, skinless chicken breast that could use some extra help staying moist. Think of it as flavorful insurance against dry, bland results.
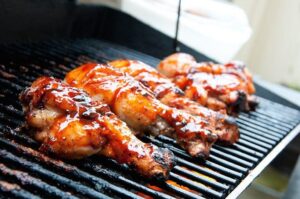
On glaze, it is my move when I want a glossy, caramelized finish, especially for barbecue or Asian inspired dishes. It’s all about building up. You brush on a thin layer, let it get tacky over live heat, then maybe do a second quick brush for even more shine and punchy taste.
7 Simple Steps to Master Glaze and Marinade for Chicken Breast
- Understand the Core Difference
Marinade is a pre-cooking soak of acid, oil, and seasonings that penetrates the chicken, making it more tender and flavorful throughout. Glaze is thicker, often sticky or sweet, and brushed on during or after grilling to add a tasty, caramelized surface layer. - Start with the Right Cut (Chicken Breast Basics)
Boneless, skinless chicken breasts are popular because they cook evenly and take on flavors well. I always recommend pounding chicken breasts to an even thickness, about ½ to ¾ inch, so they grill up evenly with no dry, thin ends. - Apply the Marinade (Pre-Grill Flavor Build)
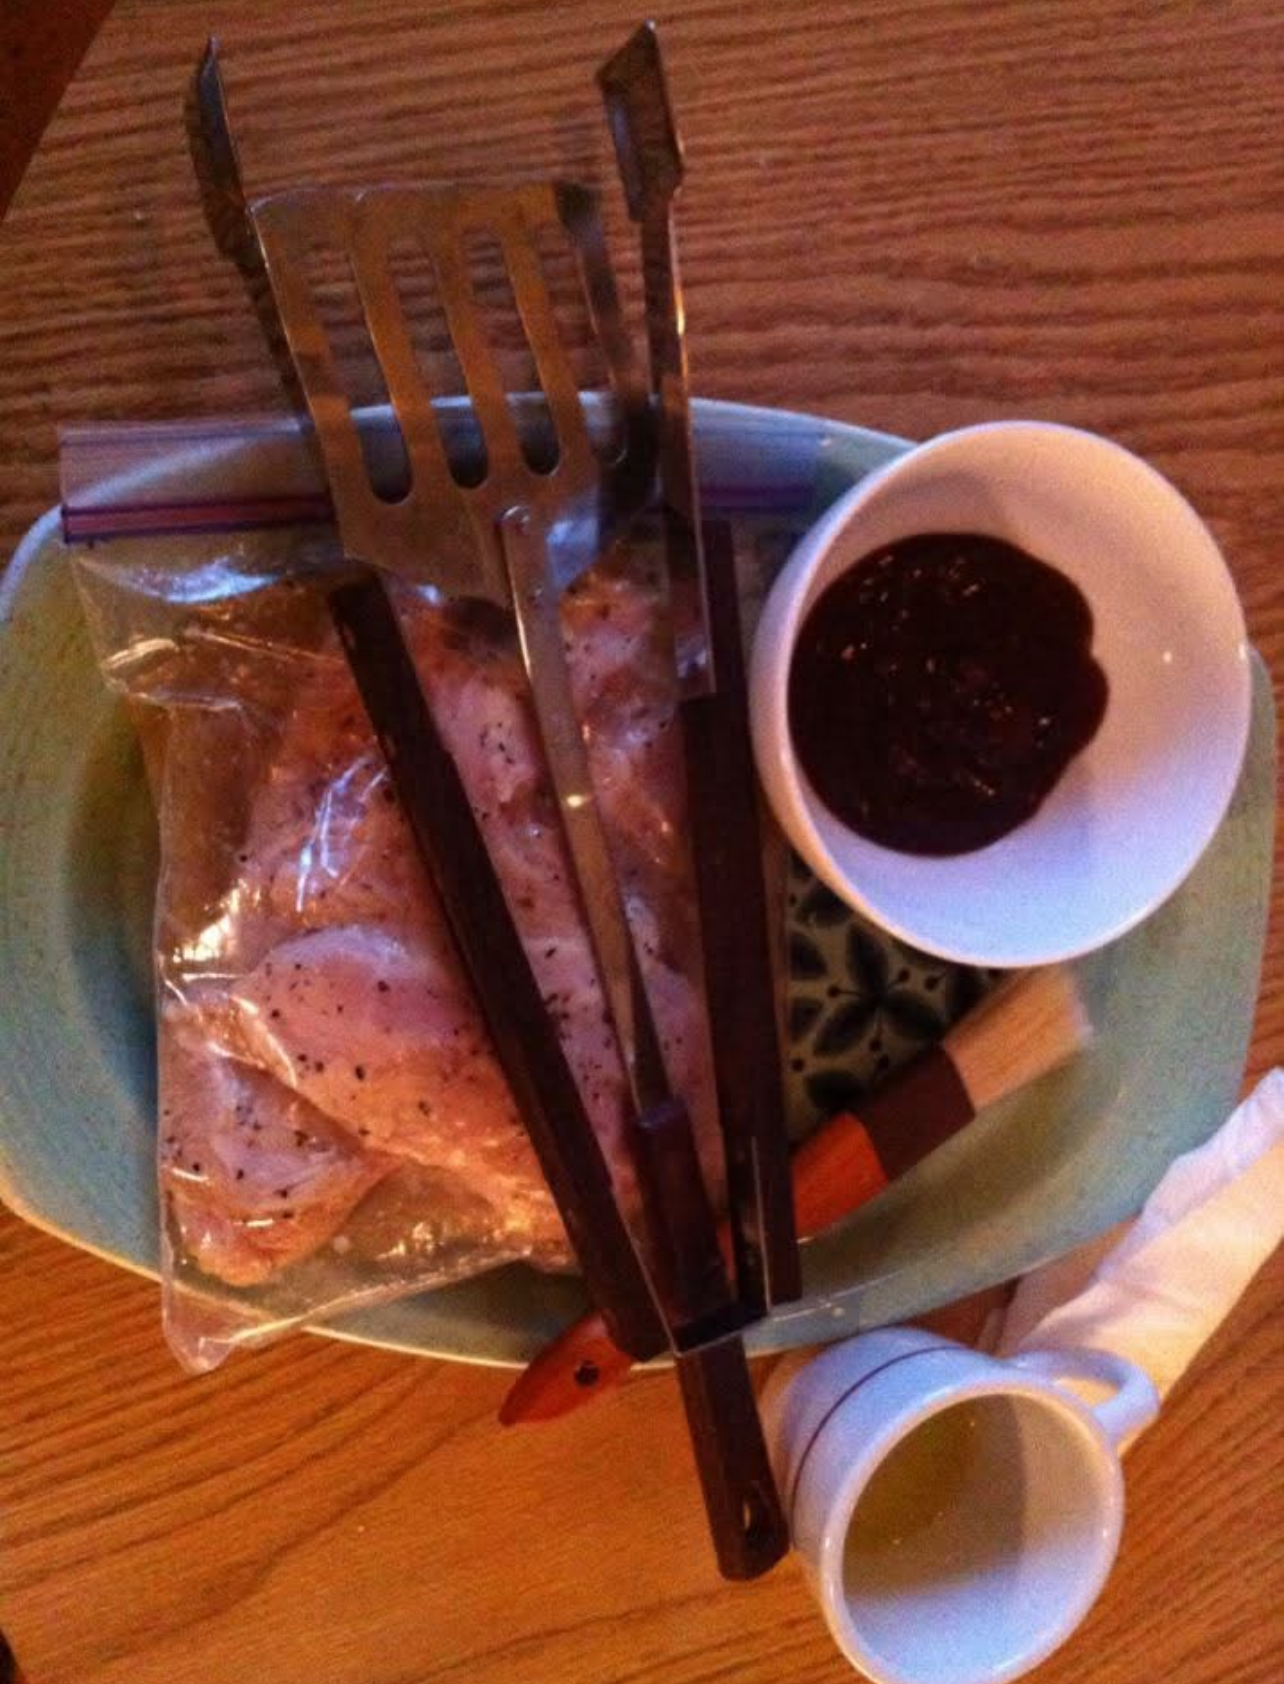
Once the chicken is ready, it’s time for the marinade. Mix a base of oil (olive oil is my favorite), something acidic (vinegar, citrus juice, or plain yogurt), and a mix of flavors like garlic, herbs, or spices. Pop the chicken into a zip bag or a shallow dish, pour the marinade over it, and stash it in the fridge for at least 30 minutes, up to 4 hours. Don’t over-marinate, especially with lots of acid, as too long can give the meat a mushy texture. *This method works for both gas and charcoal grills. The chicken will be more flavorful and juicier every time. - Preheat Your Grill (Gas vs. Charcoal Setup)
Gas grills: Set the heat to medium (about 375-450°F). I like to set up direct and indirect zones so I can sear the chicken, then finish it without burning it. Charcoal grills: Build a two-zone fire, placing all the coals on one side for searing and leaving the other side without coals for slow finishing. Here, it lets you adjust cooking speed and prevents flare-ups, especially if your marinade drips off. - Grill the Chicken (Direct then Indirect Heat)
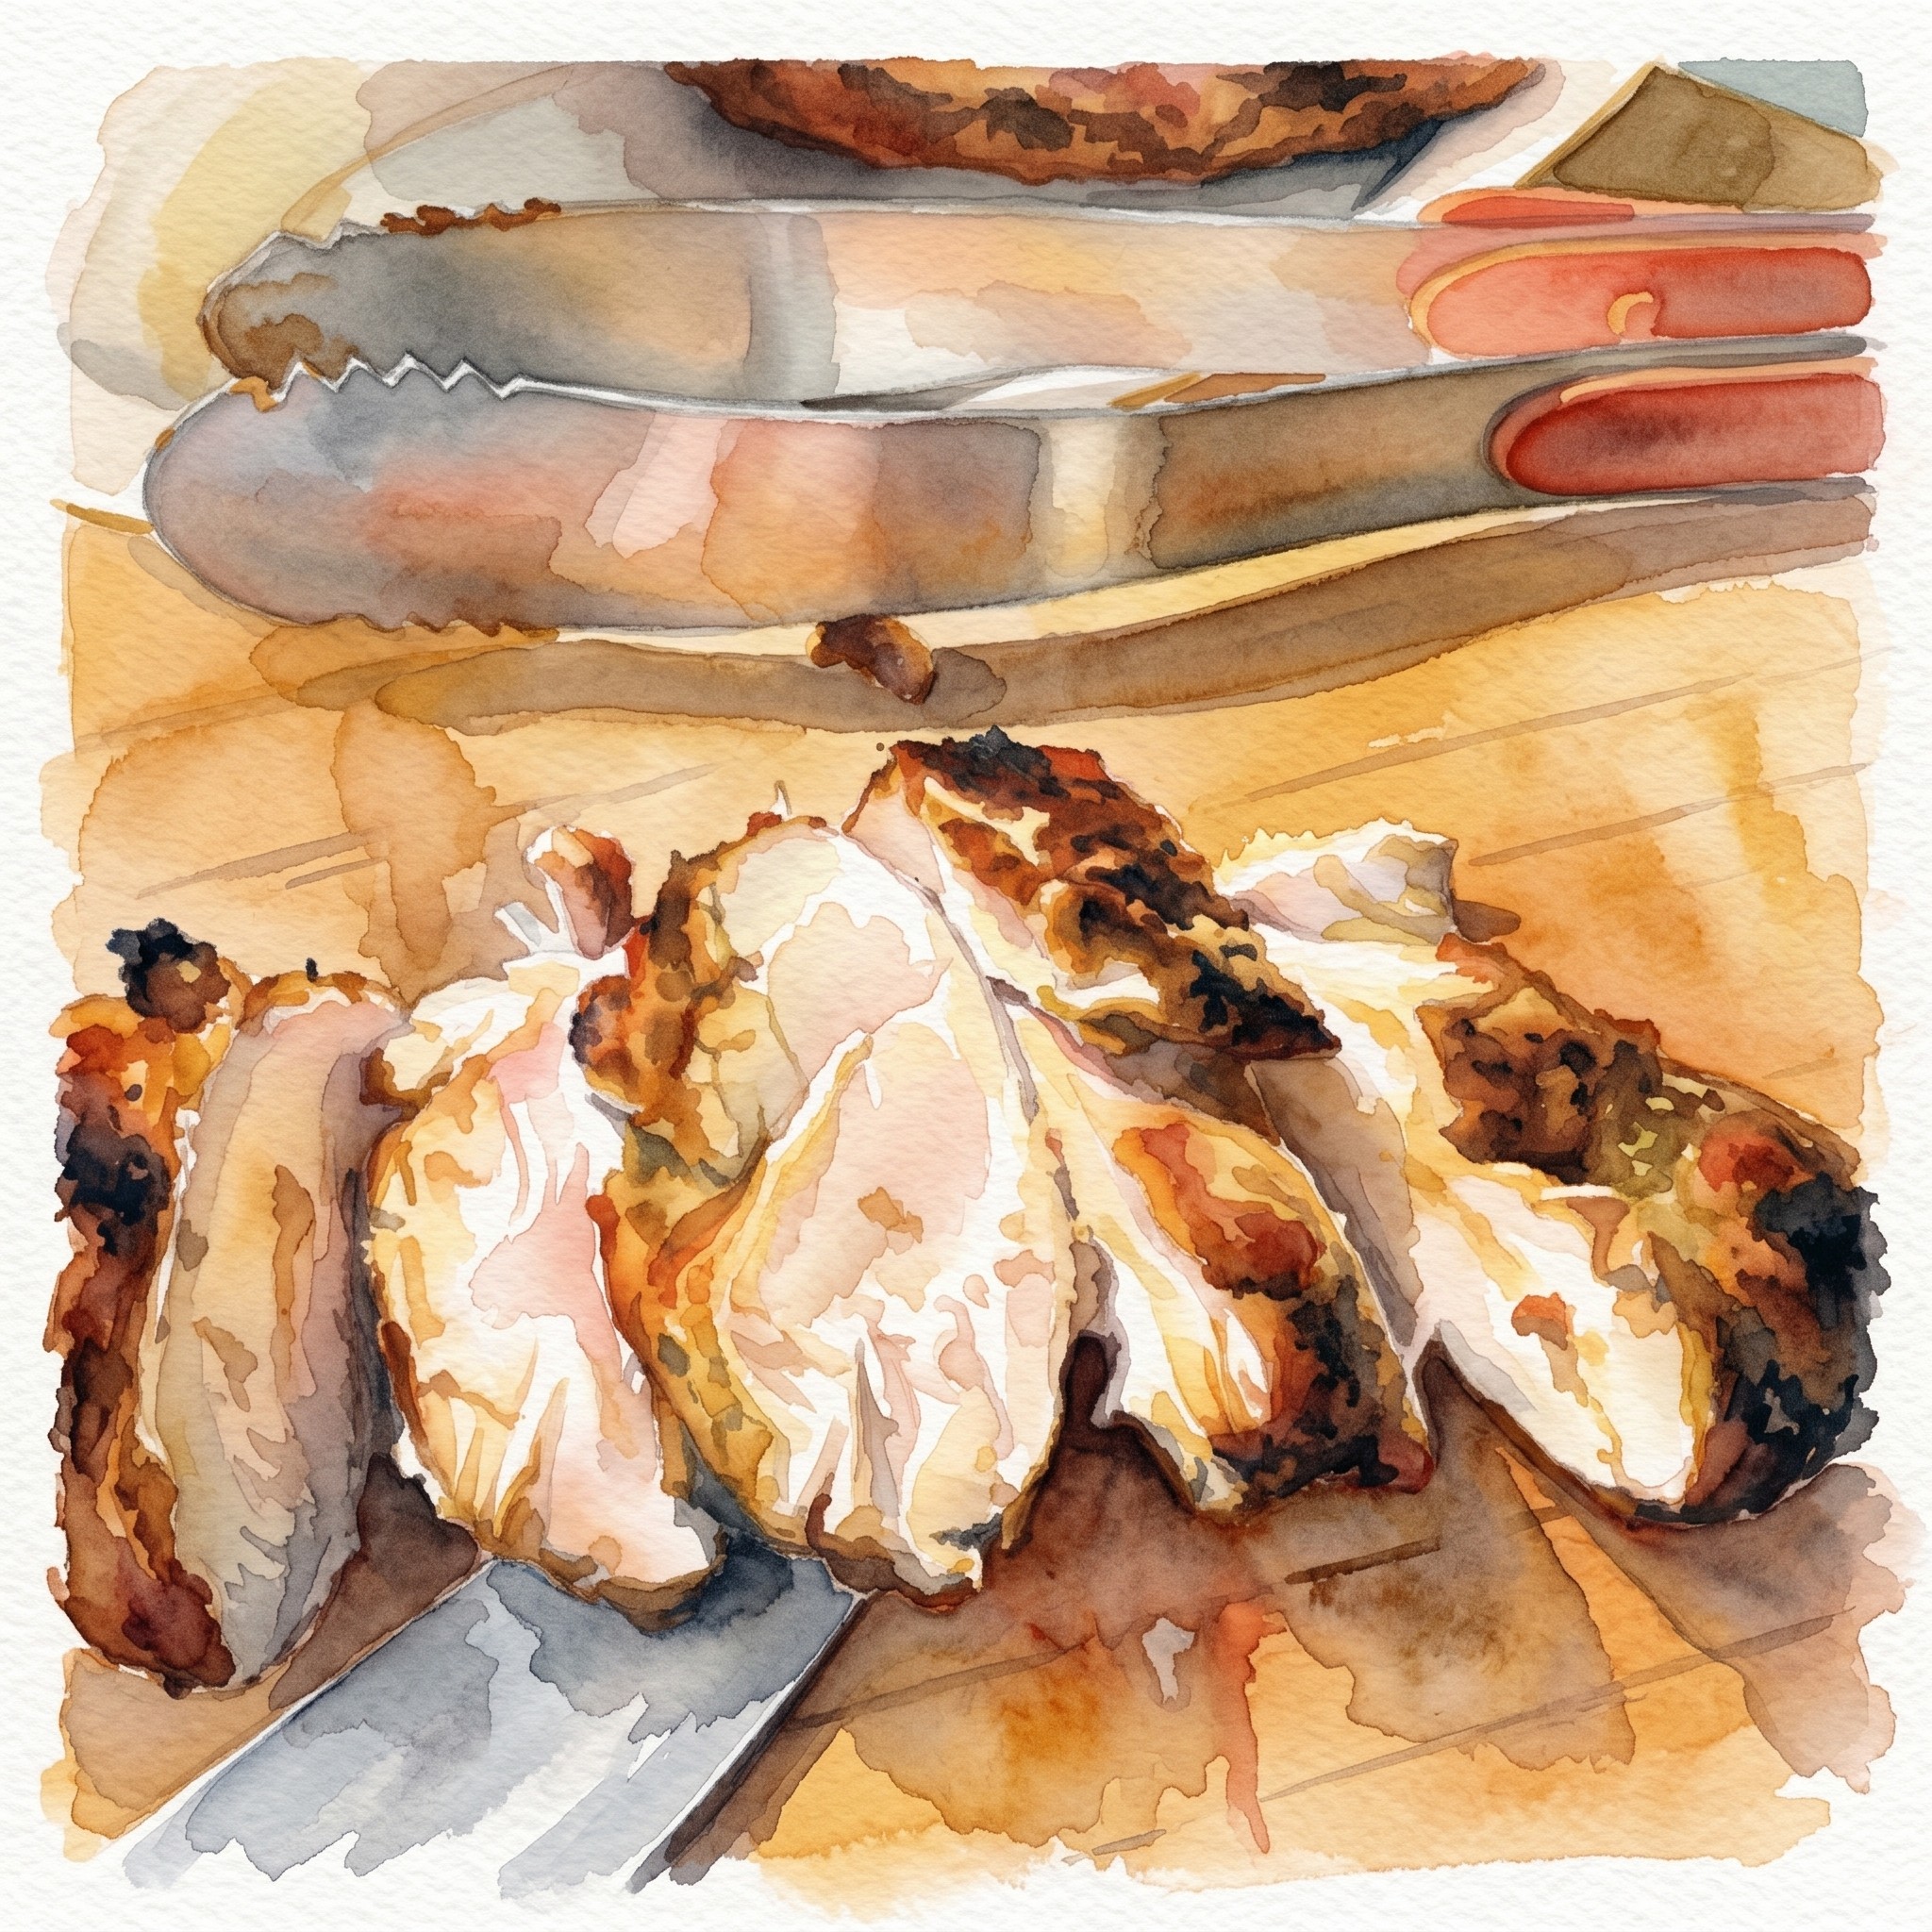
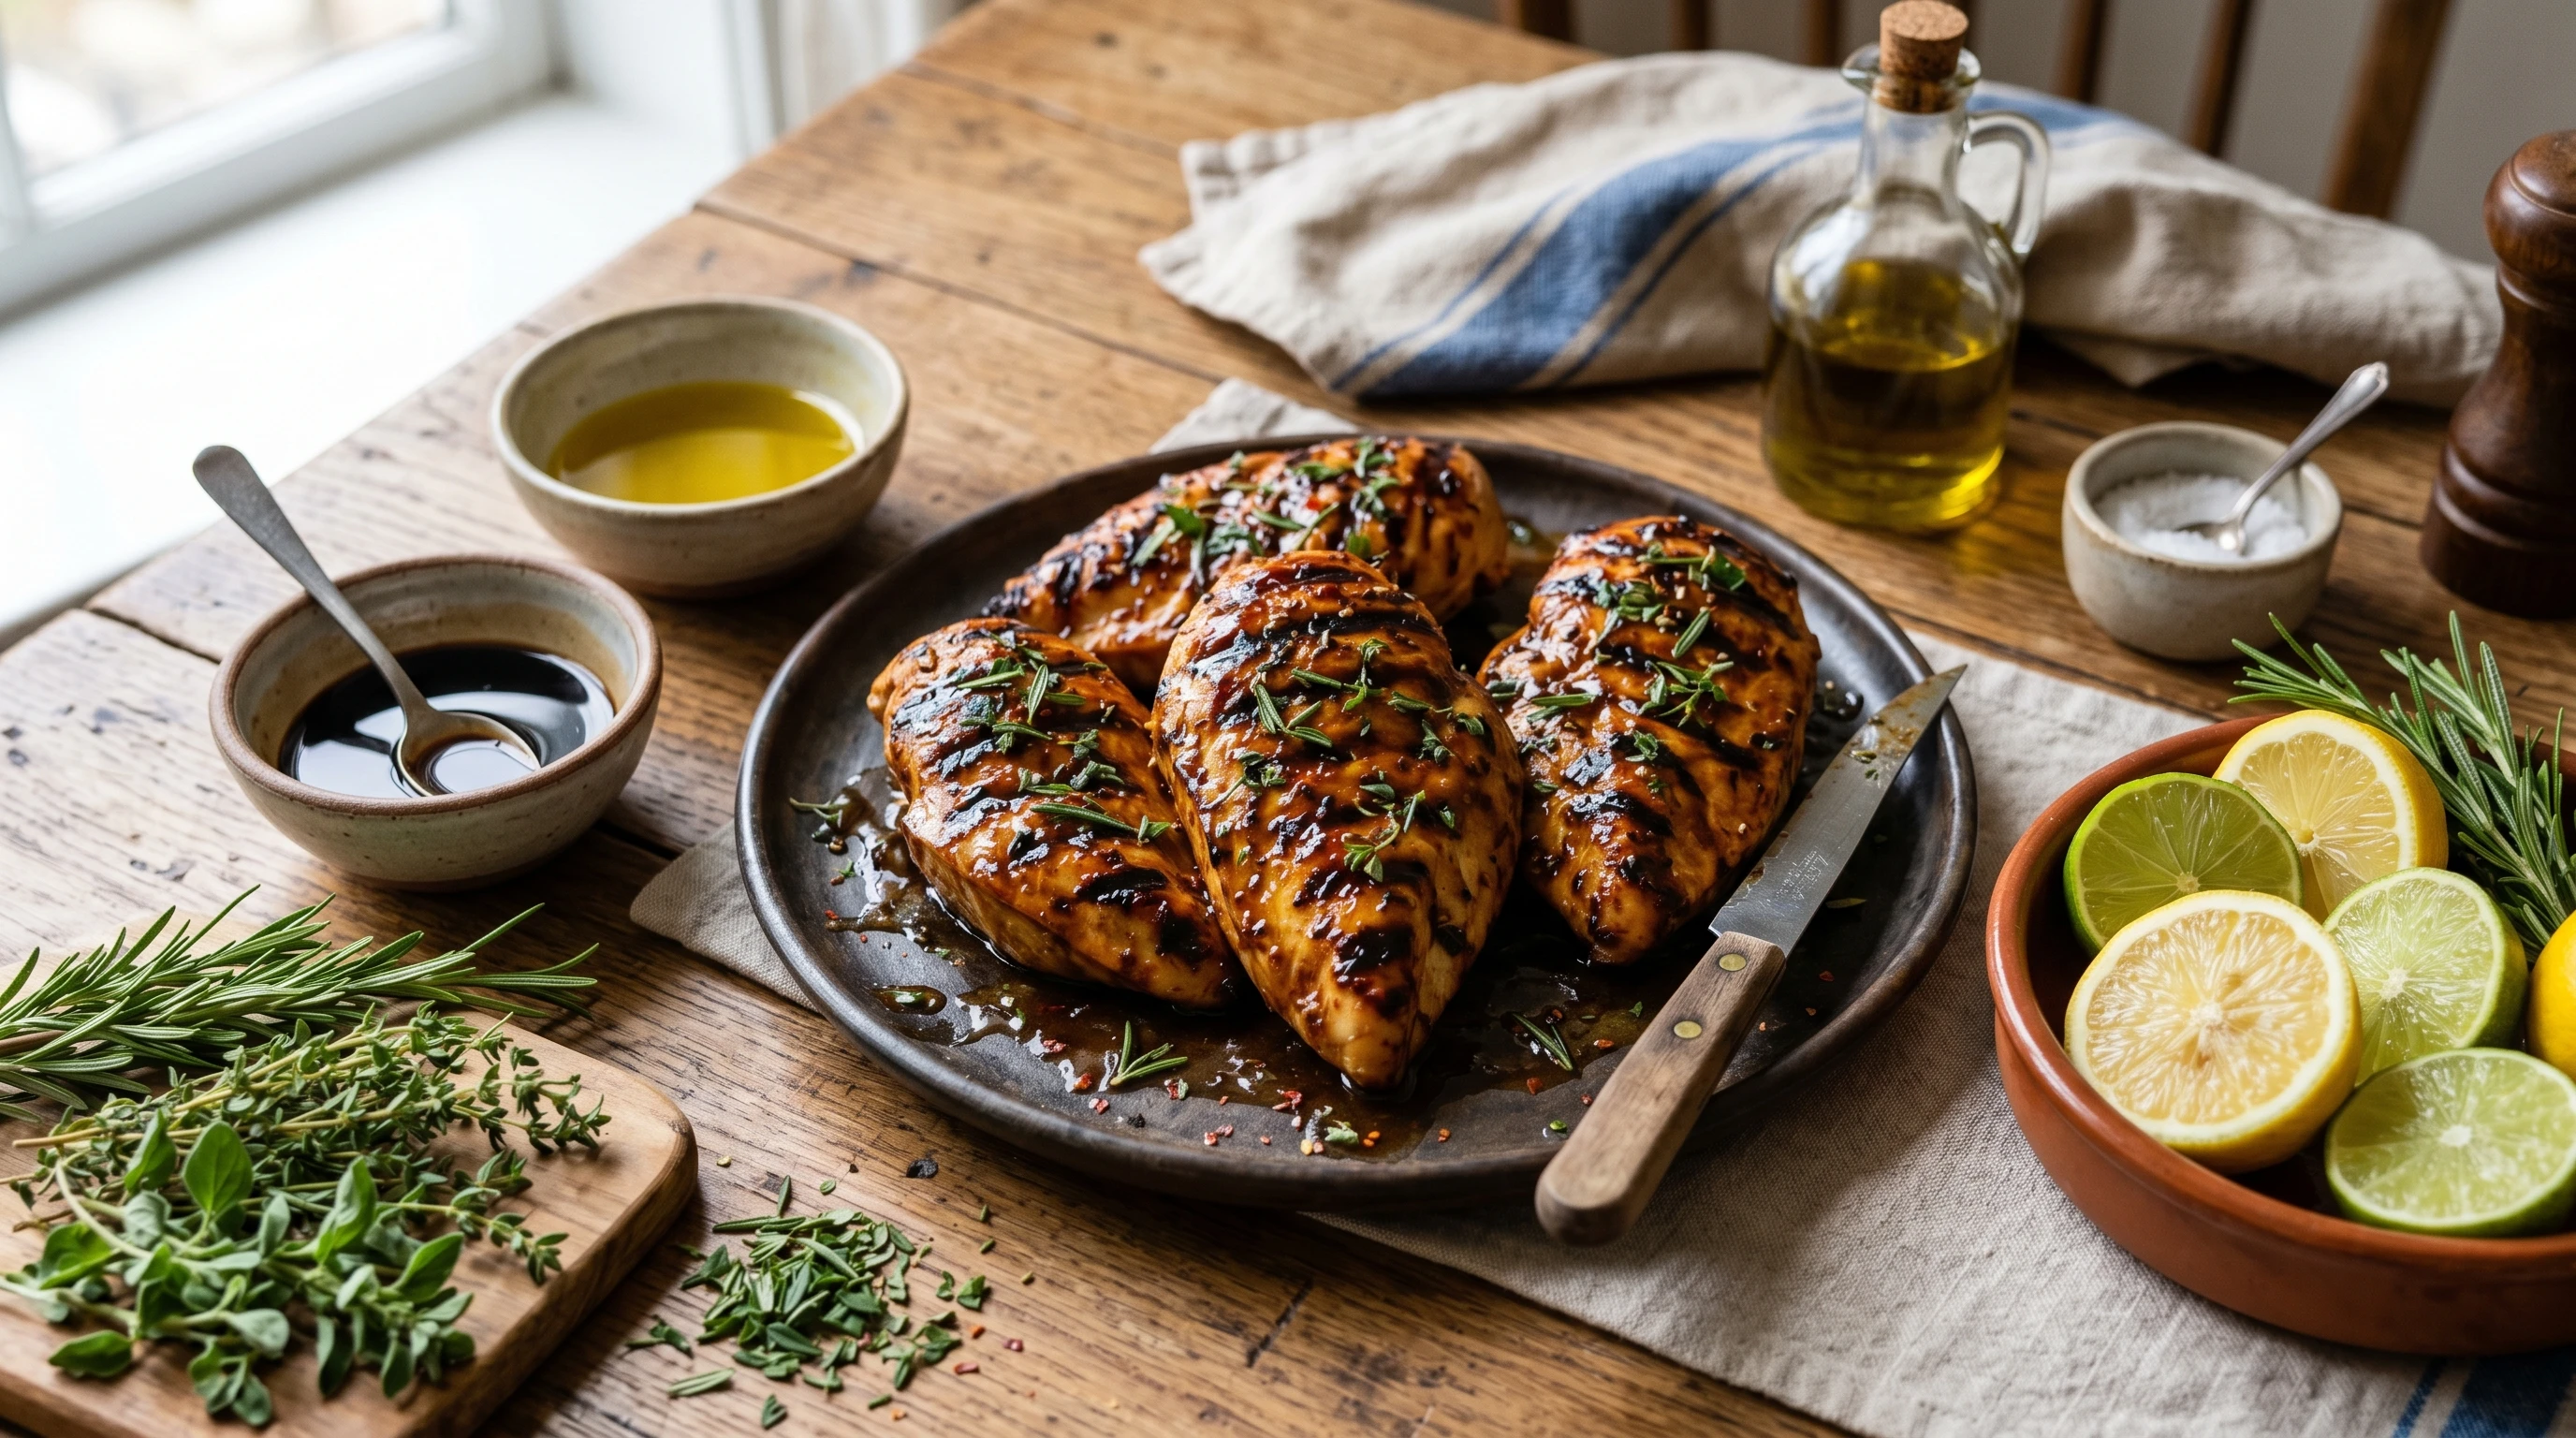
Once the grill is ready and the grates are oiled, place the marinated chicken over direct heat for about 2 to 4 minutes per side to get classic grill marks and lock in juices, rotating it with grill tongs about halfway through, before flipping to cook the other side. Shift it to the indirect-heat side to finish cooking gently, so it cooks through but stays juicy. The FDA-recommended target is an internal temperature of 165°F; checking with an instant-read thermometer helps prevent the meat from drying out. - Apply the Glaze (Timing is Everything). Brush glaze onto your chicken only during the last 2 to 5 minutes of grilling. It is super important for glazes with sugar, honey, or syrup, since they’ll burn fast if you put them on too early. I brush, flip, and go light with each layer until I see a shiny, caramelized surface. With charcoal grills, you get more smoke and deeper caramelization, which adds a hint of smokiness and chew. Gas grills give you more control and even heat, so the glaze stays shiny and doesn’t burn as easily.
Glaze for Flavor - Rest and Finish Strong
Once the chicken’s off the grill, let it sit for 5 minutes on a plate (tented with foil if you like) before slicing. This resting time locks in juices. For next-level flavor, I sometimes add a final touch of glaze or a quick drizzle of sauce right before serving to boost that glossy look and make the flavors pop.

Balsamic Vinegar: How It Works as a Marinade and Glaze
Balsamic vinegar is seriously underrated when it comes to grilling chicken breast. I love using it because it adds a mix of sweet and tangy depth and helps create a bold, caramelized crust. The best part is how versatile it is; it works for both marinades and glazes, and the difference in texture and flavor is worth checking out. Plus, using balsamic lets you explore different culinary traditions, from Italian to Californian flavors, with a single bottle.
Balsamic complexity comes from its slow aging and blend of sweet and sour notes. When you pair this with olive oil and herbs, the result is juicy, flavorful chicken. Used as a glaze, it builds a glossy surface and a new depth of taste. Here, I’ll break down exactly how you can use balsamic both ways and the science behind why it works so well.
Using Balsamic as a Marinade (Indirect Prep Technique)
One classic move is to whisk together balsamic vinegar, olive oil, minced garlic, and chopped herbs (rosemary and thyme work really well). Soak your chicken for about 1 to 2 hours max. It gives the meat a tangy backbone without overpowering it or breaking down the texture. After marinating, I recommend cooking on indirect heat after a quick sear, since balsamic’s sugars can burn if left too long over direct flame.
If you want even more flavor, try adding a little Dijon mustard, ground pepper, and a splash of orange juice to the marinade. These additions will amp up both fragrance and taste. While the chicken soaks, the vinegar’s acid and the oil help draw those flavors deeper into the meat, keeping it juicy even after grilling.
Using Balsamic as a Glaze (Direct Finish Technique)
To turn balsamic into a killer glaze, simmer it gently in a saucepan until reduced by half. I sometimes add honey or brown sugar for extra body and sweetness. Brush this thick glaze on the chicken during the last minute or two of grilling, right over the hottest part of the grill. You’ll see it bubble and turn glossy, giving finished chicken a restaurant-worthy look and a punchy, layered taste.
For additional shine and a bit of complexity, try stirring in a spoonful of pomegranate molasses or just a pinch of chili flakes. The result is a glaze that clings well and delivers plenty of sweet and tangy flavor in every bite. Remember, thin, repeated layers work best—you want that balance between char and shine.
Tip: Keep the Balance
Balsamic has natural sugars that can burn, so always brush lightly and late in the cooking process. If you’re worried about flare-ups on a charcoal grill, pull the chicken into the cool zone, glaze it there, and return it to the heat for a quick finish. A little goes a long way; layer in coats instead of drowning the chicken.
Key Takeaways for Chicken Lovers
- Marinade = Inside Flavor – Builds juicy, tender chicken from the inside out, perfect for prepping ahead.
- Glaze = Outside Finish – Adds that tempting shine and caramelized texture right before you finish grilling.
- Balsamic = Both Worlds – Use as a marinade for depth, or reduce it to a glaze for a punchy, glossy finish.
Things to Consider Before Jumping In
I’ve seen lots of chicken fails come down to a few common mistakes; these are easy to fix once you know them:
- Over-marinating with acid: Anything above 4 hours can mess with the texture, making chicken mushy rather than tender. Stick to 30 minutes to 2 hours for balance.
- Applying glaze too early: If you brush on sugary glazes right after your chicken hits the grill, you’ll end up with a burned, bitter crust. Wait until the very end to add layers.
- Skipping the rest: Rested chicken ends up juicier and more flavorful. Give it at least 5 minutes to settle before slicing.
- Heat management: Always have both high- and low-heat zones on your grill. One side for searing, one for finishing; it saves you from dry or burnt chicken every time.
Chicken Breast Quick Guide: Marinade and Glaze in Practice
- For lighter, herb-forward meals, go heavy on fresh aromatics in your marinade—basil, thyme, and lemon work well. Skip sugary glazes and finish with a squeeze of citrus instead.
- For bold, BBQ-inspired dishes, use brown sugar or honey in your glaze and add a pinch of smoked paprika or chipotle powder. Get that sticky-sweet exterior right at the end.
- To avoid blandness, always season the chicken before it goes into the marinade, and don’t shy away from salt. It boosts flavor and helps keep the meat juicy.
Practical Tips to Level Up Your Chicken Game
- Keep a basting brush on hand: A silicone brush won’t absorb too much glaze or marinade, and it’s easy to clean between uses.
- Rotate and flip often: This helps keep the glaze from pooling or burning and builds an even coating across the chicken.
- Double down on flavor: Reserve a few tablespoons of the marinade (before it touches the raw chicken) to drizzle or use as a finishing dip.
- Try new flavor layers: Mix in citrus zests or a spoonful of miso paste to your marinade for a dash of brightness or umami depth. Or finish with a sprinkle of sesame seeds and chopped scallions.
- Experiment with temperature: For really juicy chicken, use a meat thermometer to pull it at 160–162°F; it’ll reach a safe 165°F while resting.
- Keep grill tools handy: Tongs and a spatula let you flip and move chicken quickly between hot and cool sides, giving you more control.
Experimenting with both glaze and marinade (or even layering both; marinate first, glaze at the end) makes plain chicken breast taste like something fresh from a restaurant grill. That’s my favorite move when I want to keep things healthy but still bring big flavor. Plus, using both methods lets you adapt to whatever seasonings or leftovers you have on hand.
FAQ: Your Top Chicken Glaze and Marinade Questions Answered
Can I use the same mix for both marinade and glaze?
If you want to reuse a marinade as a glaze, always simmer it for at least 5 minutes after the chicken’s soaked in it to make it food-safe. My go-to is to set some marinade aside before adding the chicken, so I have a clean portion for glazing or drizzling.
How do I keep chicken breast from drying out on the grill?
Pound the chicken to an even thickness, use a marinade to help with juiciness, grill over medium heat, and pull it at 160 to 162°F (it’ll reach 165°F while resting). Glazing at the end helps lock moisture in, too.
What’s the best way to add layers of flavor?
Try marinating your chicken, then glazing right at the end. Or use a dipping sauce after slicing the chicken. Herbs, spices, citrus, and sweeteners all work together; you don’t need to pick just one.
Wrapping Up: My Go-To Formula for Flavorful Grilled Chicken
Here, marinades and glazes aren’t complicated, but they’re seriously effective for making chicken breast taste restaurant-worthy. Get the basics down, start playing with different combos, and soon you’ll have friends asking why your chicken always tastes so much better. Here, a little glaze or a quick soak can really turn things around.
Whether you’re cooking for yourself or your family, or showing off at a summer BBQ, these small tweaks to how you season, cook, and finish your chicken breast make a big difference. Simple steps like balancing your acids, timing your glazes, and letting the meat rest unlock juiciness and real flavor.
Worth a try next time you fire up the grill; your taste buds (and anyone you’re cooking for) will appreciate it!
Enjoy that great BBQ taste!